The Focus is a fun little car to drive if your lucky enough to have a model with a manual transmission. But it has a few flaws. One of them is the engine mount system. To save money Ford omitted an engine mount - there are only 3 - and because they omitted a mount they designed one mount as a "shock absorber" mount. As a result, over time with these cars the engine mounts go bad and then transmit a lot of vibration into the passenger compartment of the car. It causes everything in the dash to rattle and vibrate like the dickens particularly the air conditioning vent doors and pieces of the dash to rattle against each other. It is really bad at certain engine RPMs that are harmonics of the inside parts of the car.
There are 3 engine mounts, one on each side and a "dogbone" at the bottom rear. The Dogbone and the Transmission mount are pretty standard engine mounts using rubber and steel and "potmetal". The Passenger side mount is a rubber and steel mount that has a special fluid-filled bellows that dampens and absorbs vibration.
It is recommended to use the Ford mount for the passenger side instead of the aftermarket mount as quality control is very bad on the aftermarket passenger mount. I have a comparison page that discusses the mounts here The Ford mount is about $40 more expensive.
When the mounts are replaced the car has no vibrations at all it is like night and day.
It is clear that the hydraulic passenger mount is the key to the vibration reduction. In my opinion the principle cause of failure of this mount is engine rocking back and forth in the engine bay, caused by a bad dogbone mount which allows excessive rocking. The passenger mount is designed to support the engine weight by going up and down not side to side. I also suspect that inadequate care used if a service tech changes a clutch in a manual transmission car can damage this mount. (ie: allowing the engine to hang from this mount) The dogbone mount is under the car so any oil leaks get blown over this mount by road draft and oil destroys the mount rubber over time.
Here is a video showing the interior of the car with the bad mounts, you can hear the buzzing vibration of the bad mount.
Before Replacement
This video shows the same car after the mounts have been replaced.
After Replacement
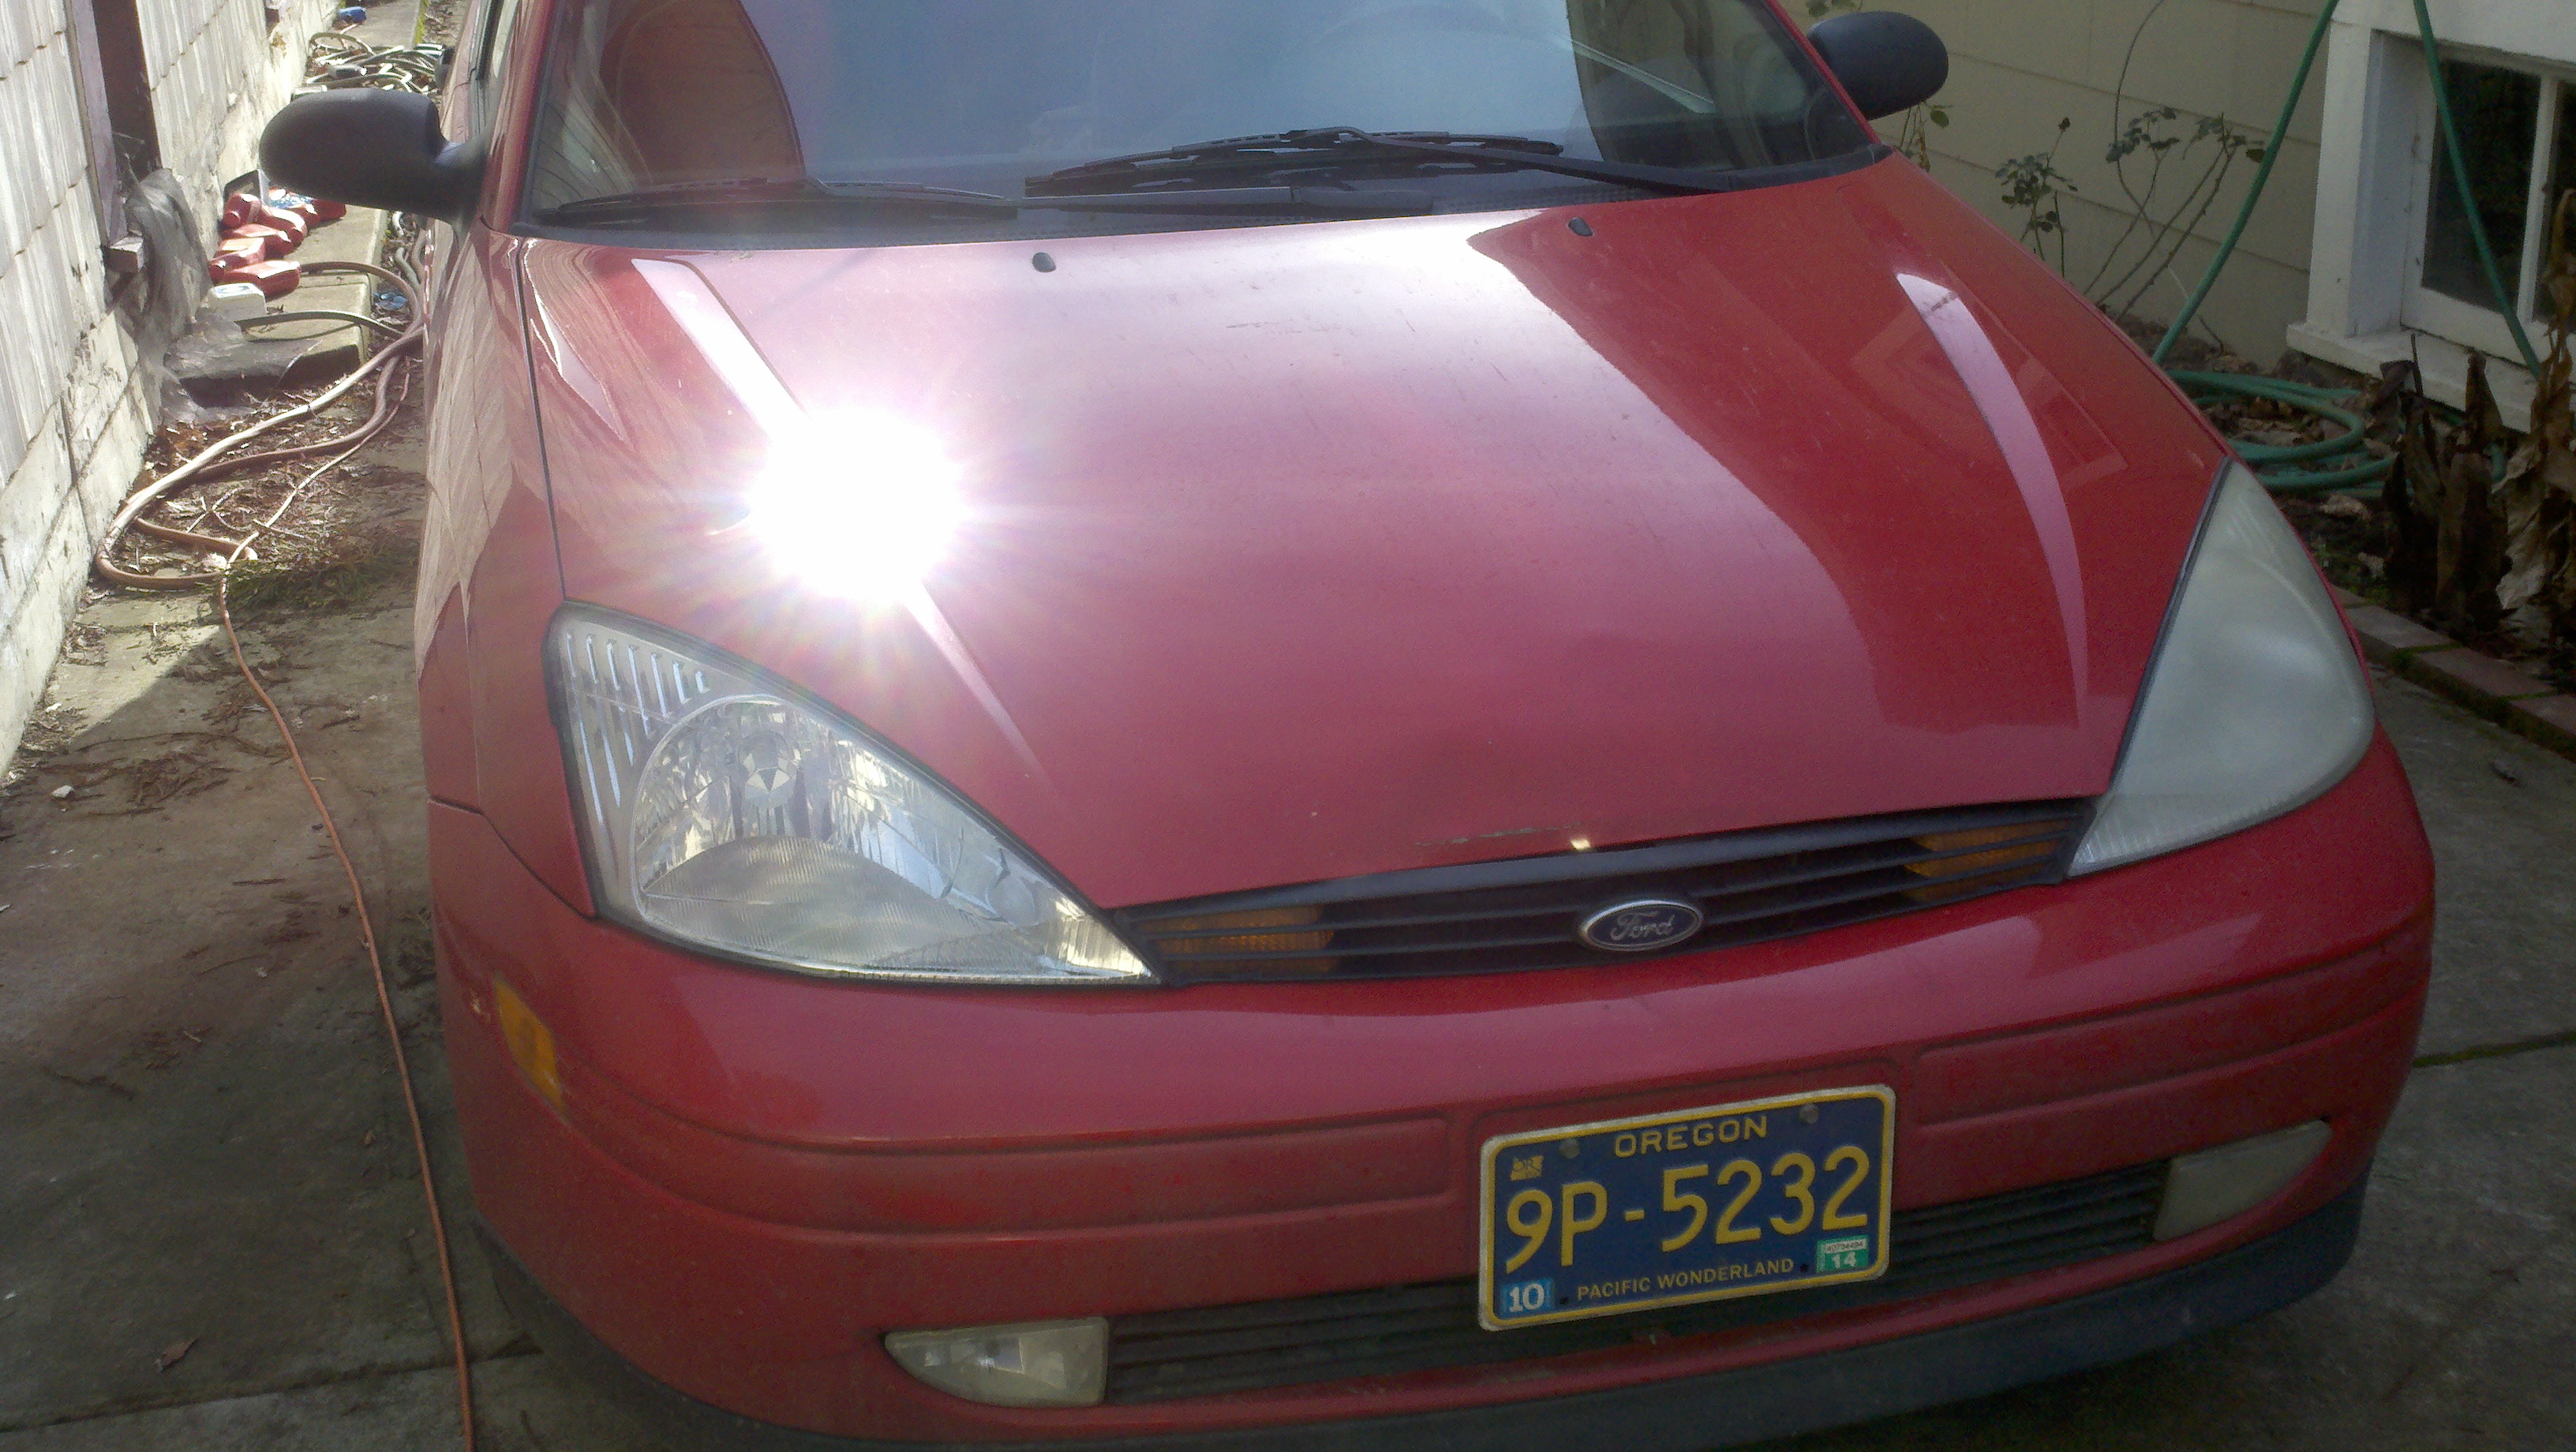
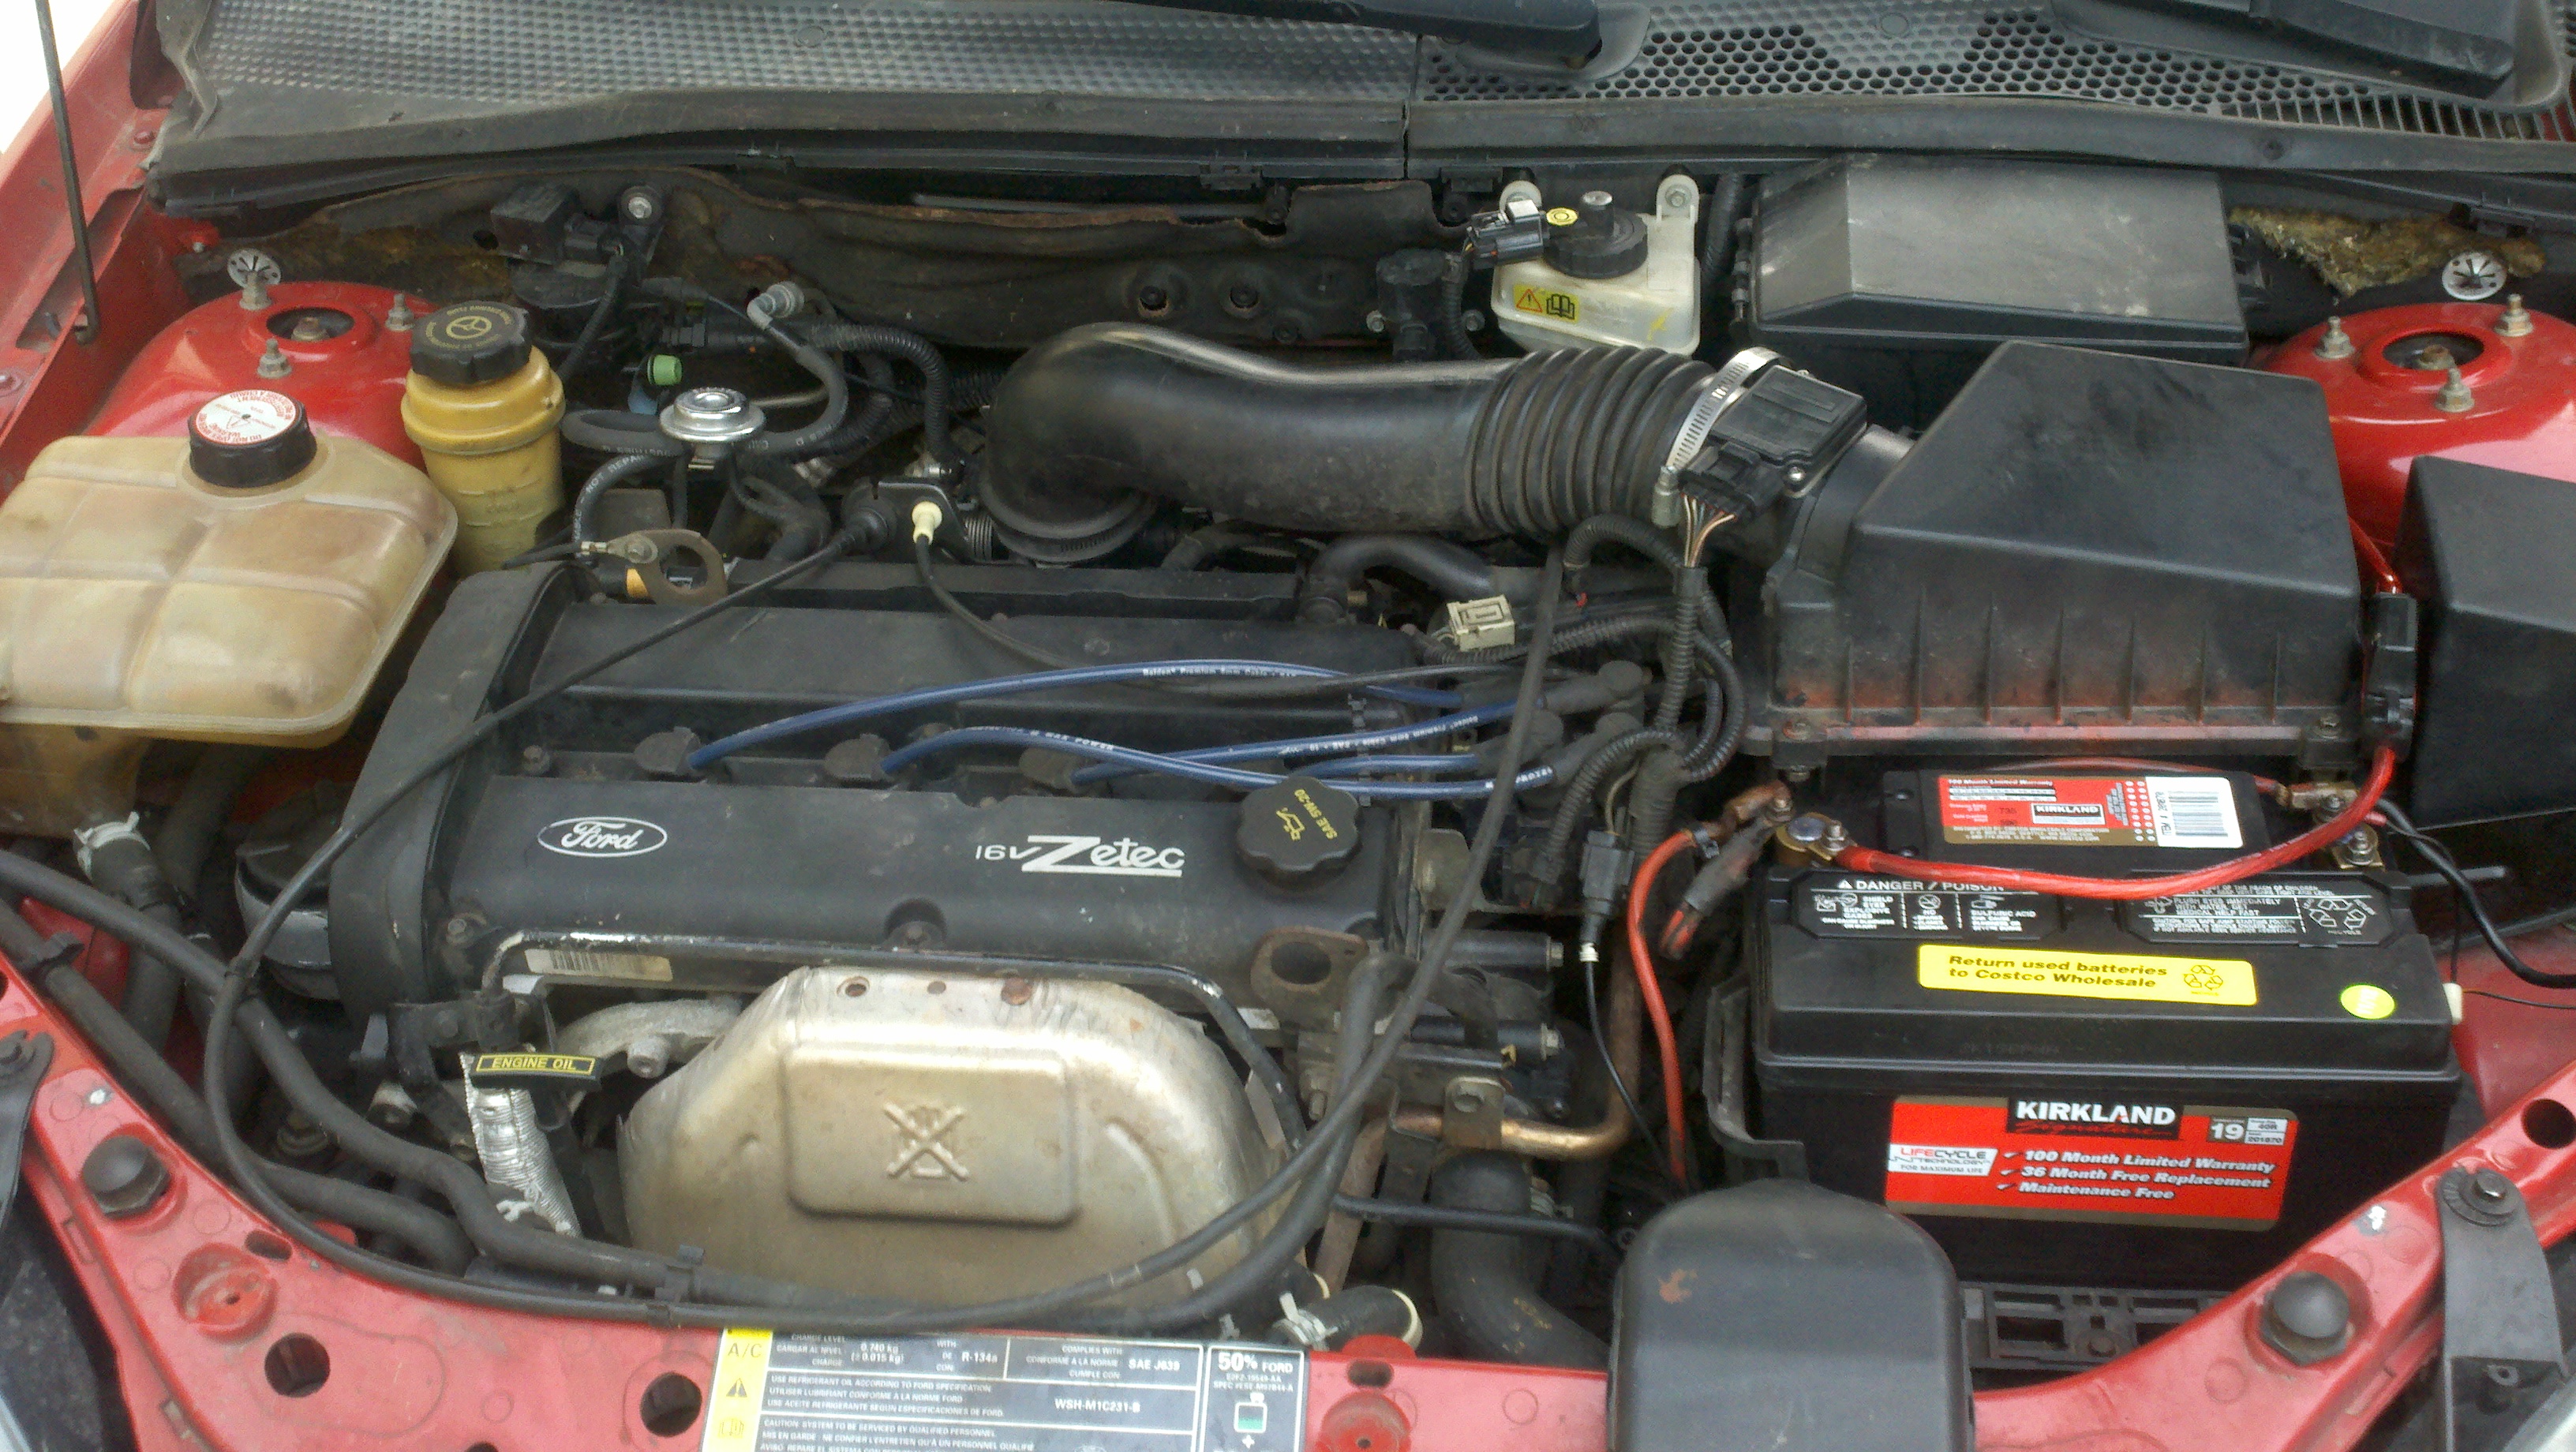
Here is the car I will be working on a 2001 Ford Focus SE Street Edition
Figure 1
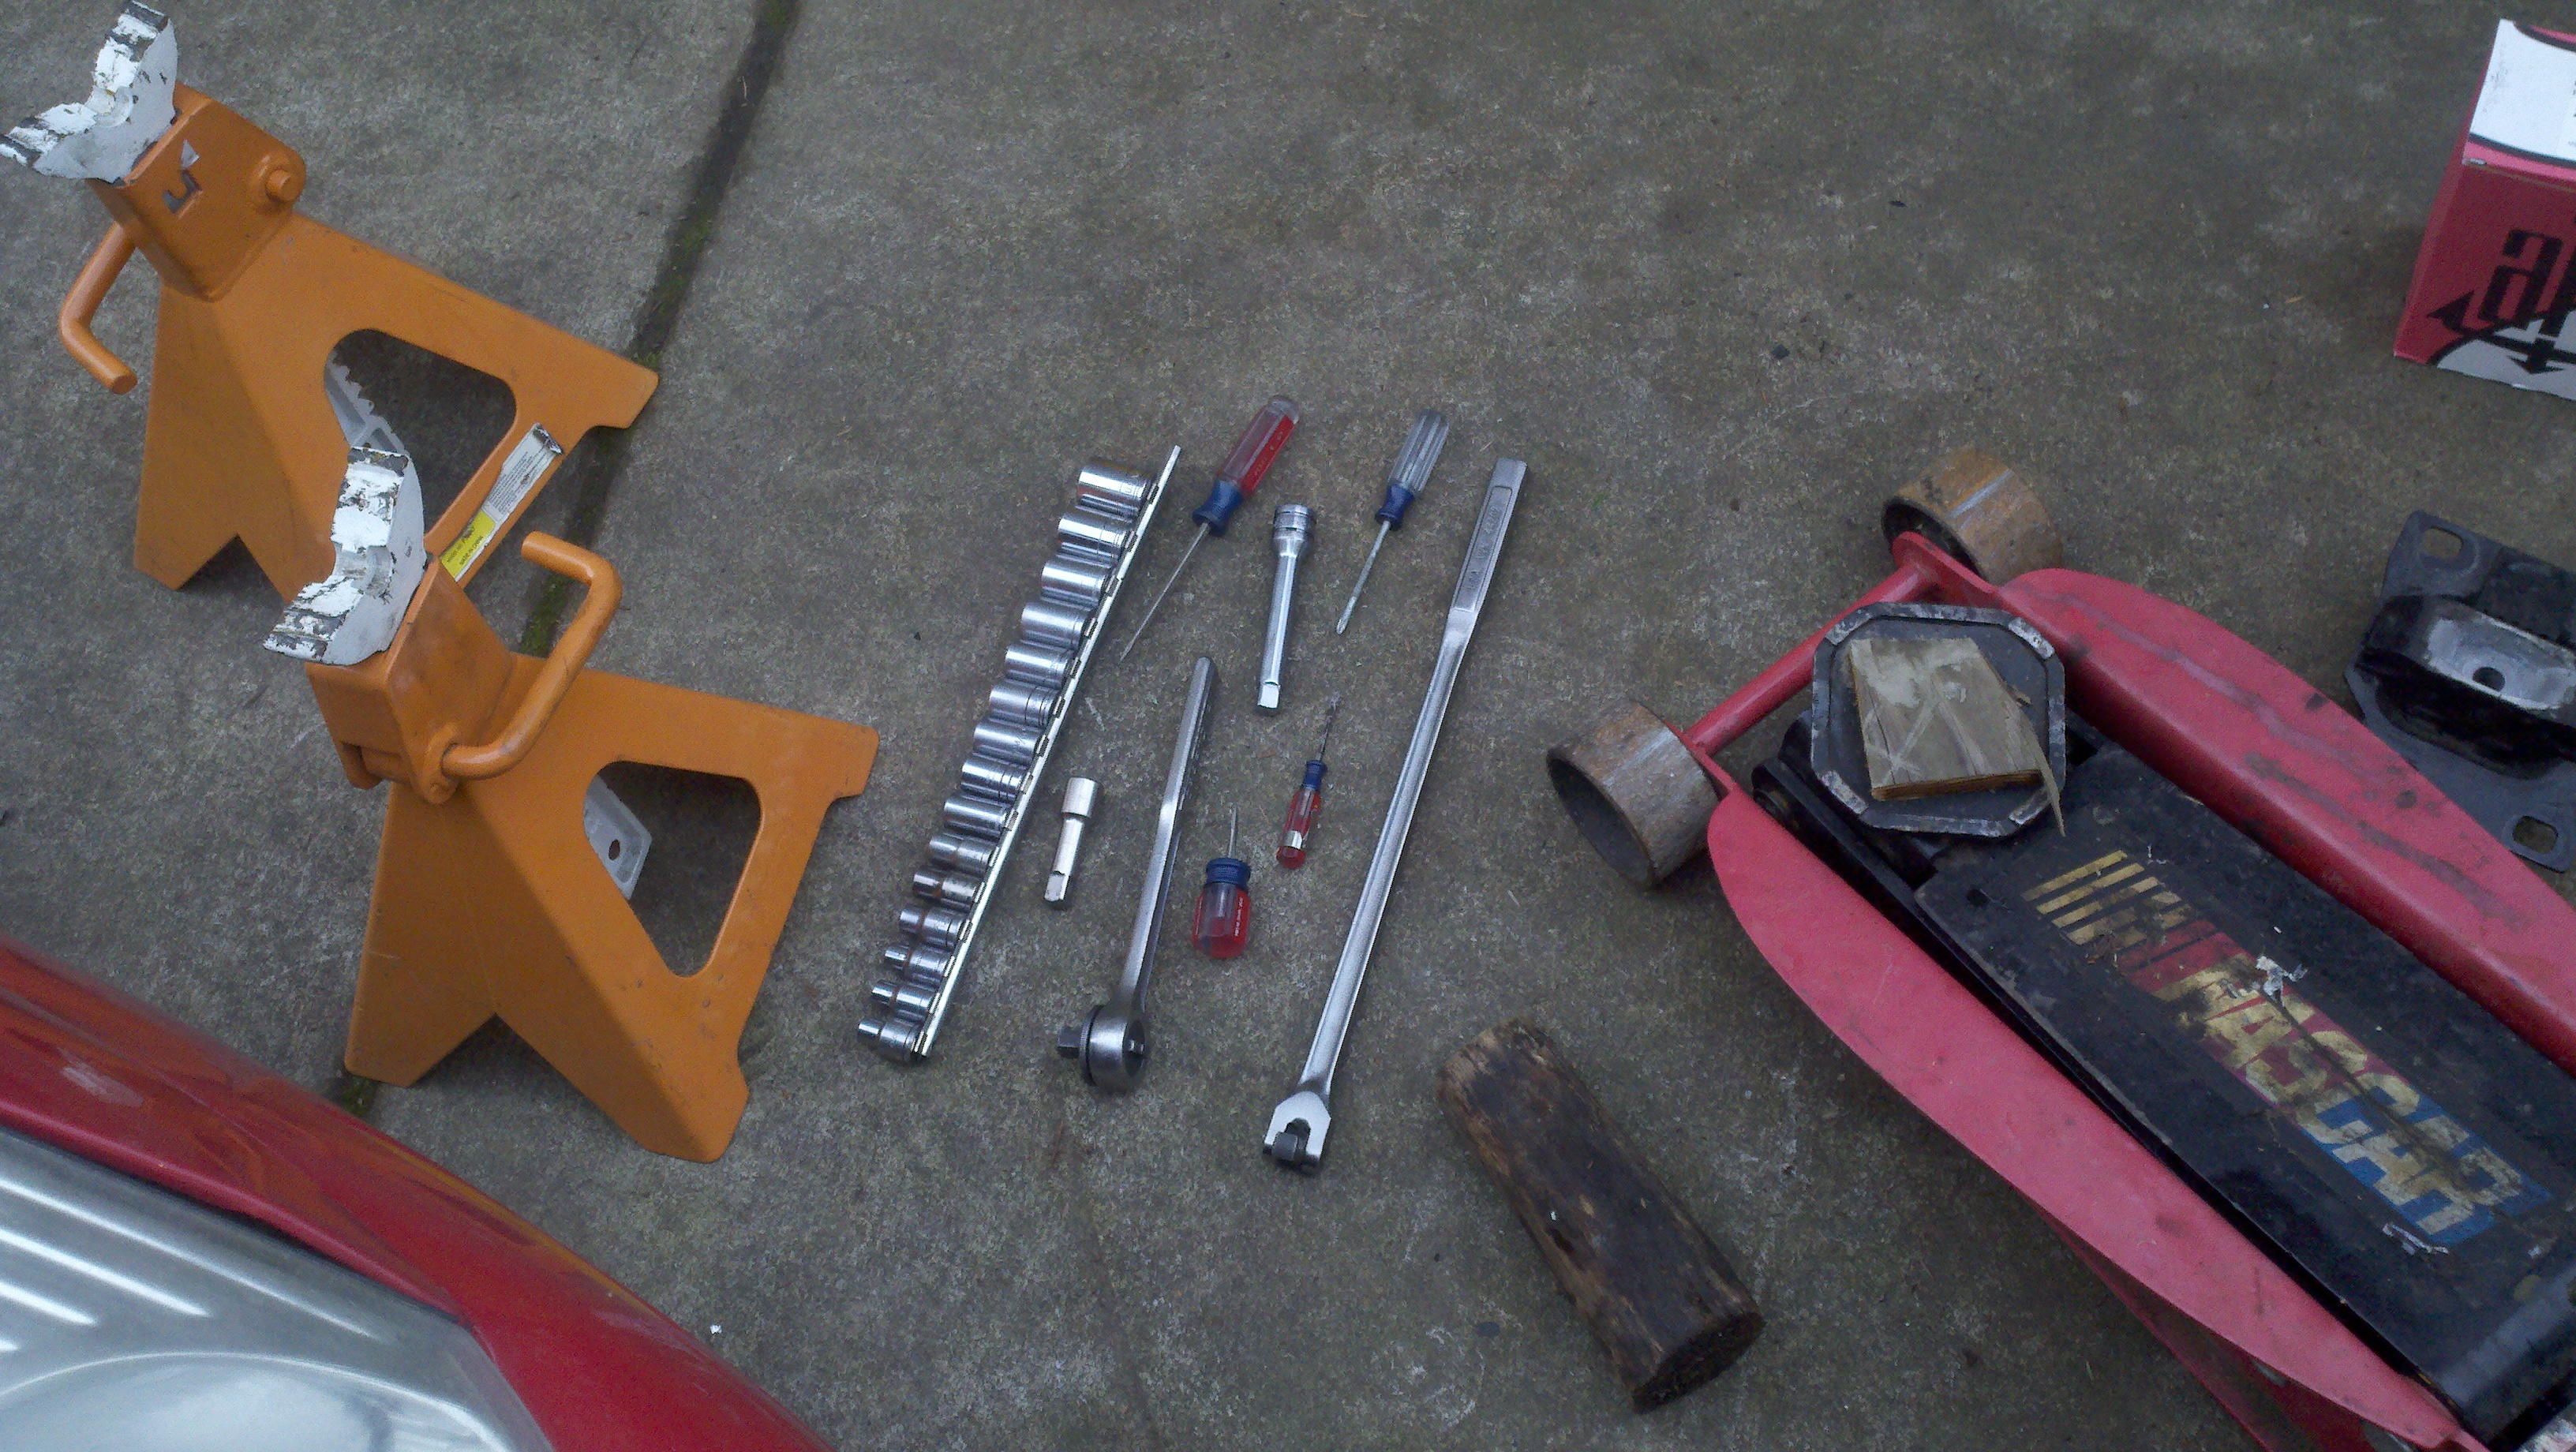
Here are the tools I used, Floor Jack, Jackstands, couple blocks of
wood, long Flex handle from Sears, 1/2 rachet, several 1/2 extensions,
and a 1/2 metric socket set.
Figure 2
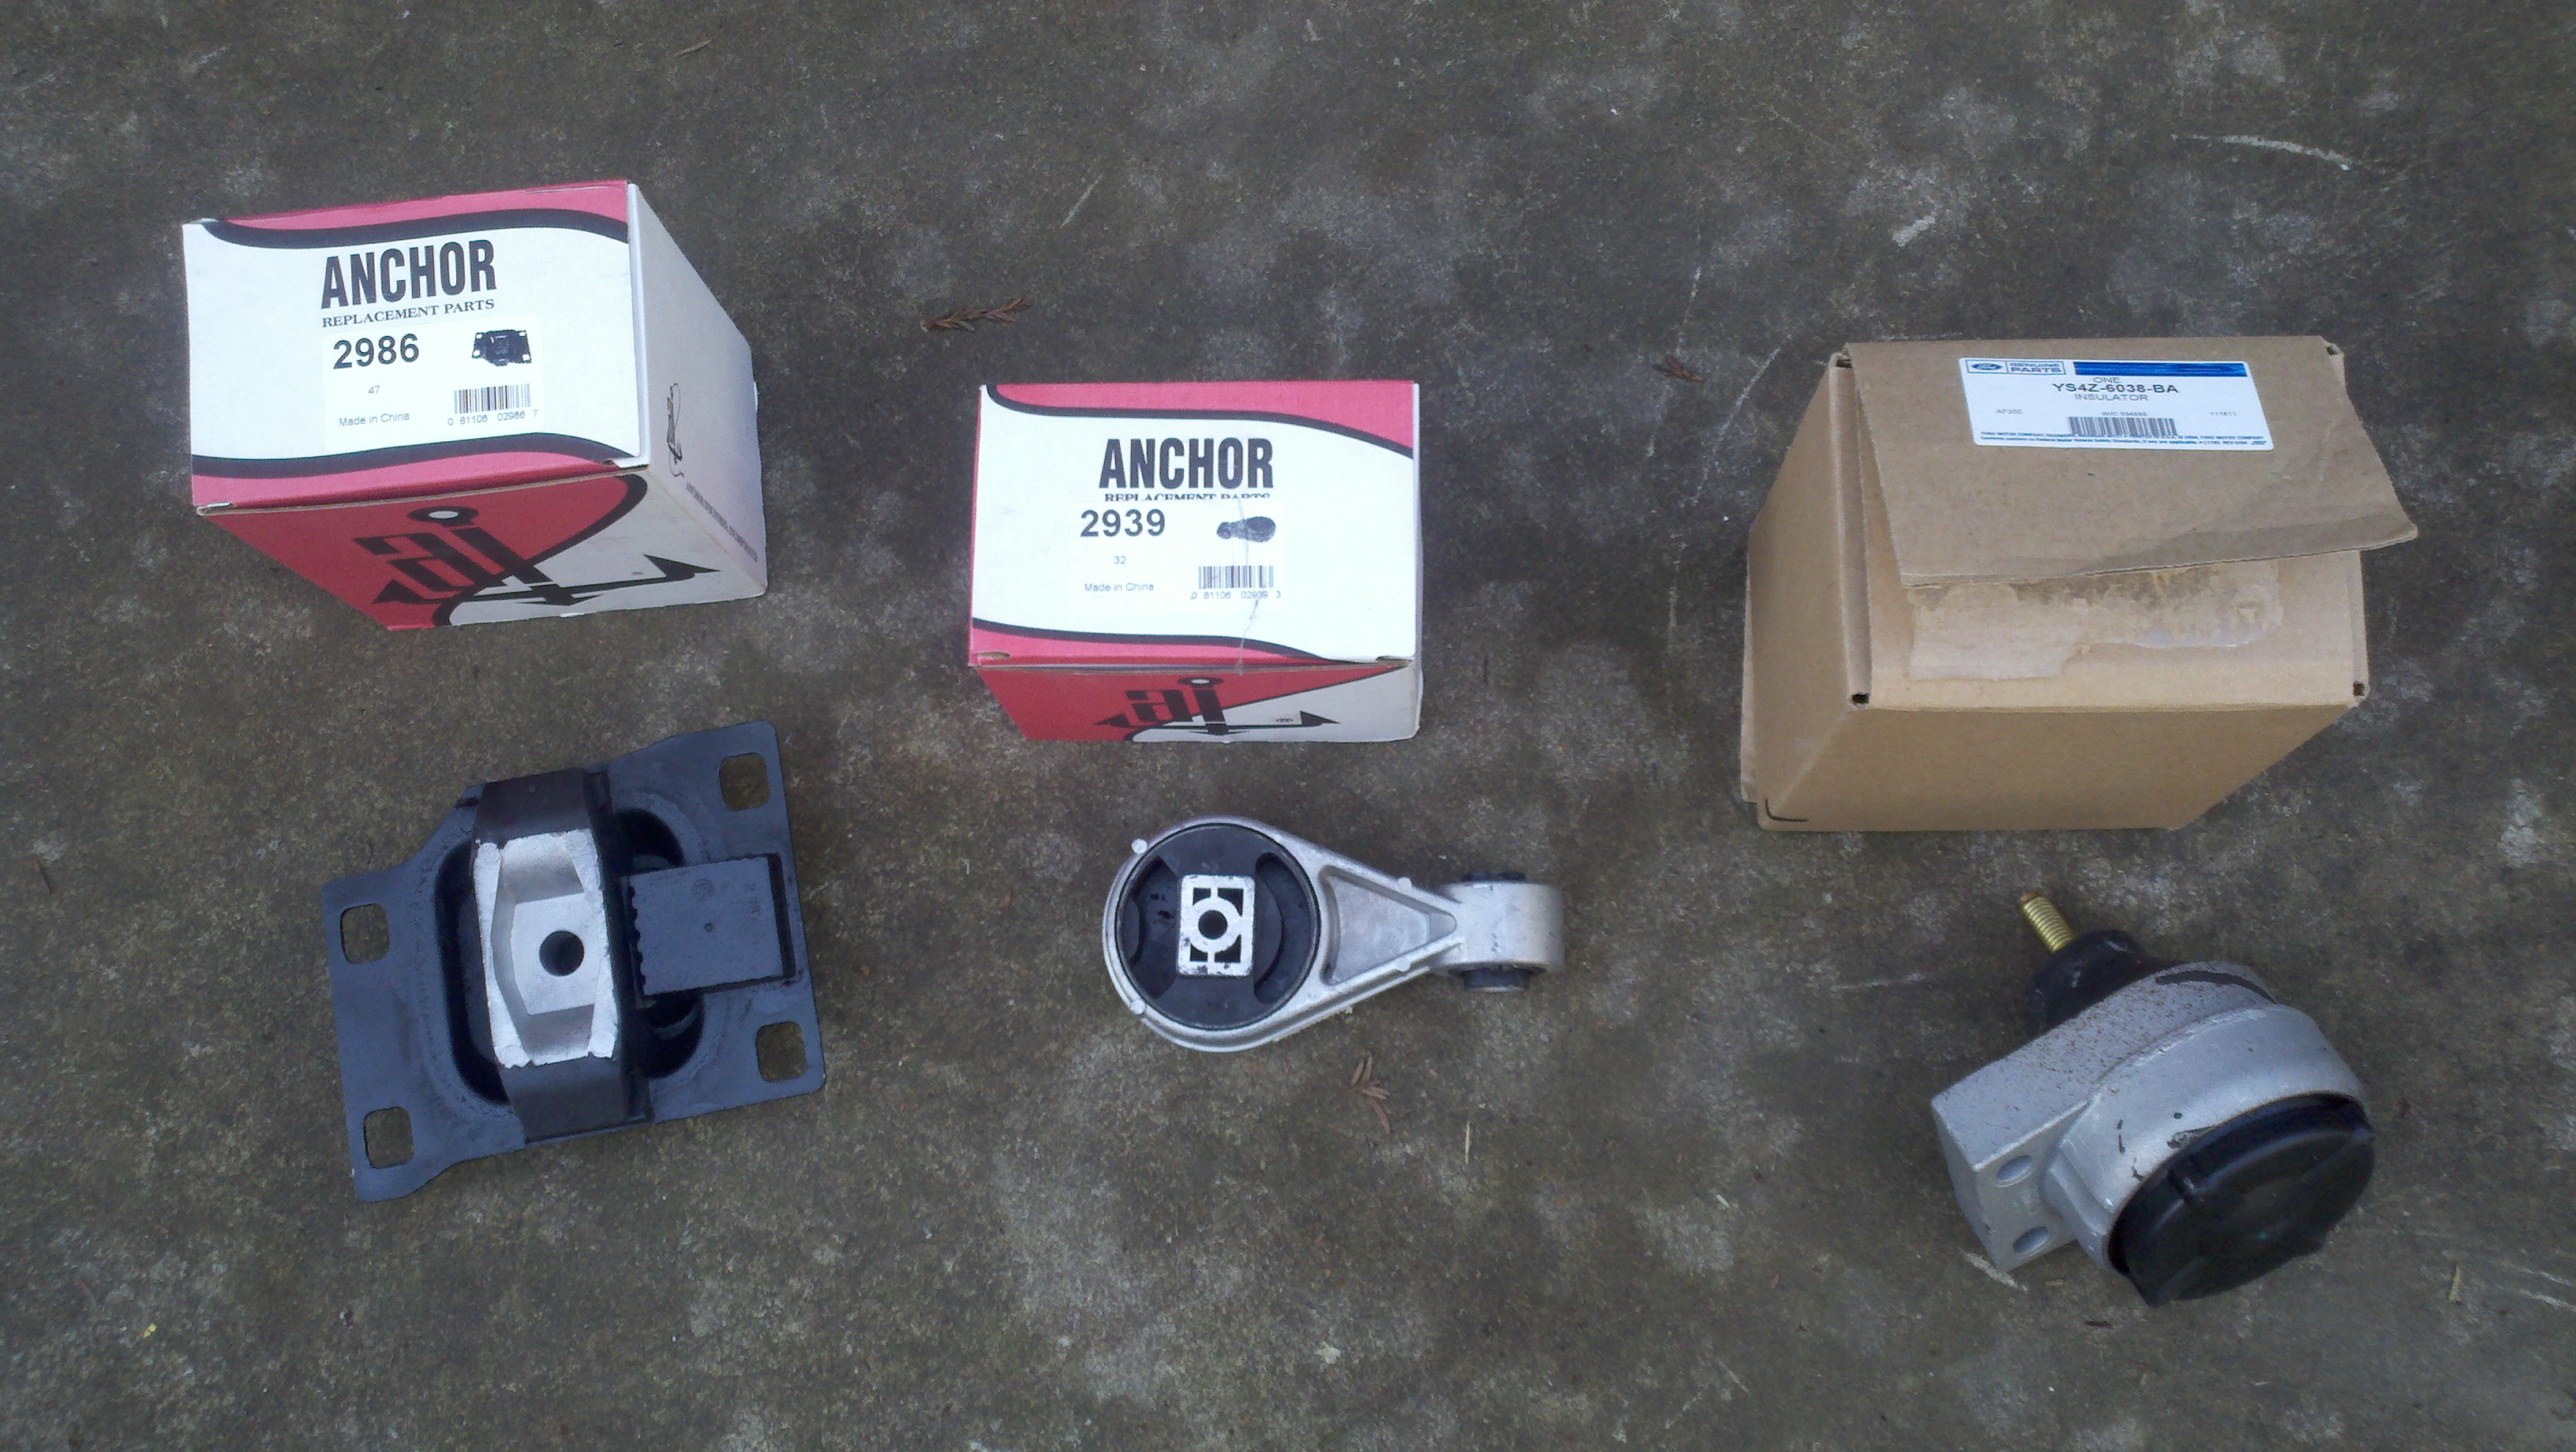
The 3 new mounts, the transmission mount, the dogbone mount and the
engine mount. I did the dogbone first, the transmission, then finally
the passenger mount
Figure 3
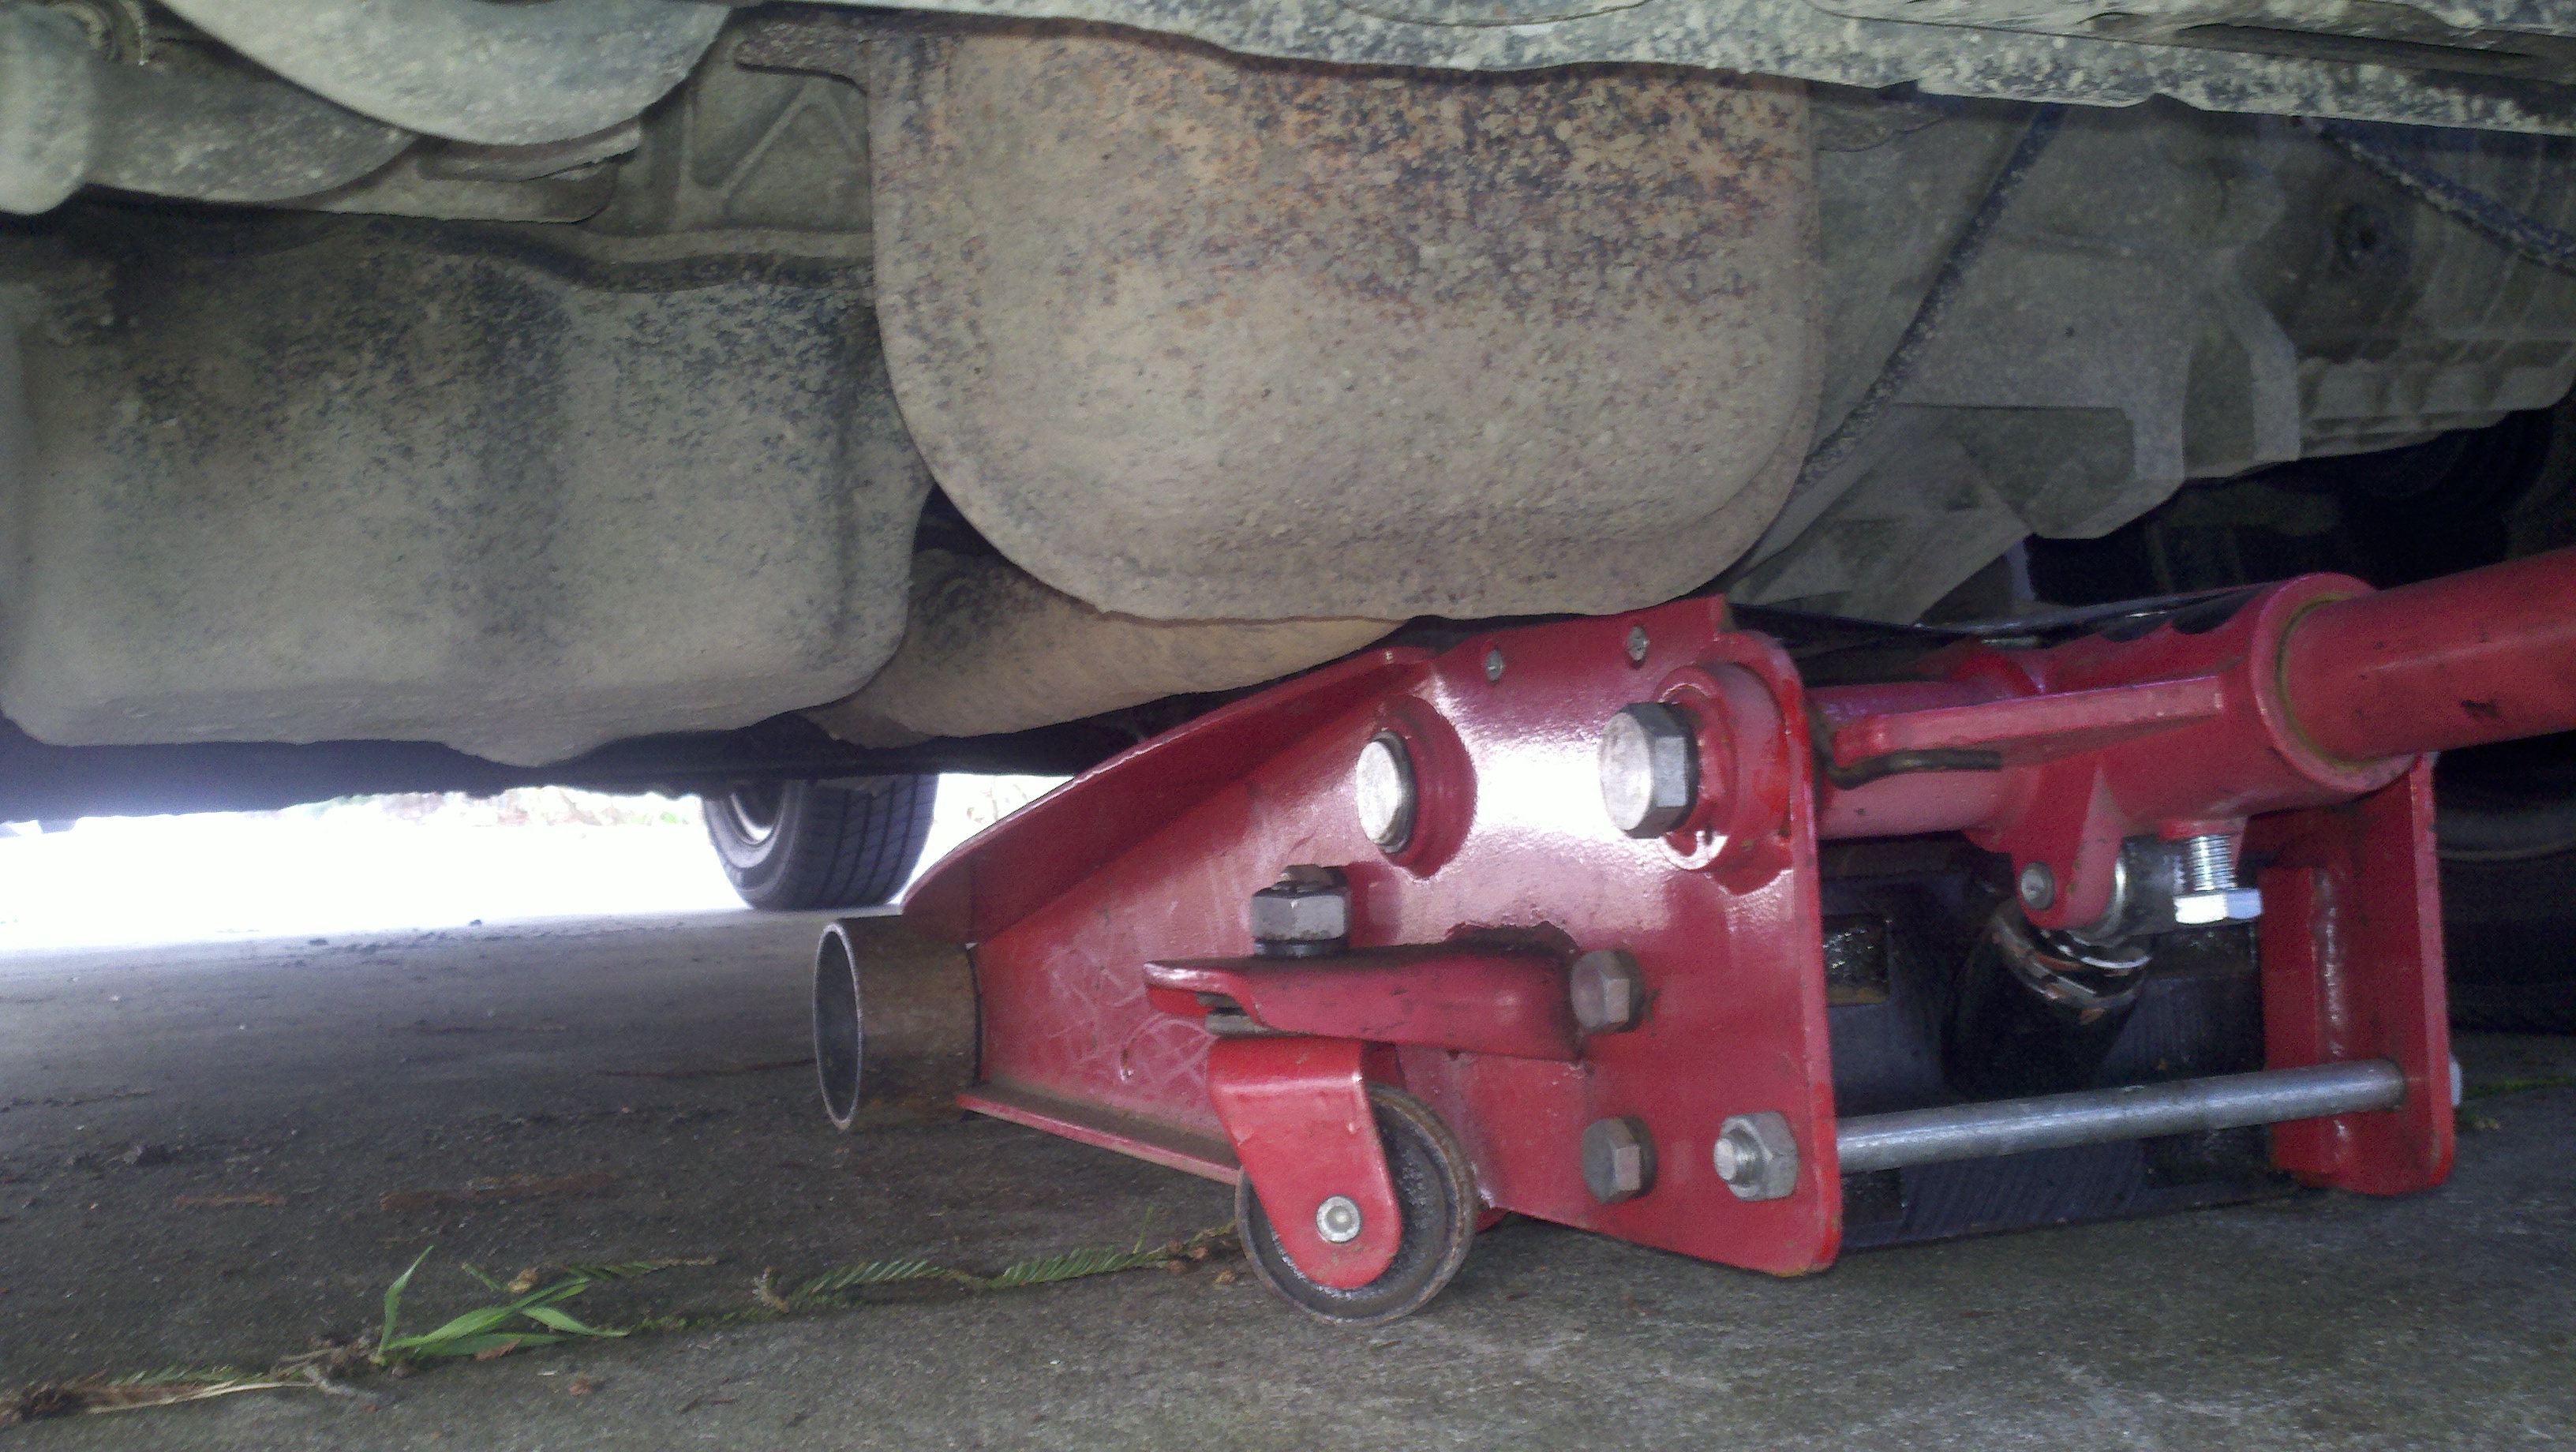
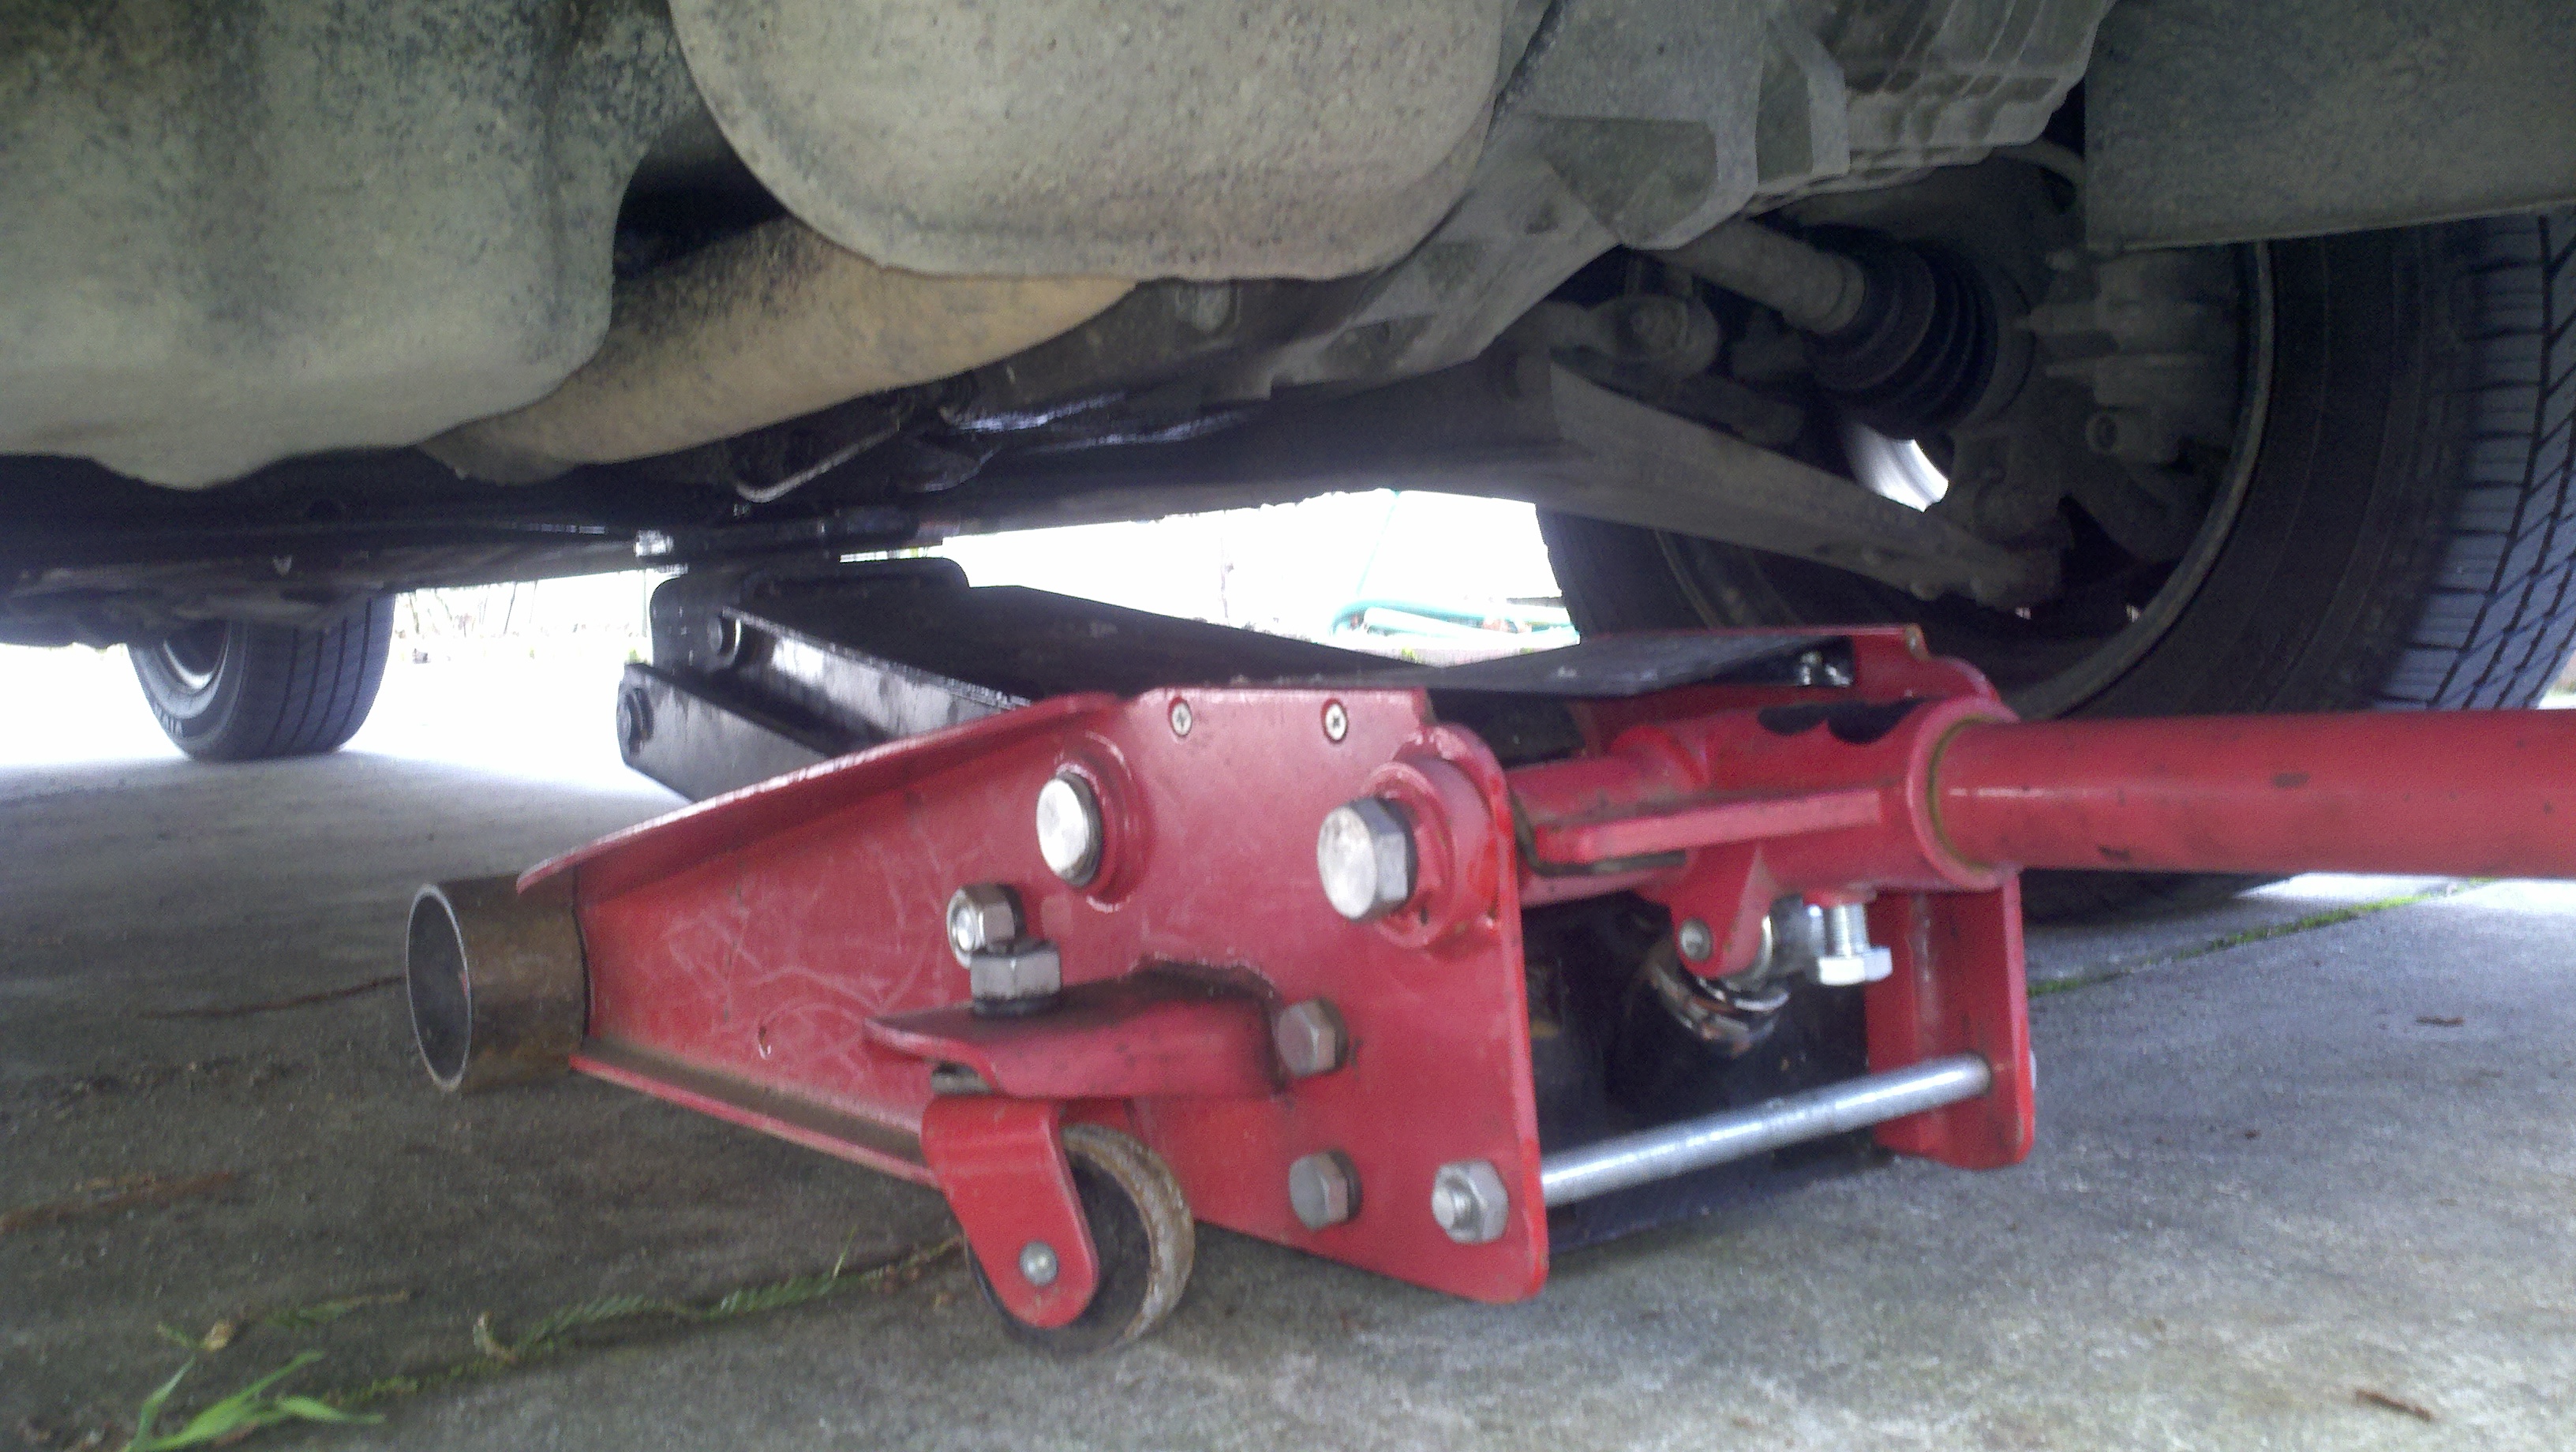
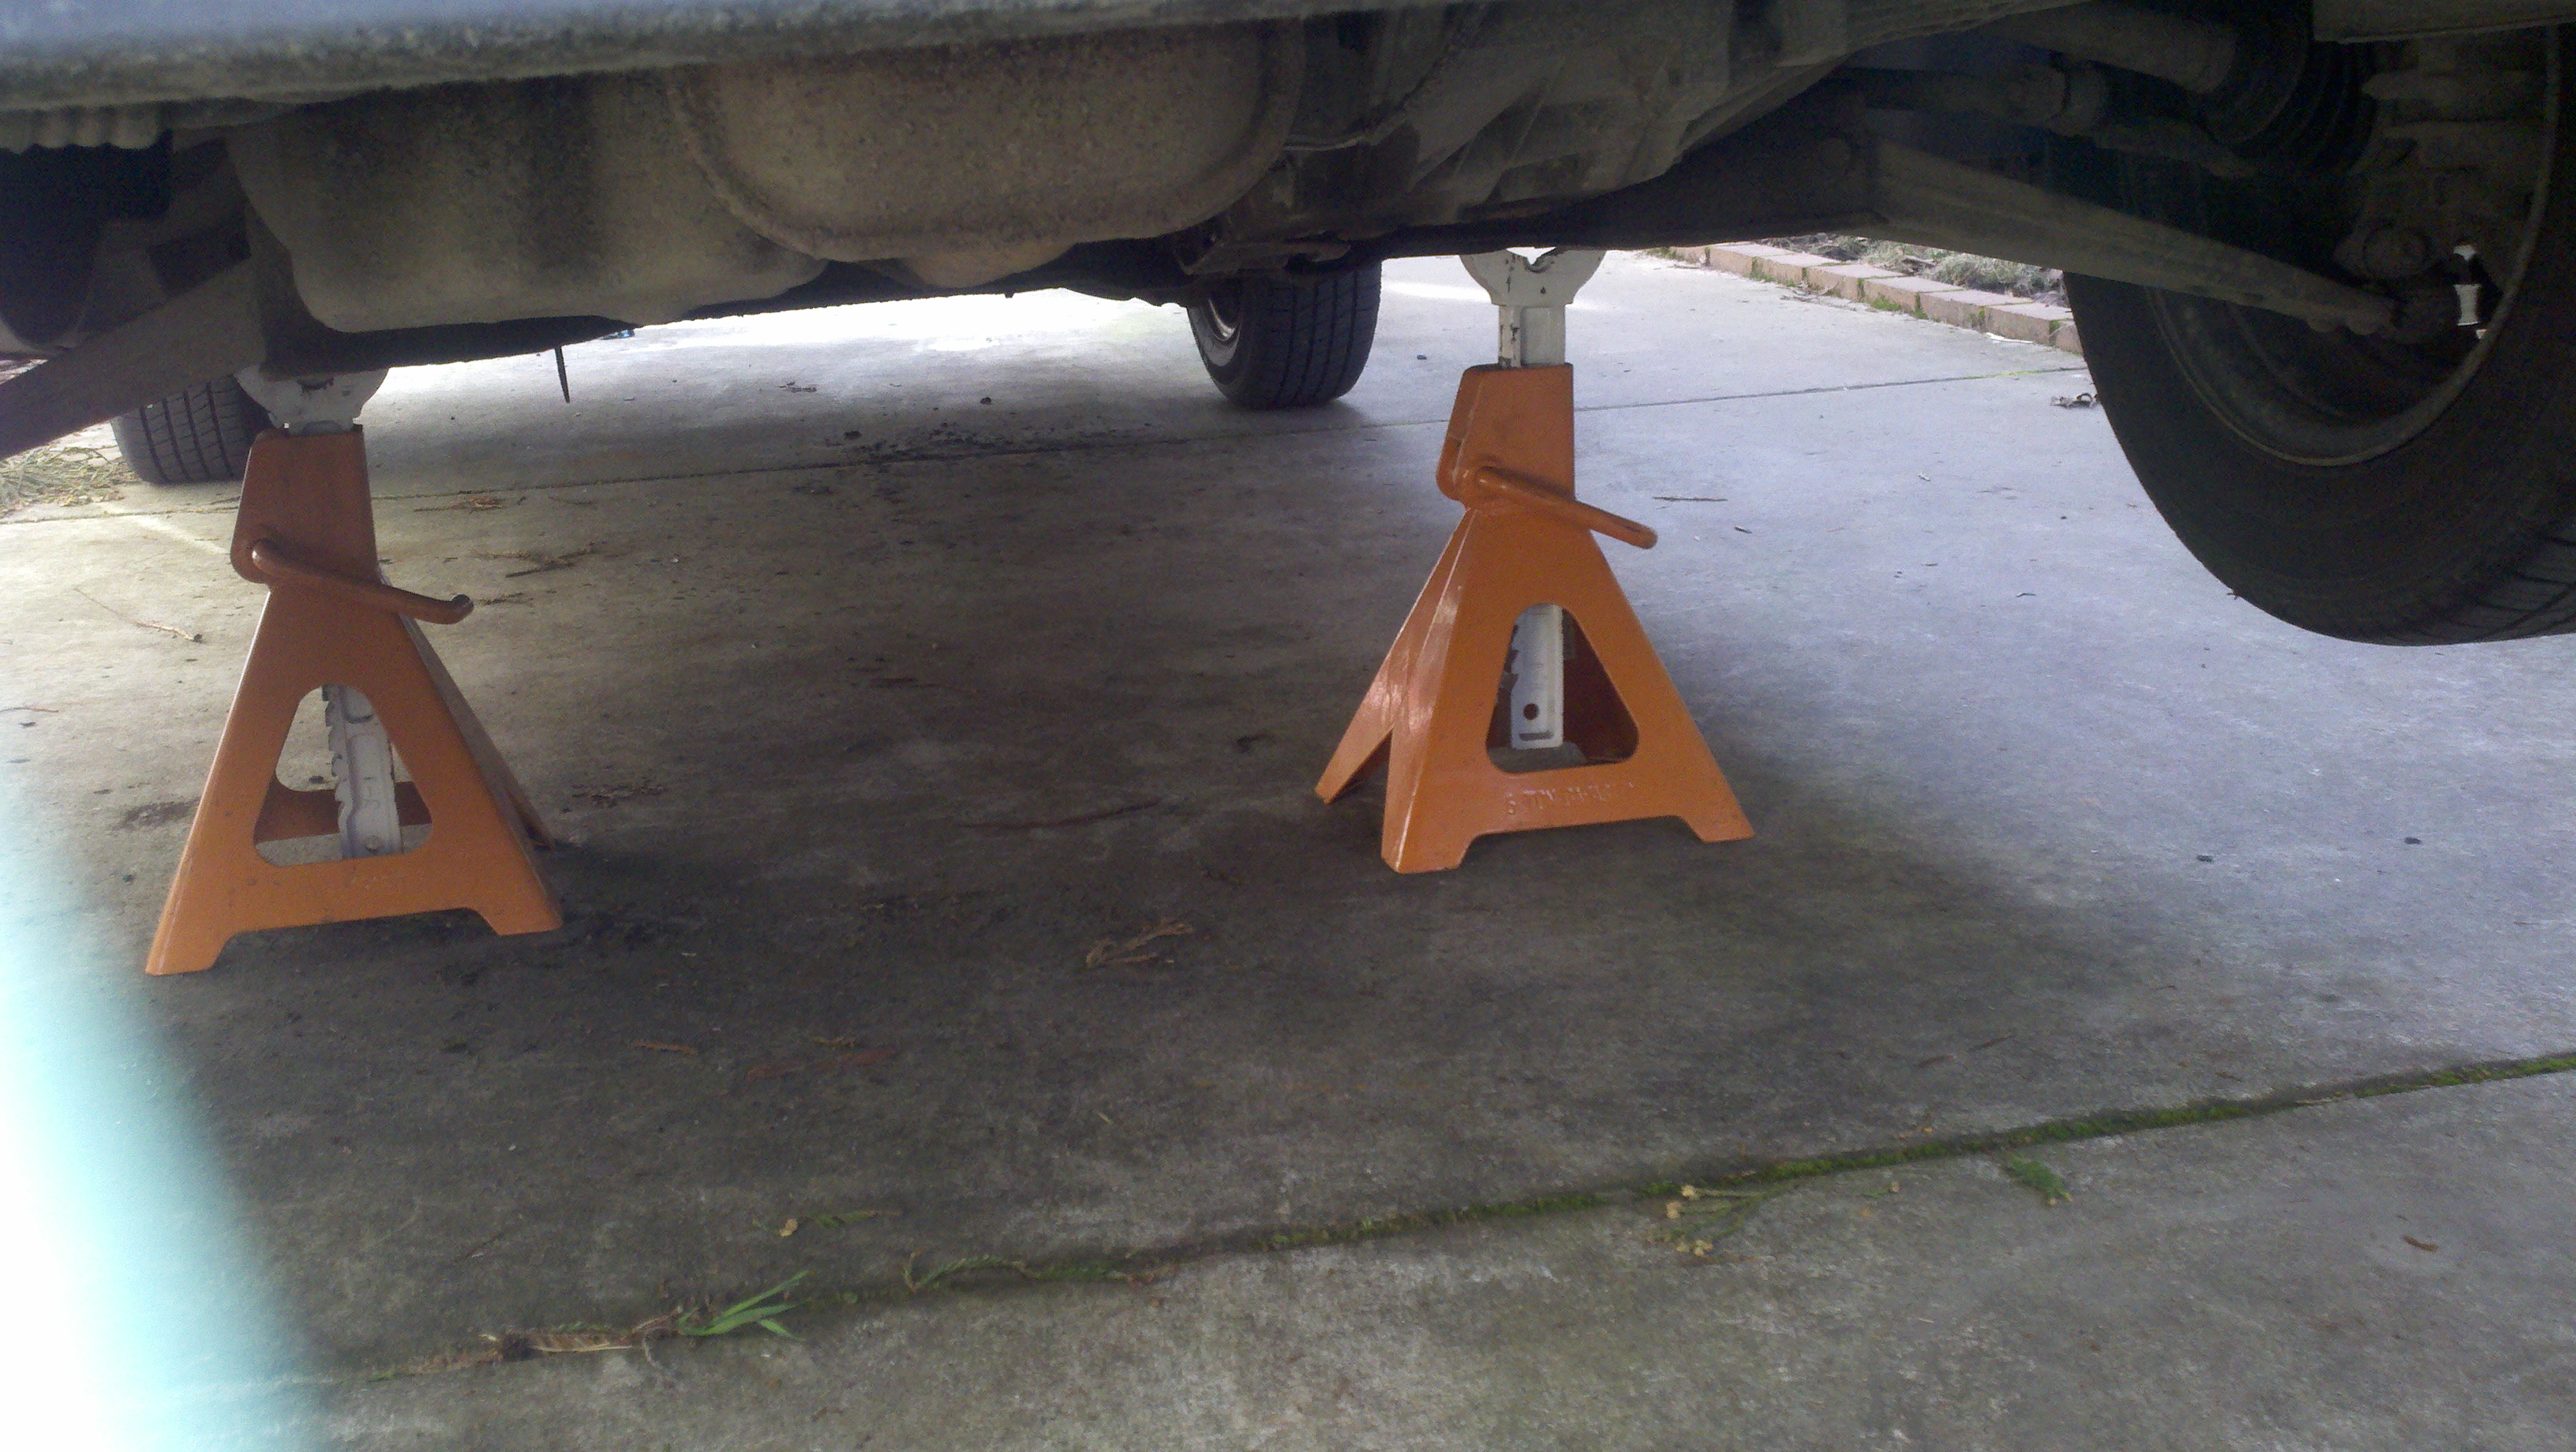
Lift the car and put it on jackstands
Figure 4
Figure 5
Figure 6
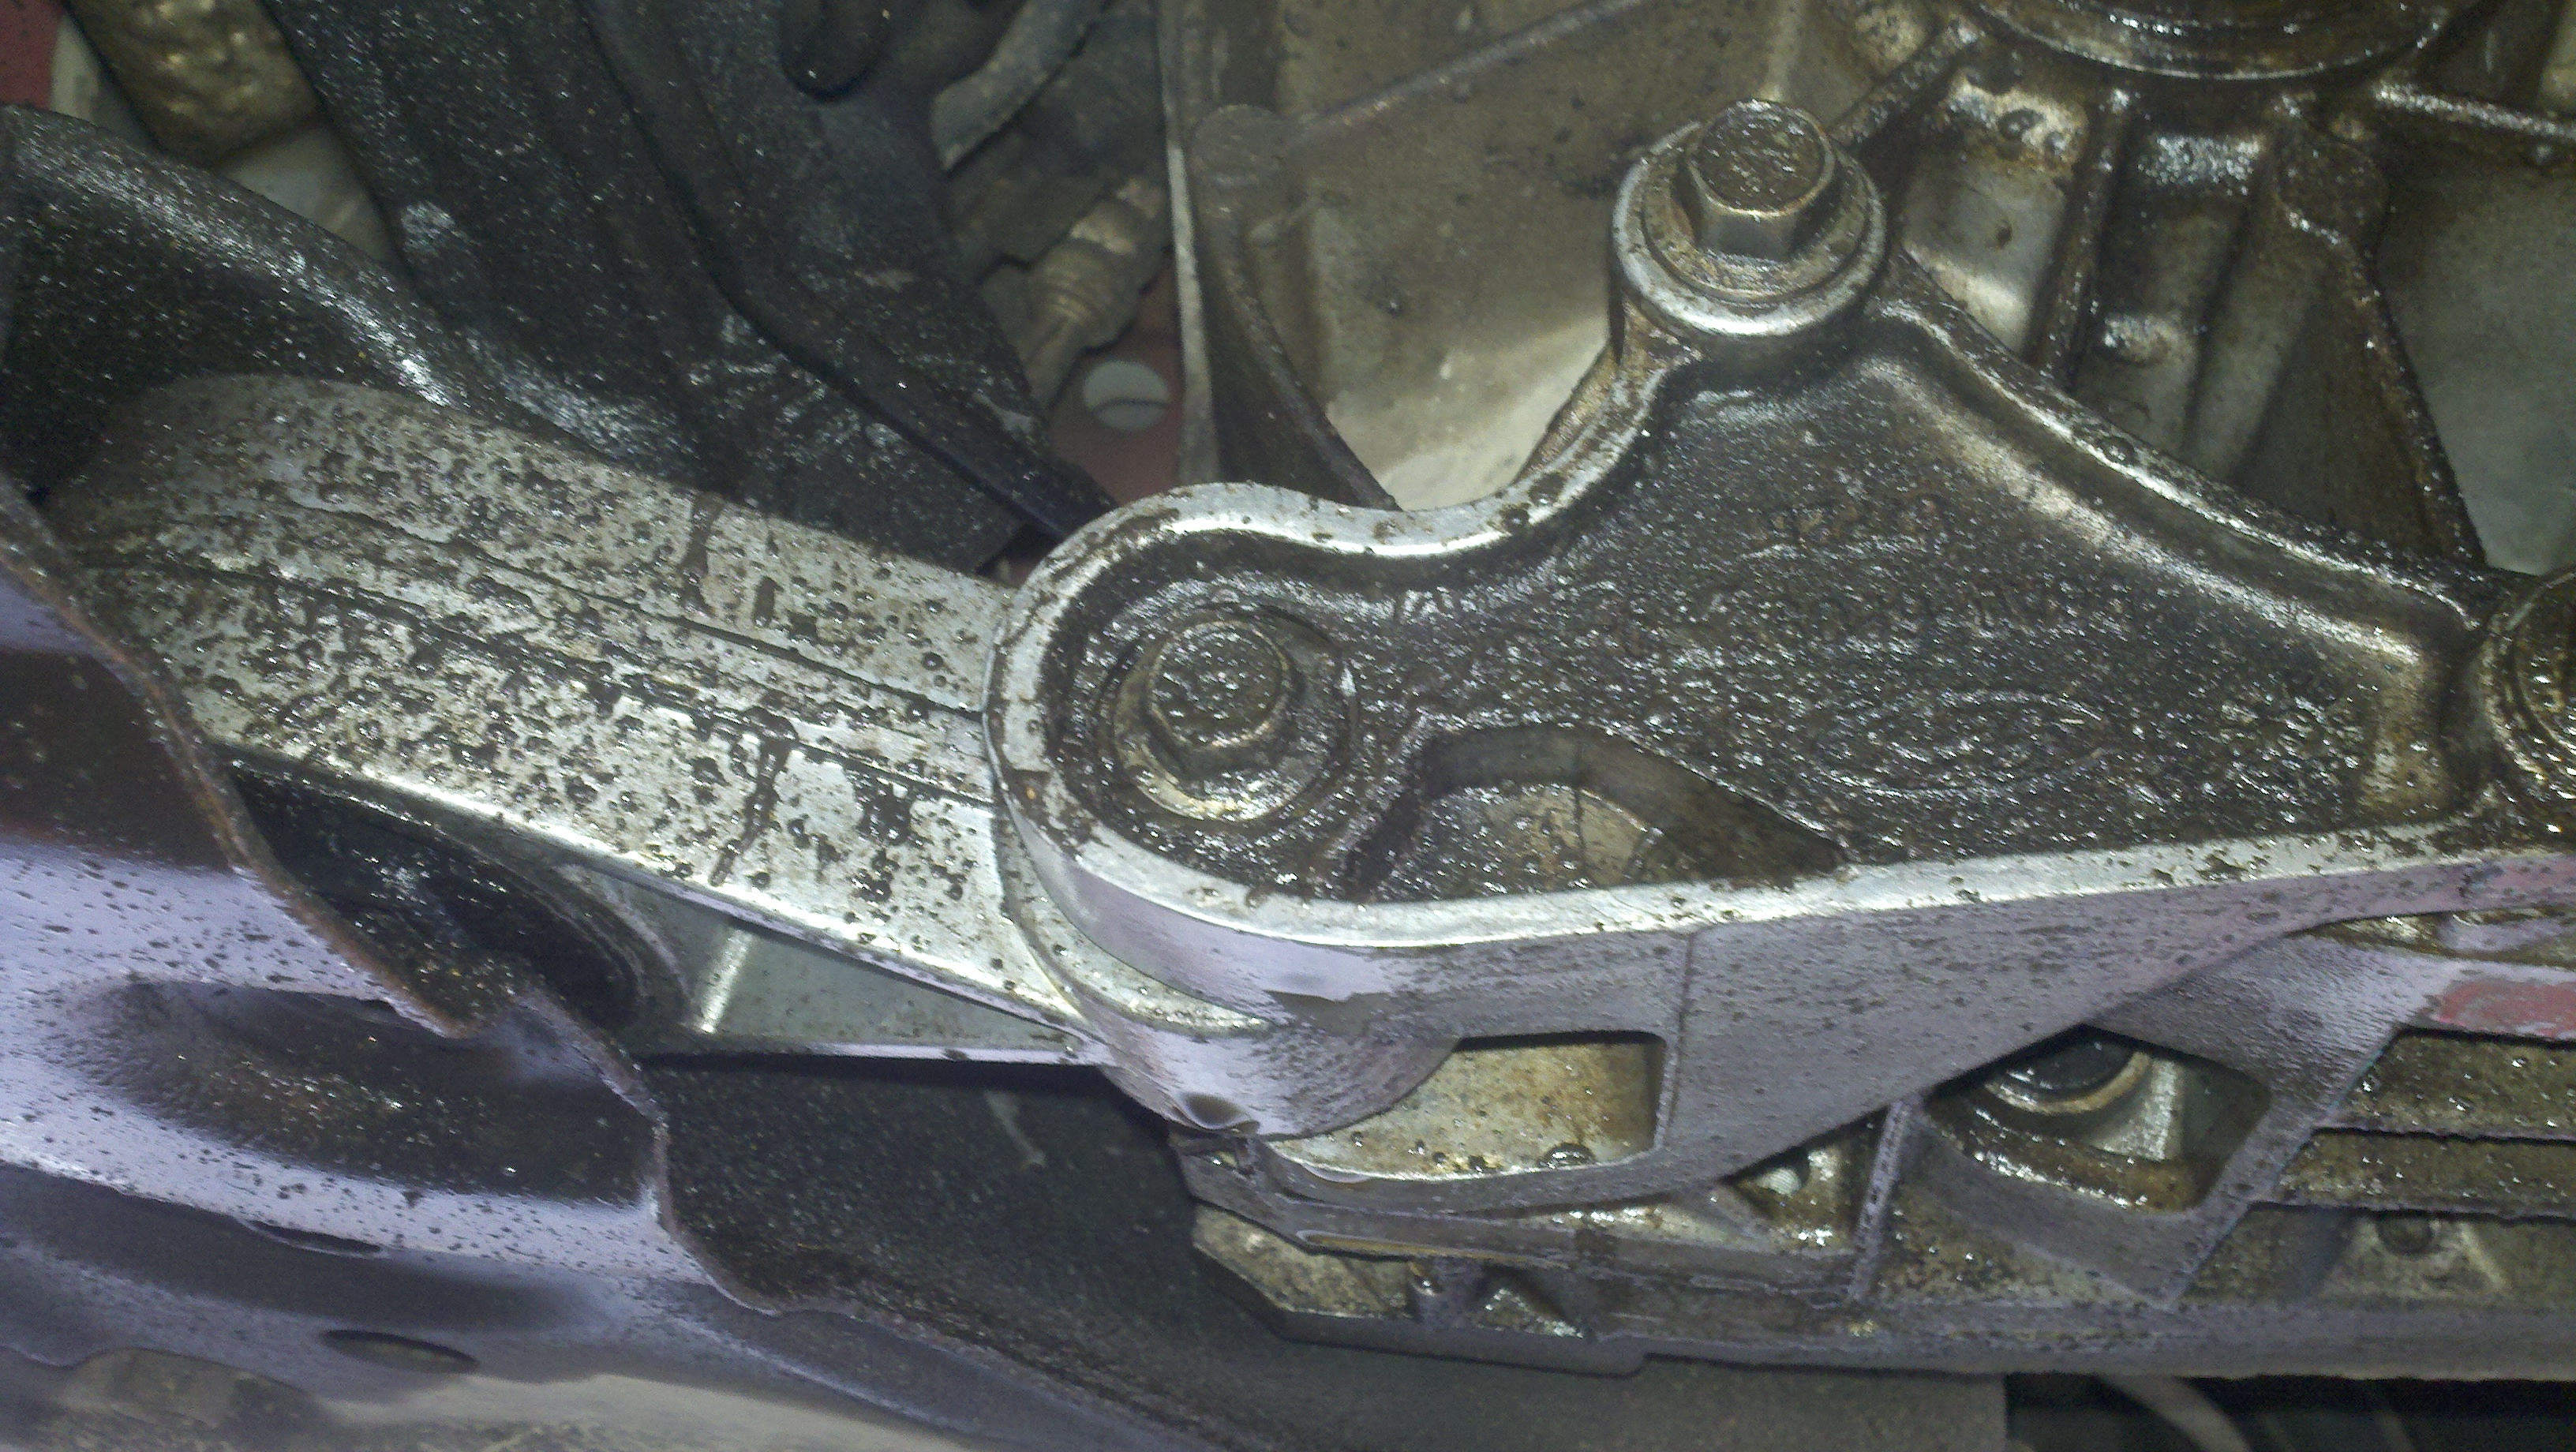
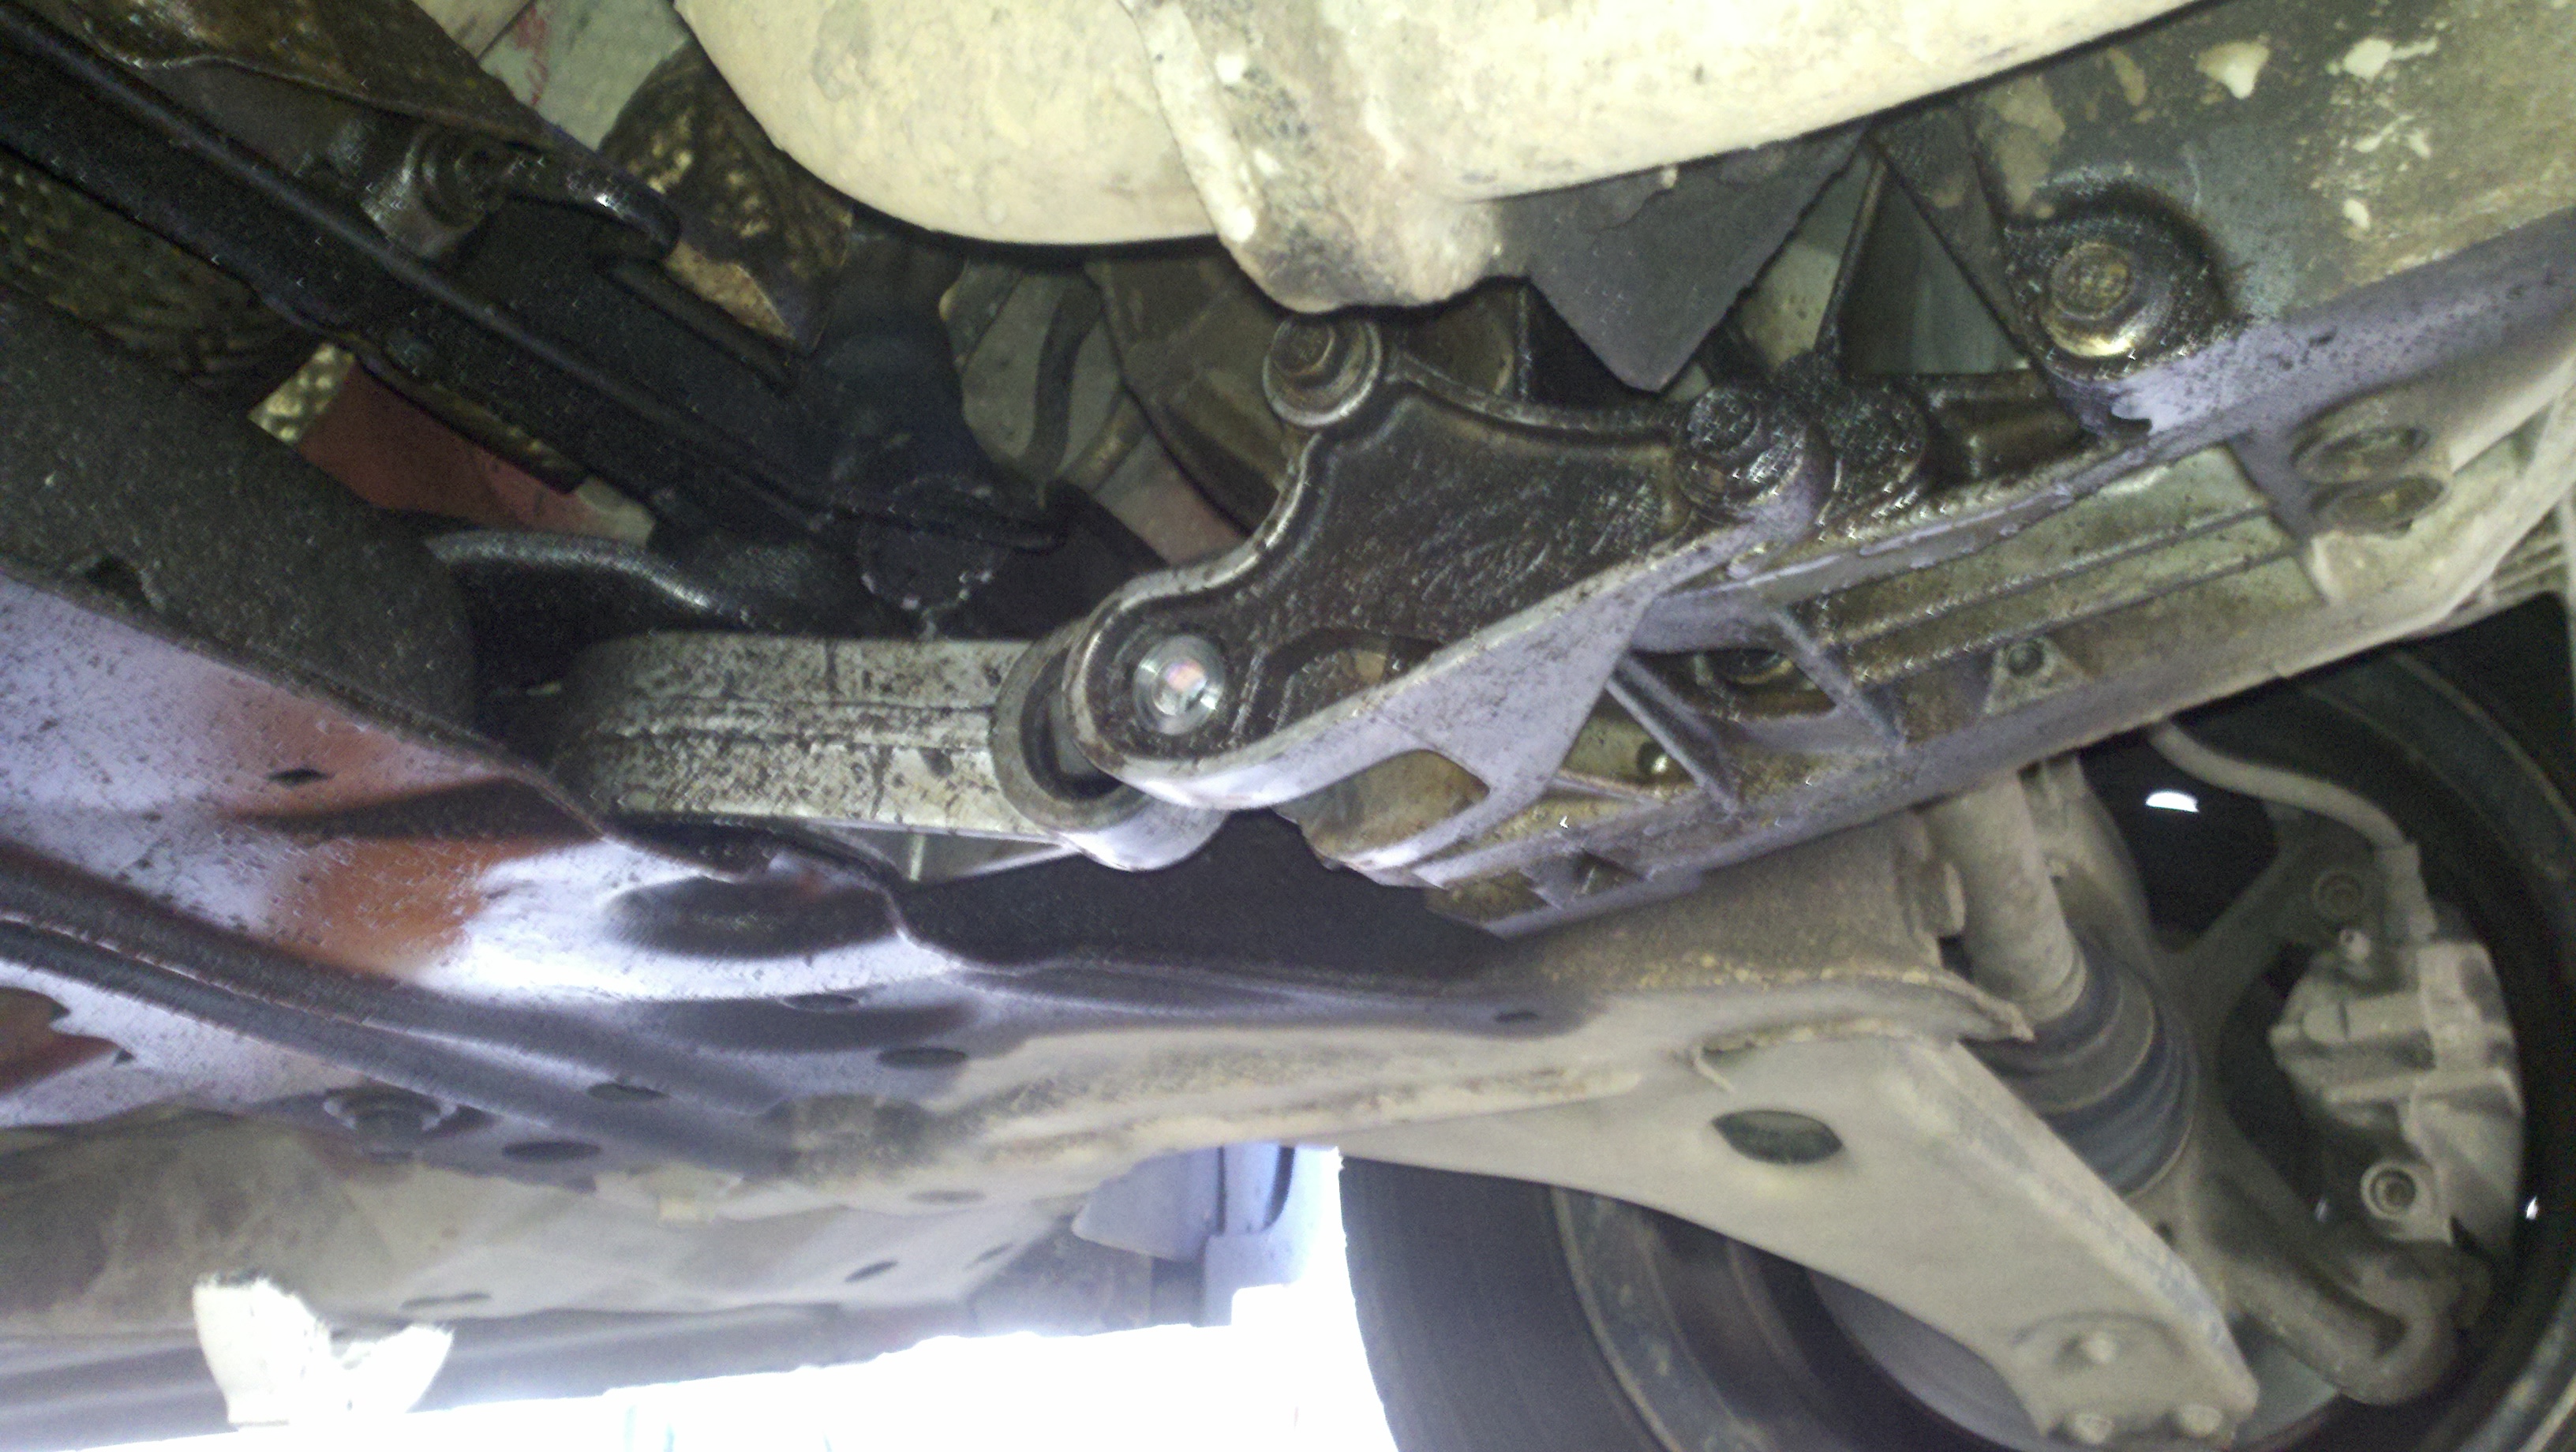
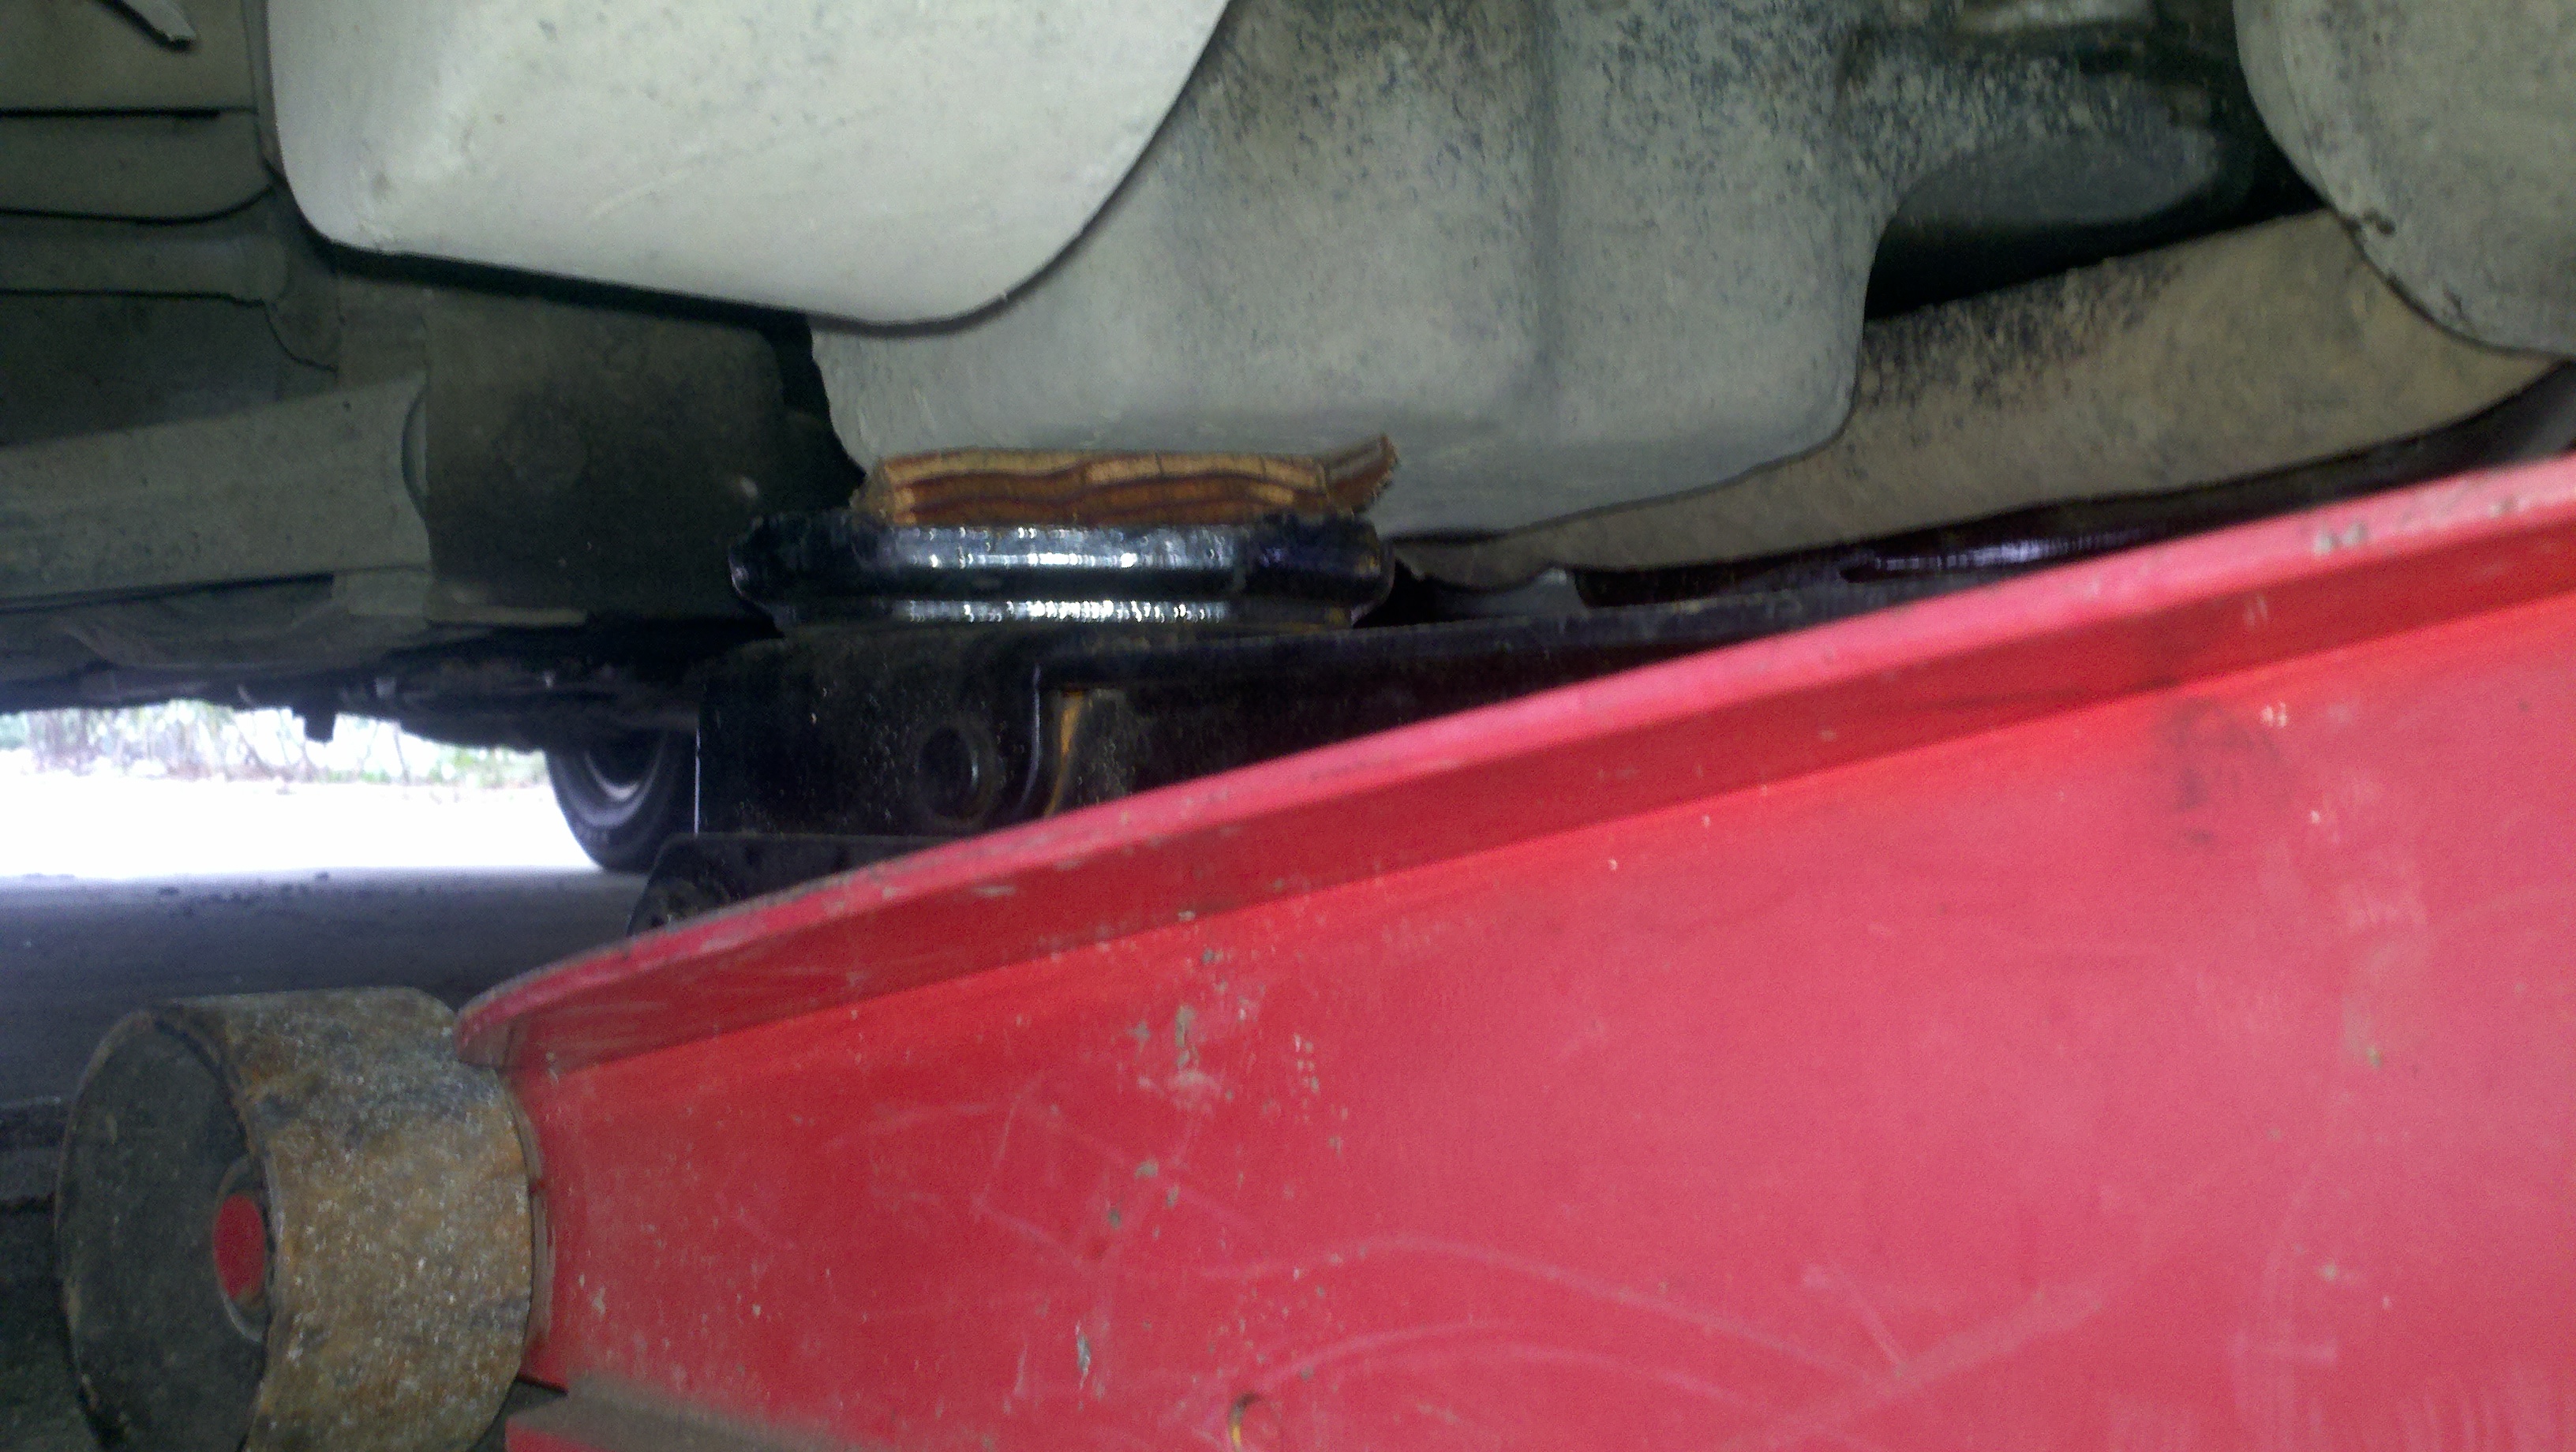
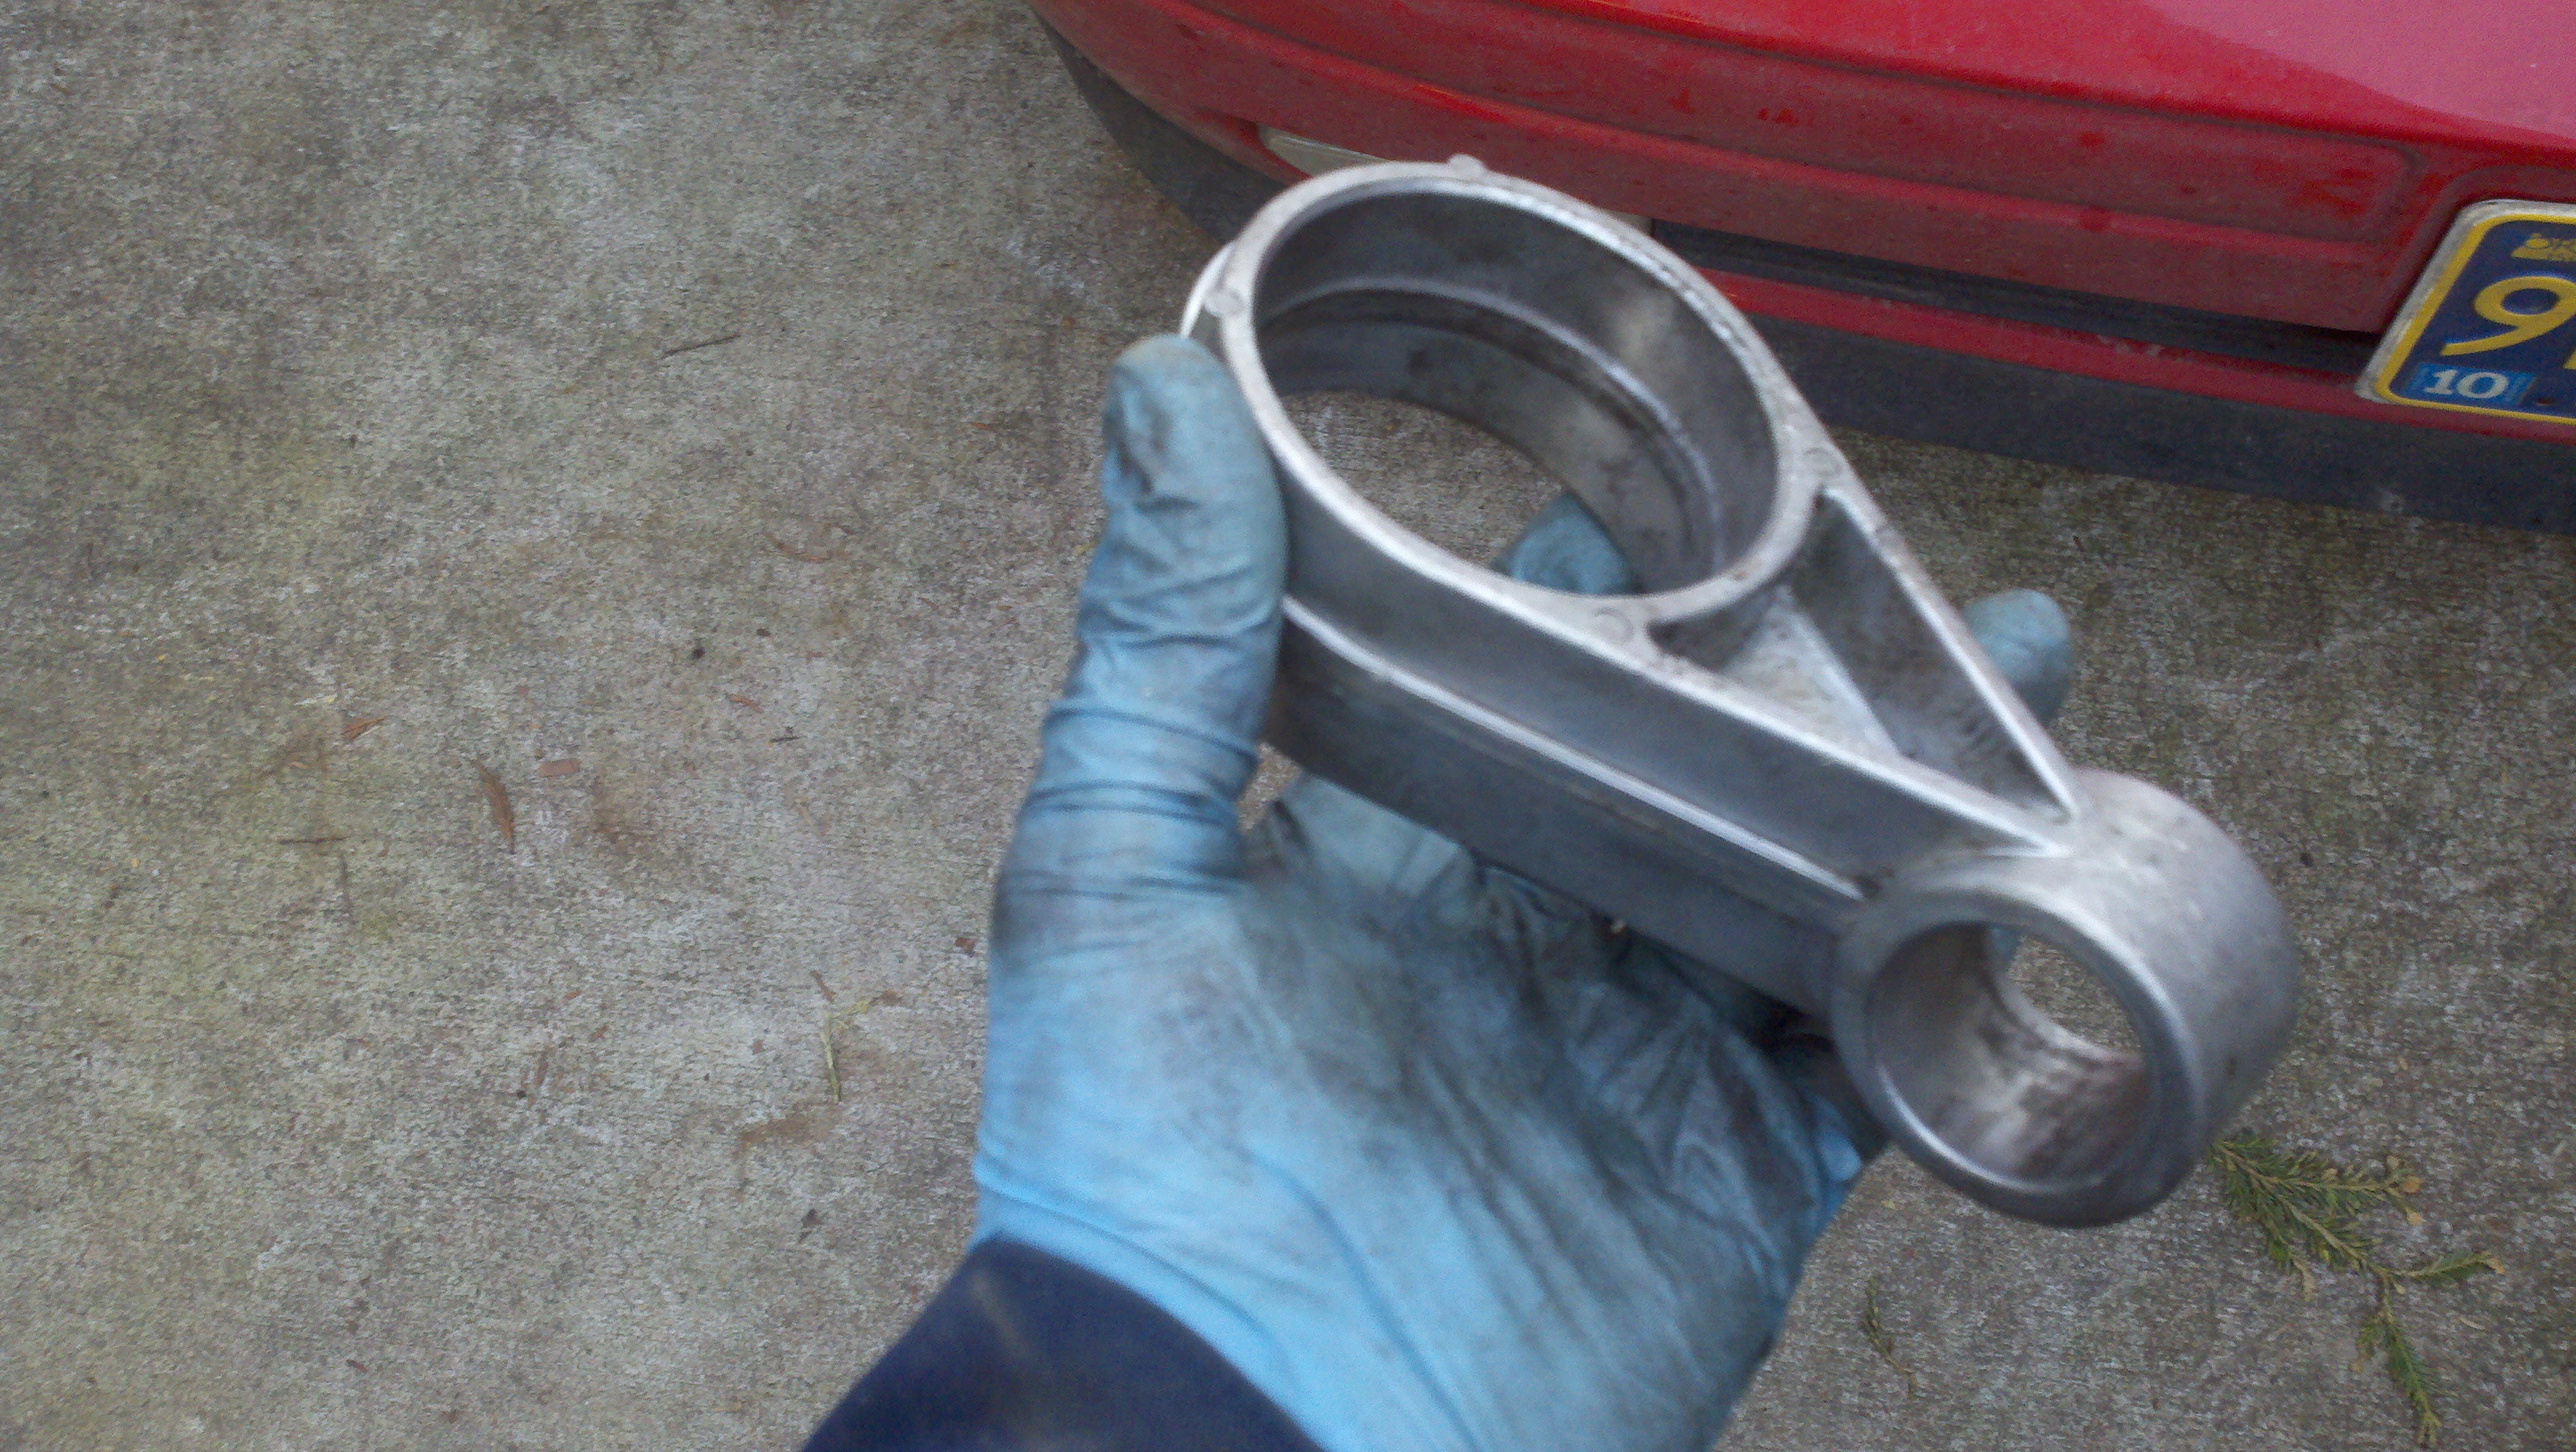
Inspect the dogbone mount (torque mount) for looseness. As you can see this one is
pretty well destroyed.
Bad Dogbone
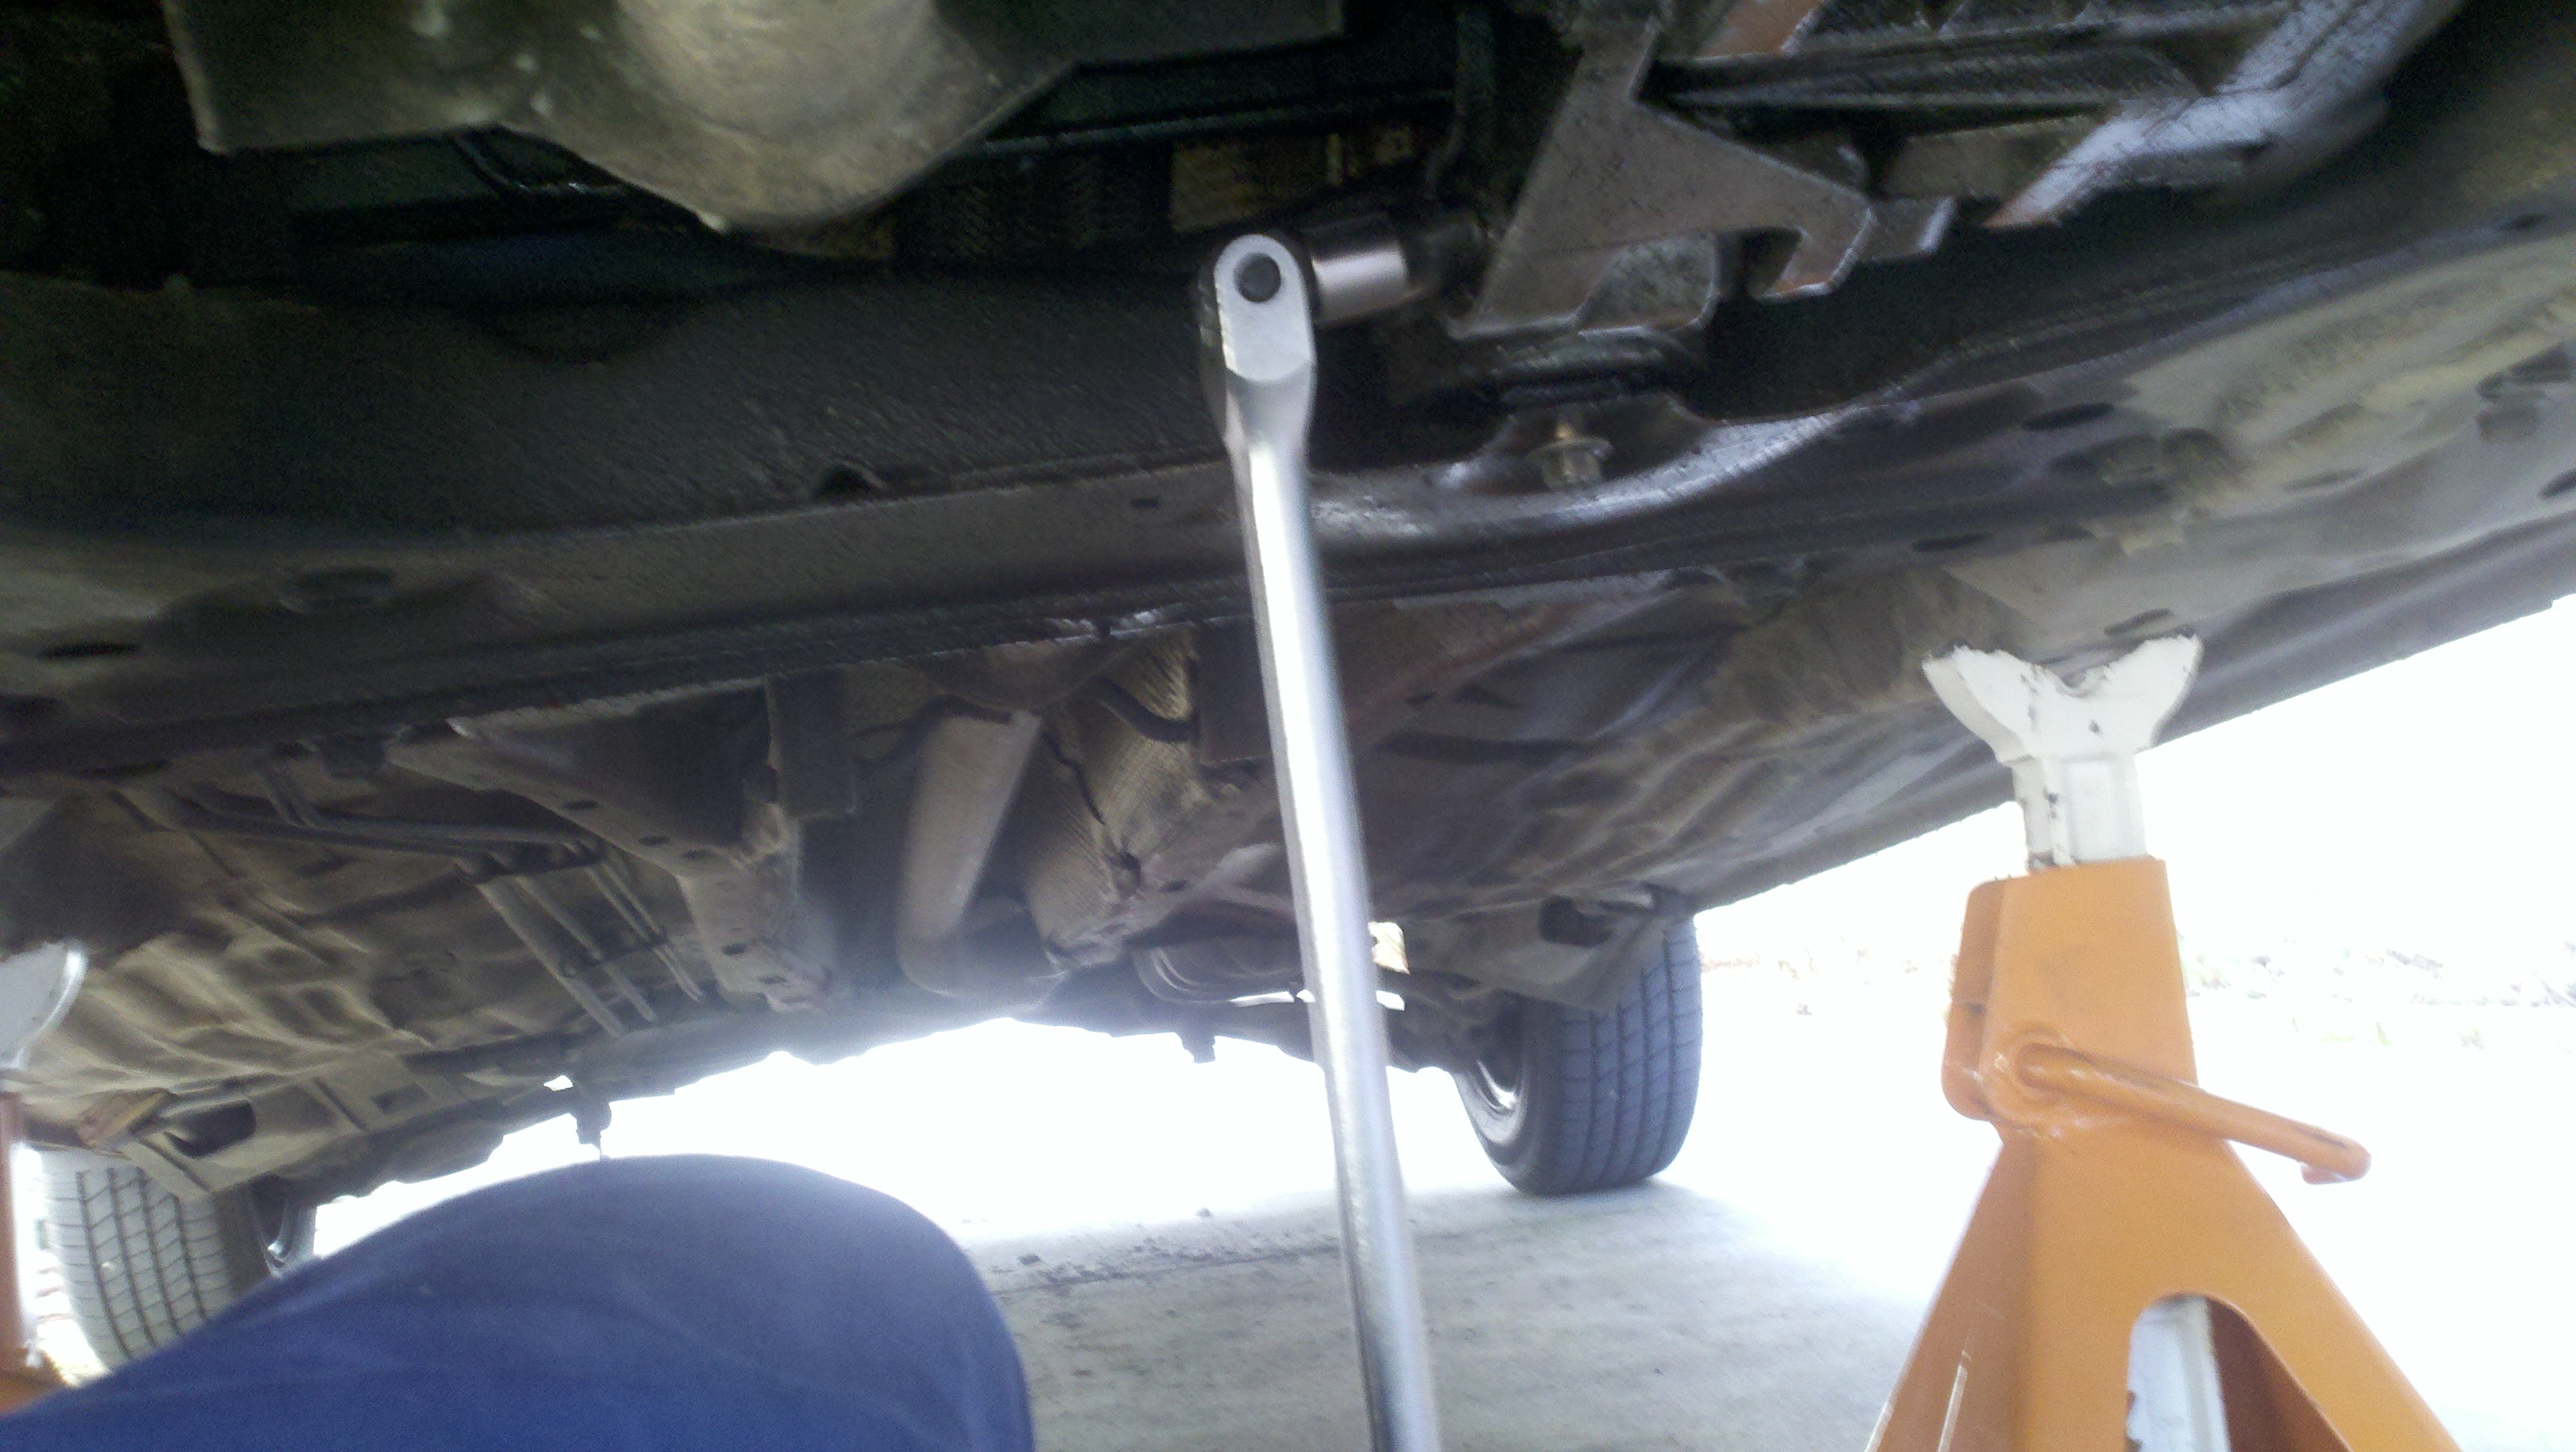
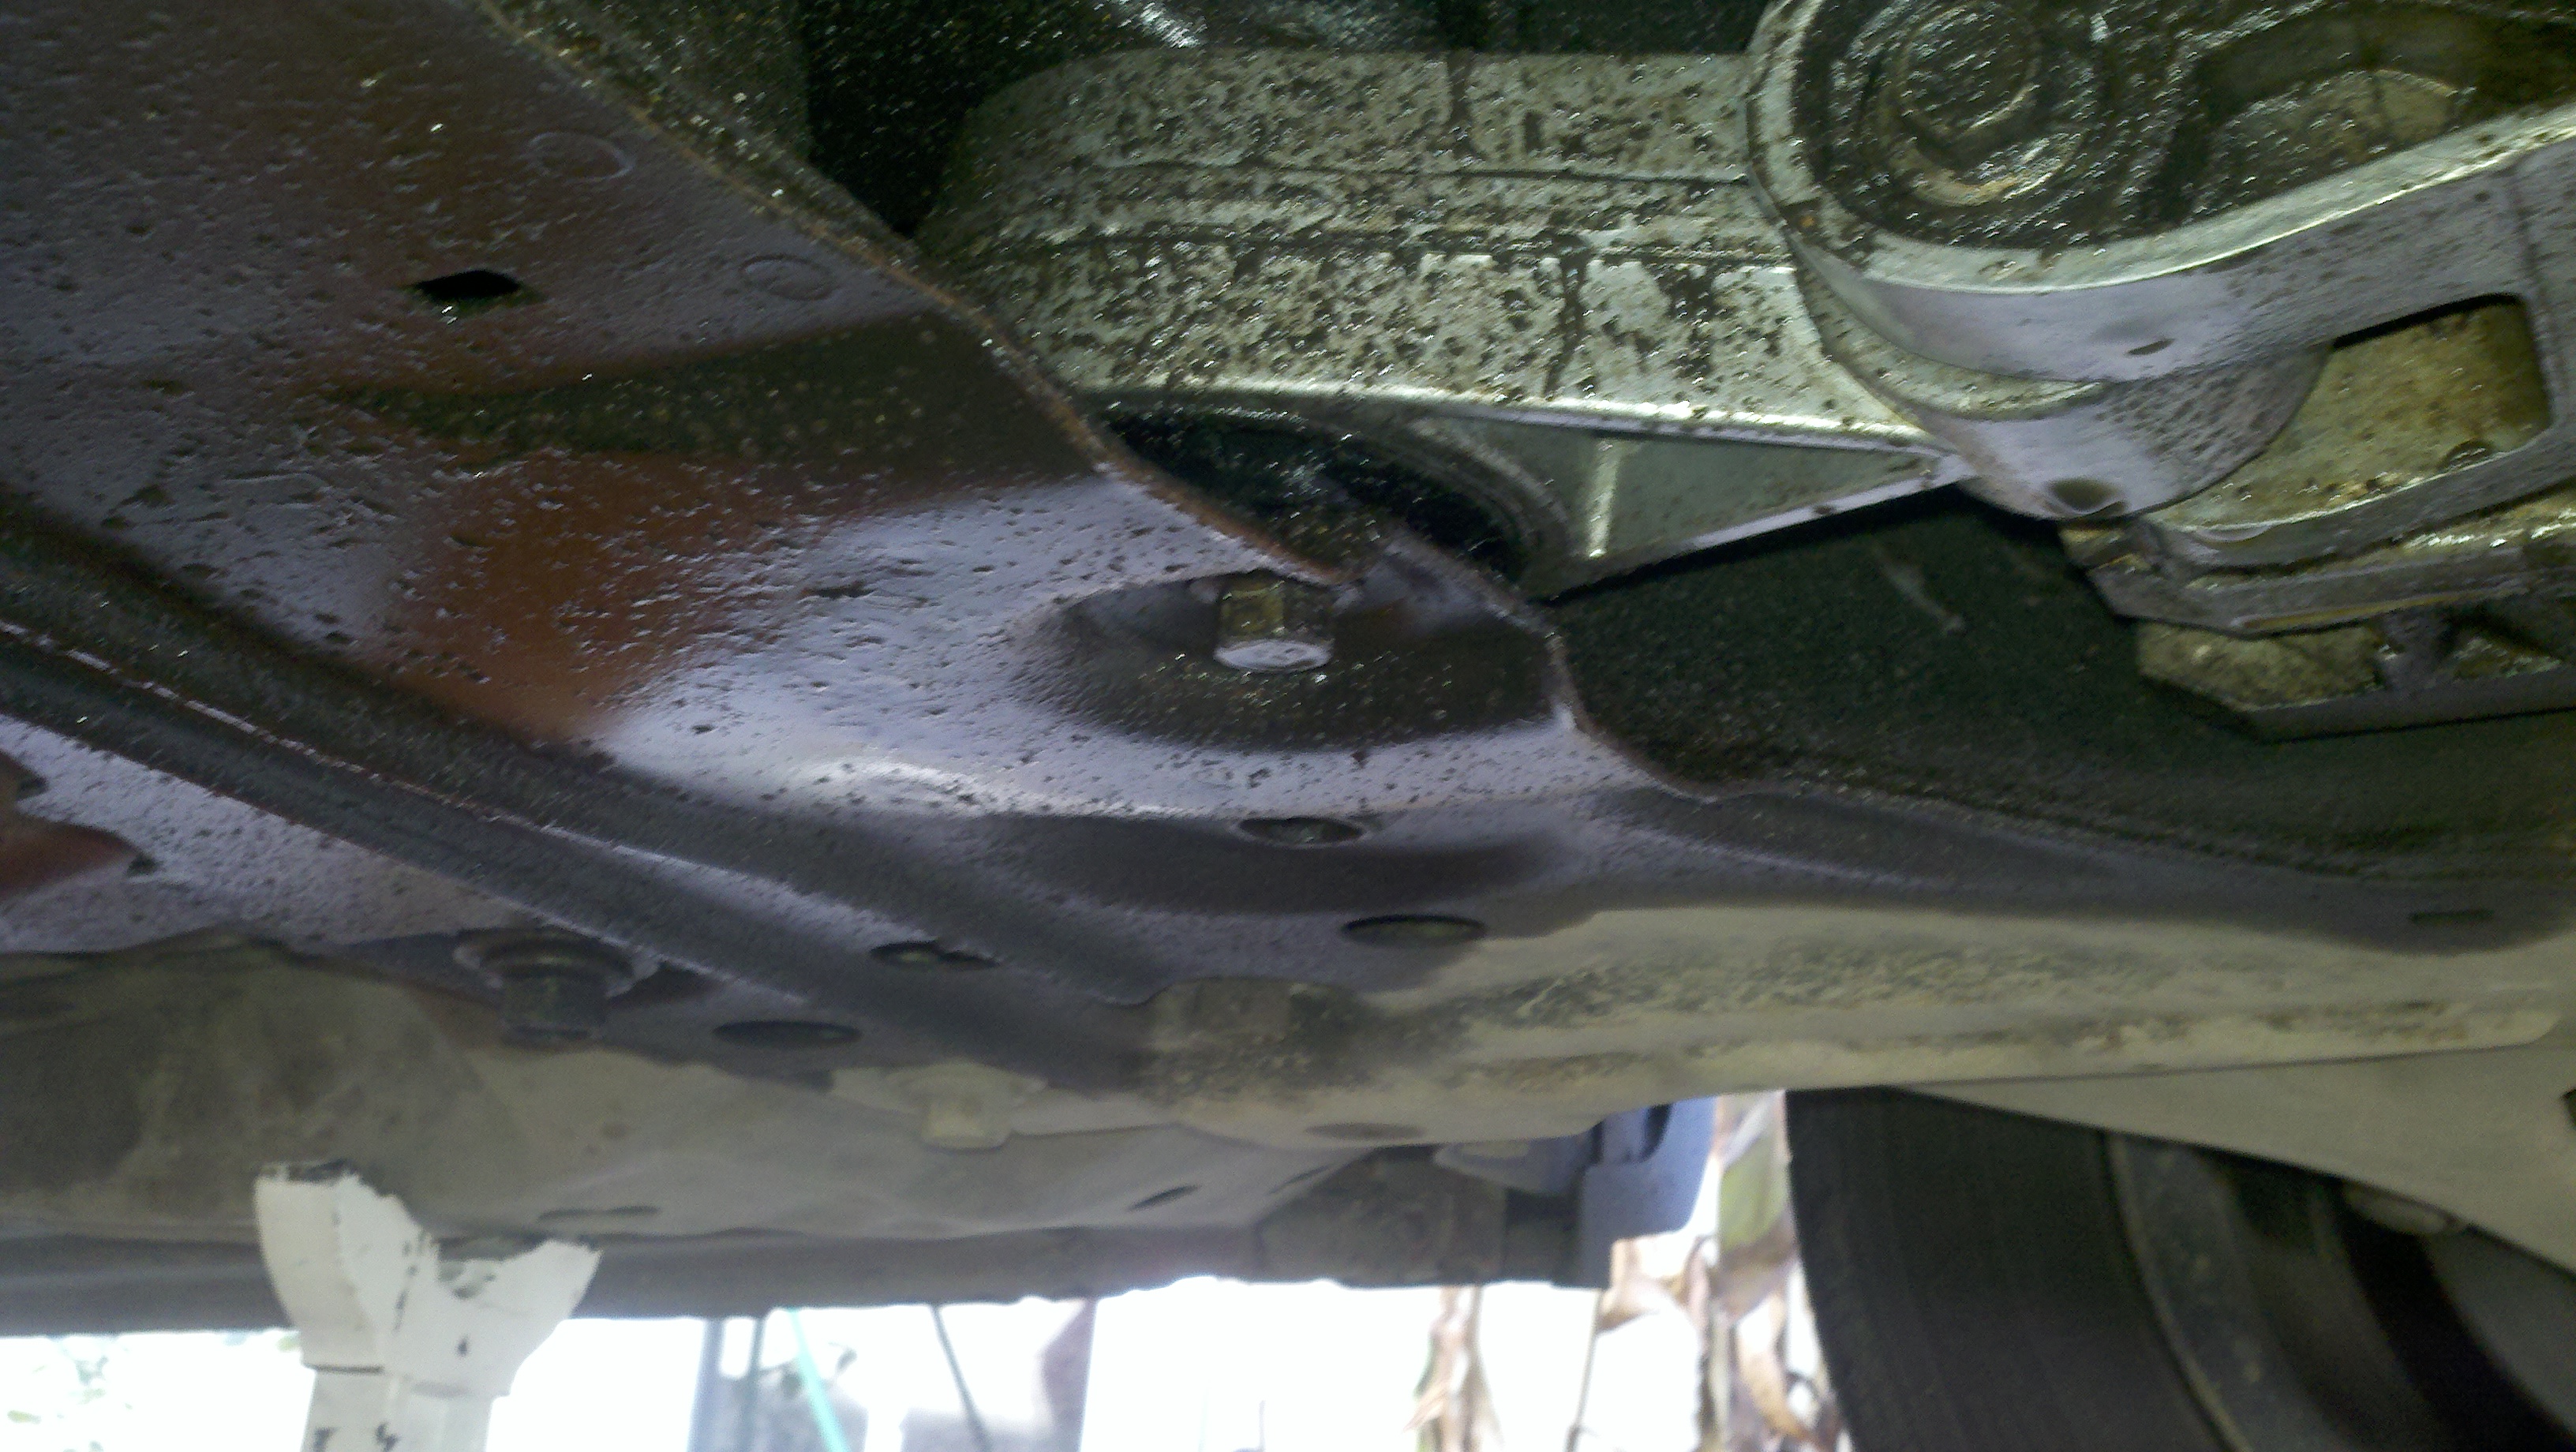
Remove the bolt on the small end of the dogbone first
Figure 7
Figure 8
Figure 9
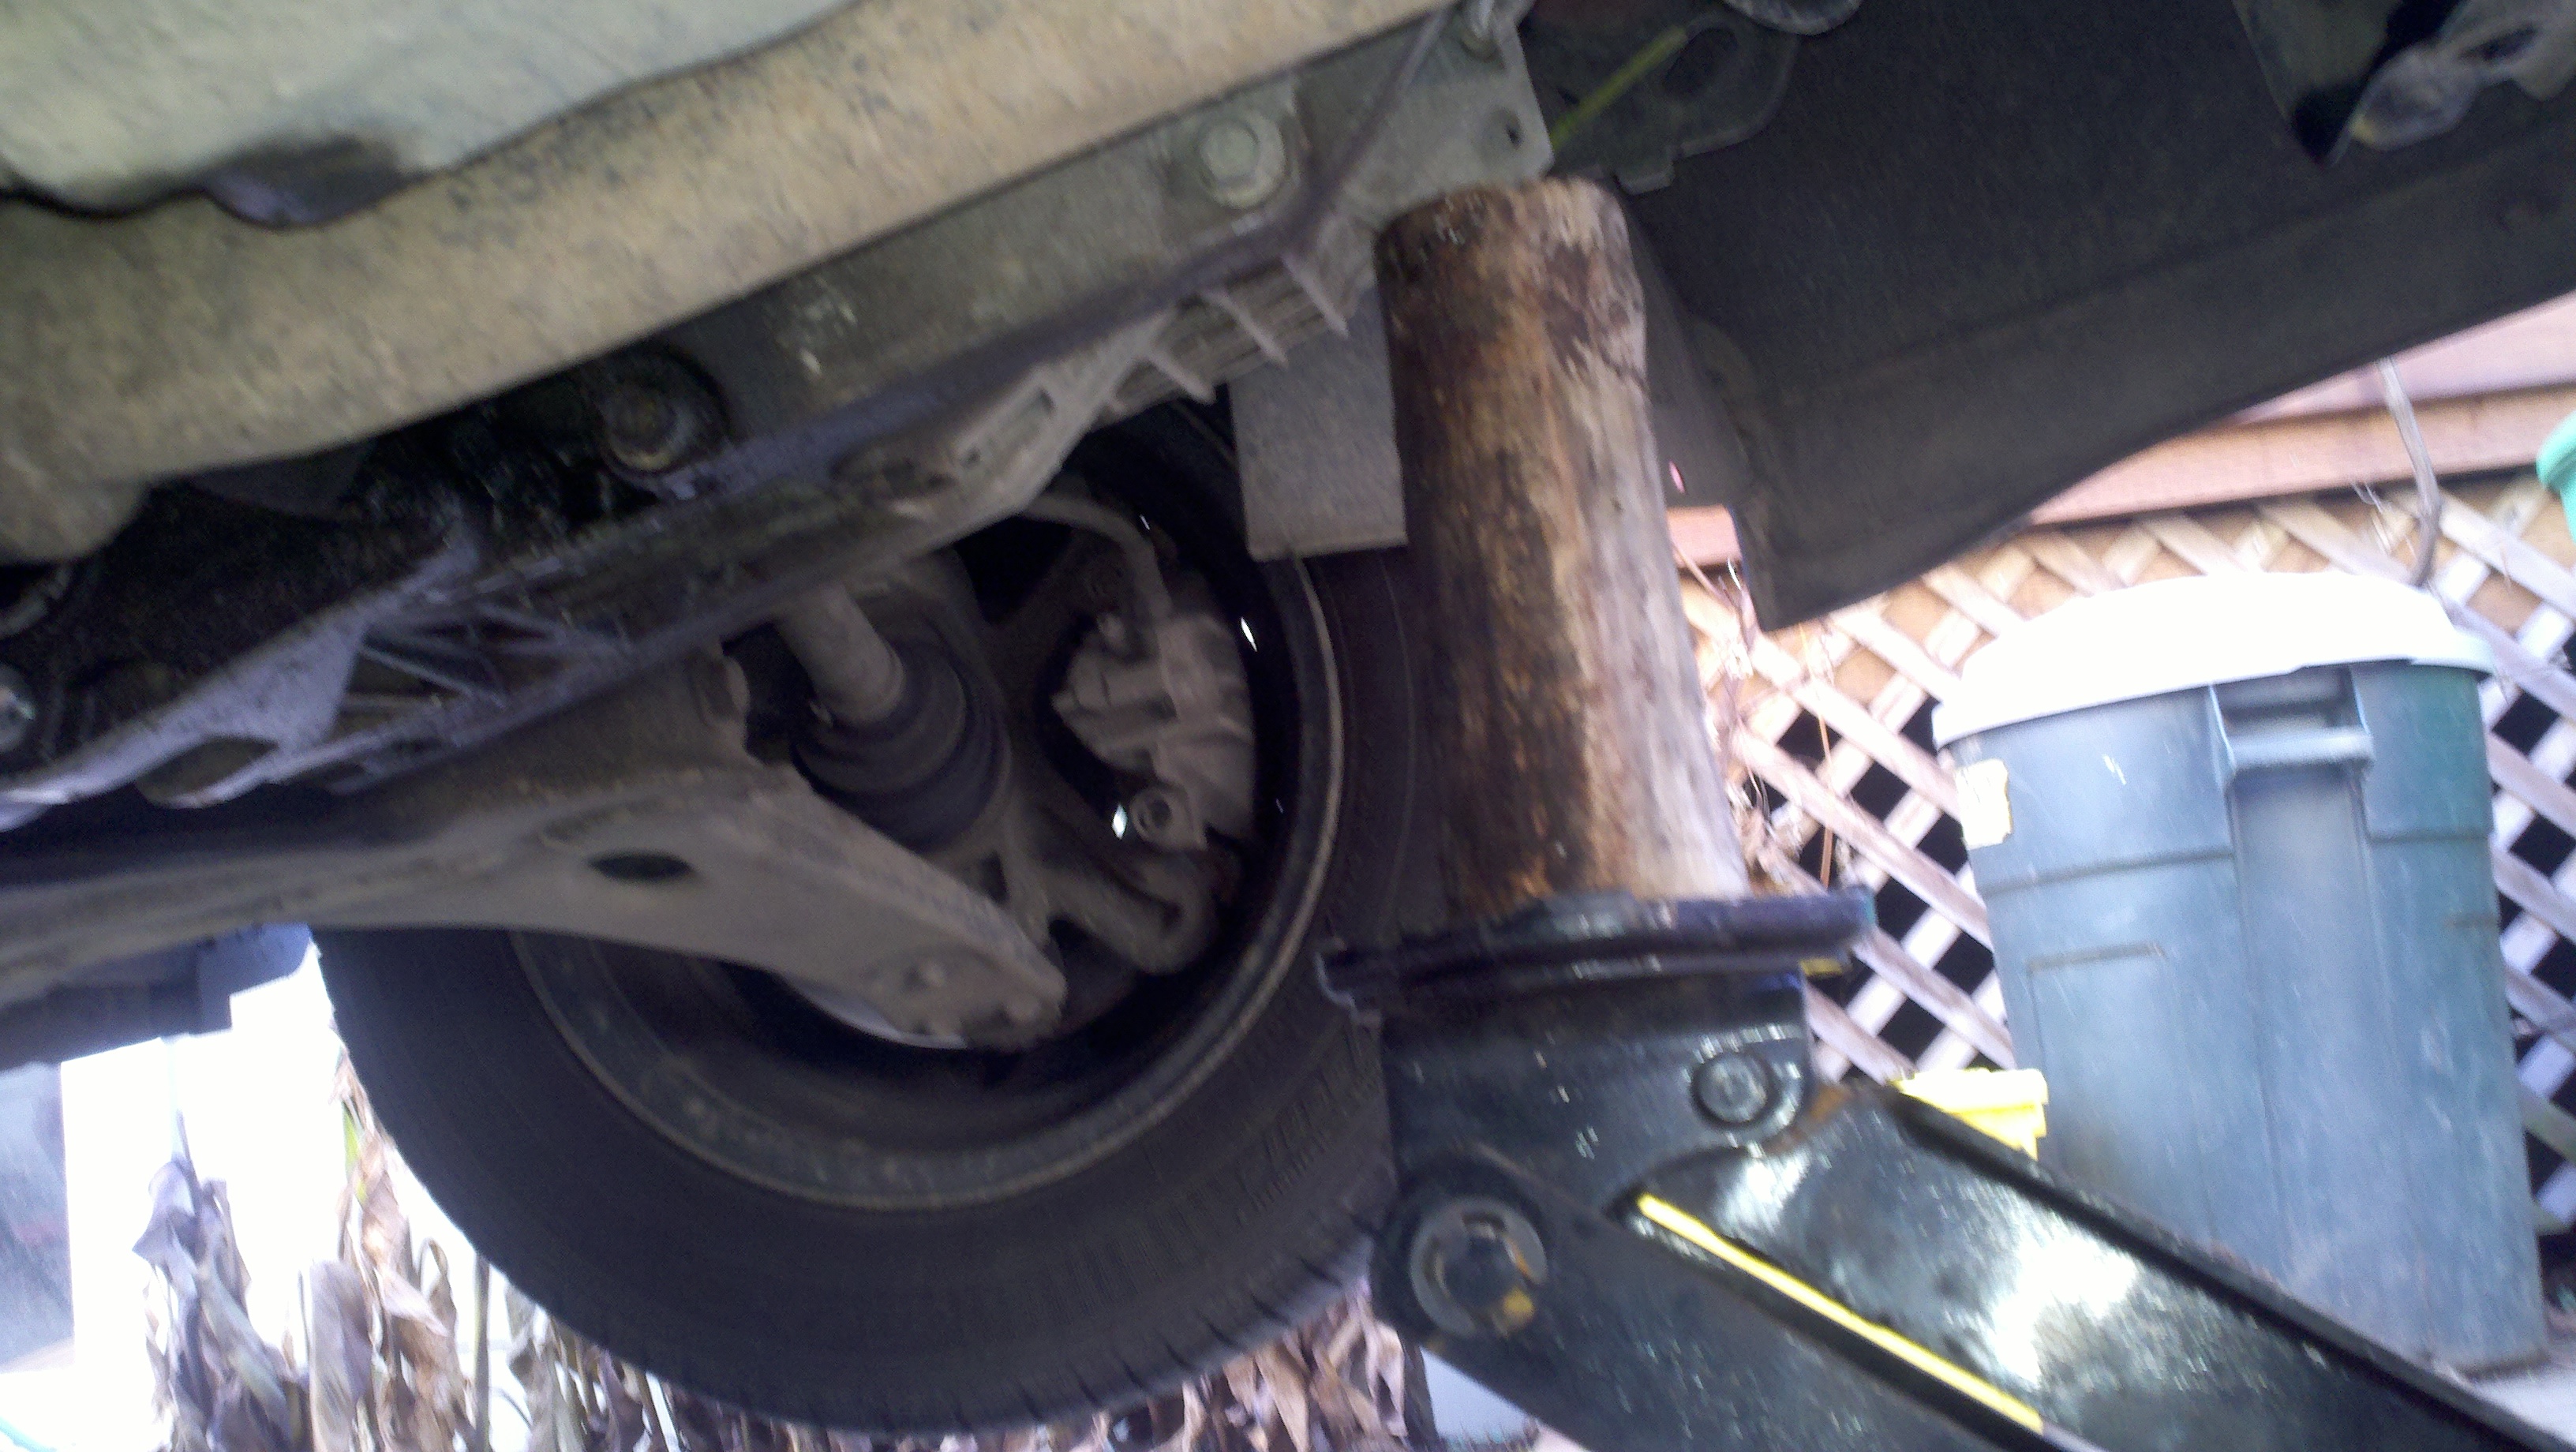
Remove the bolt on the large end of the dogbone second
Figure 10
Use a block of wood and the floor jack to tilt the transmission forward enough to slide out the
dogbone.
Figure 11
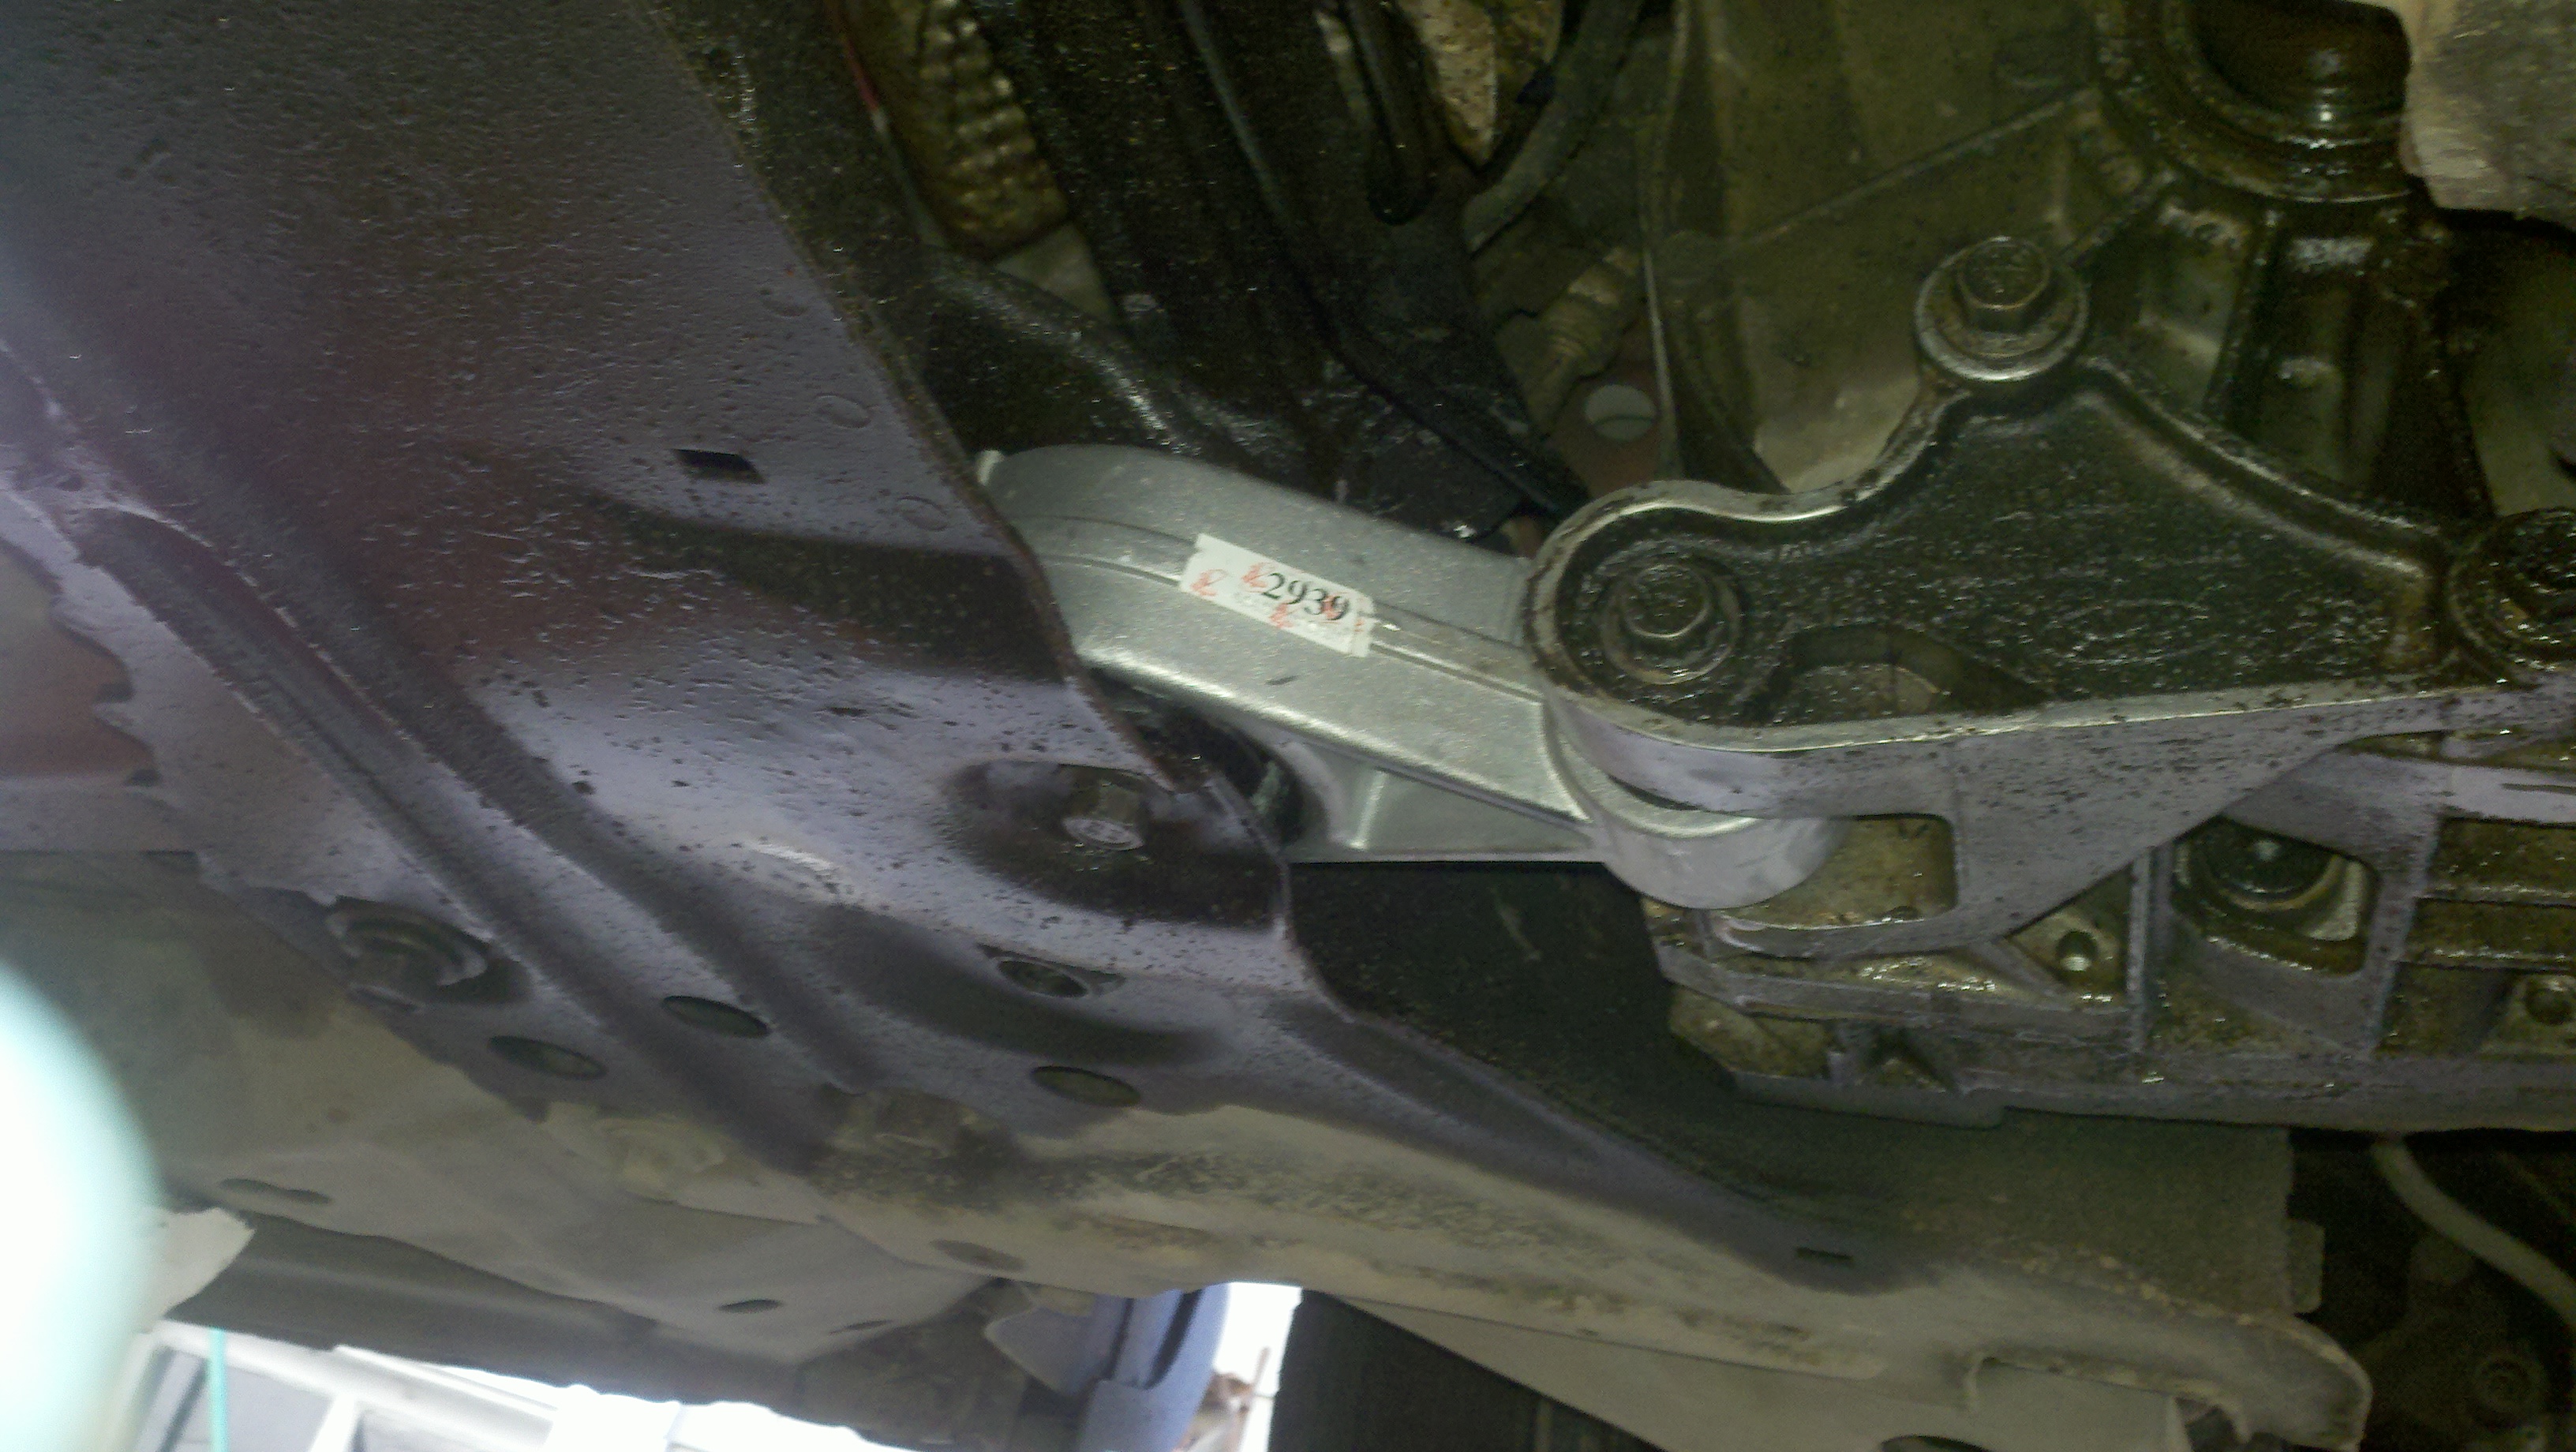
Install the dogbone, put the bolt in the small hole first and remove the jack and block
of wood and let transmission settle back then put the second bolt in. LEAVE BOTH BOLTS
LOOSE BY A COUPLE TURNS. Here is the new dogbone installed. Lower the vehicle.
Figure 12
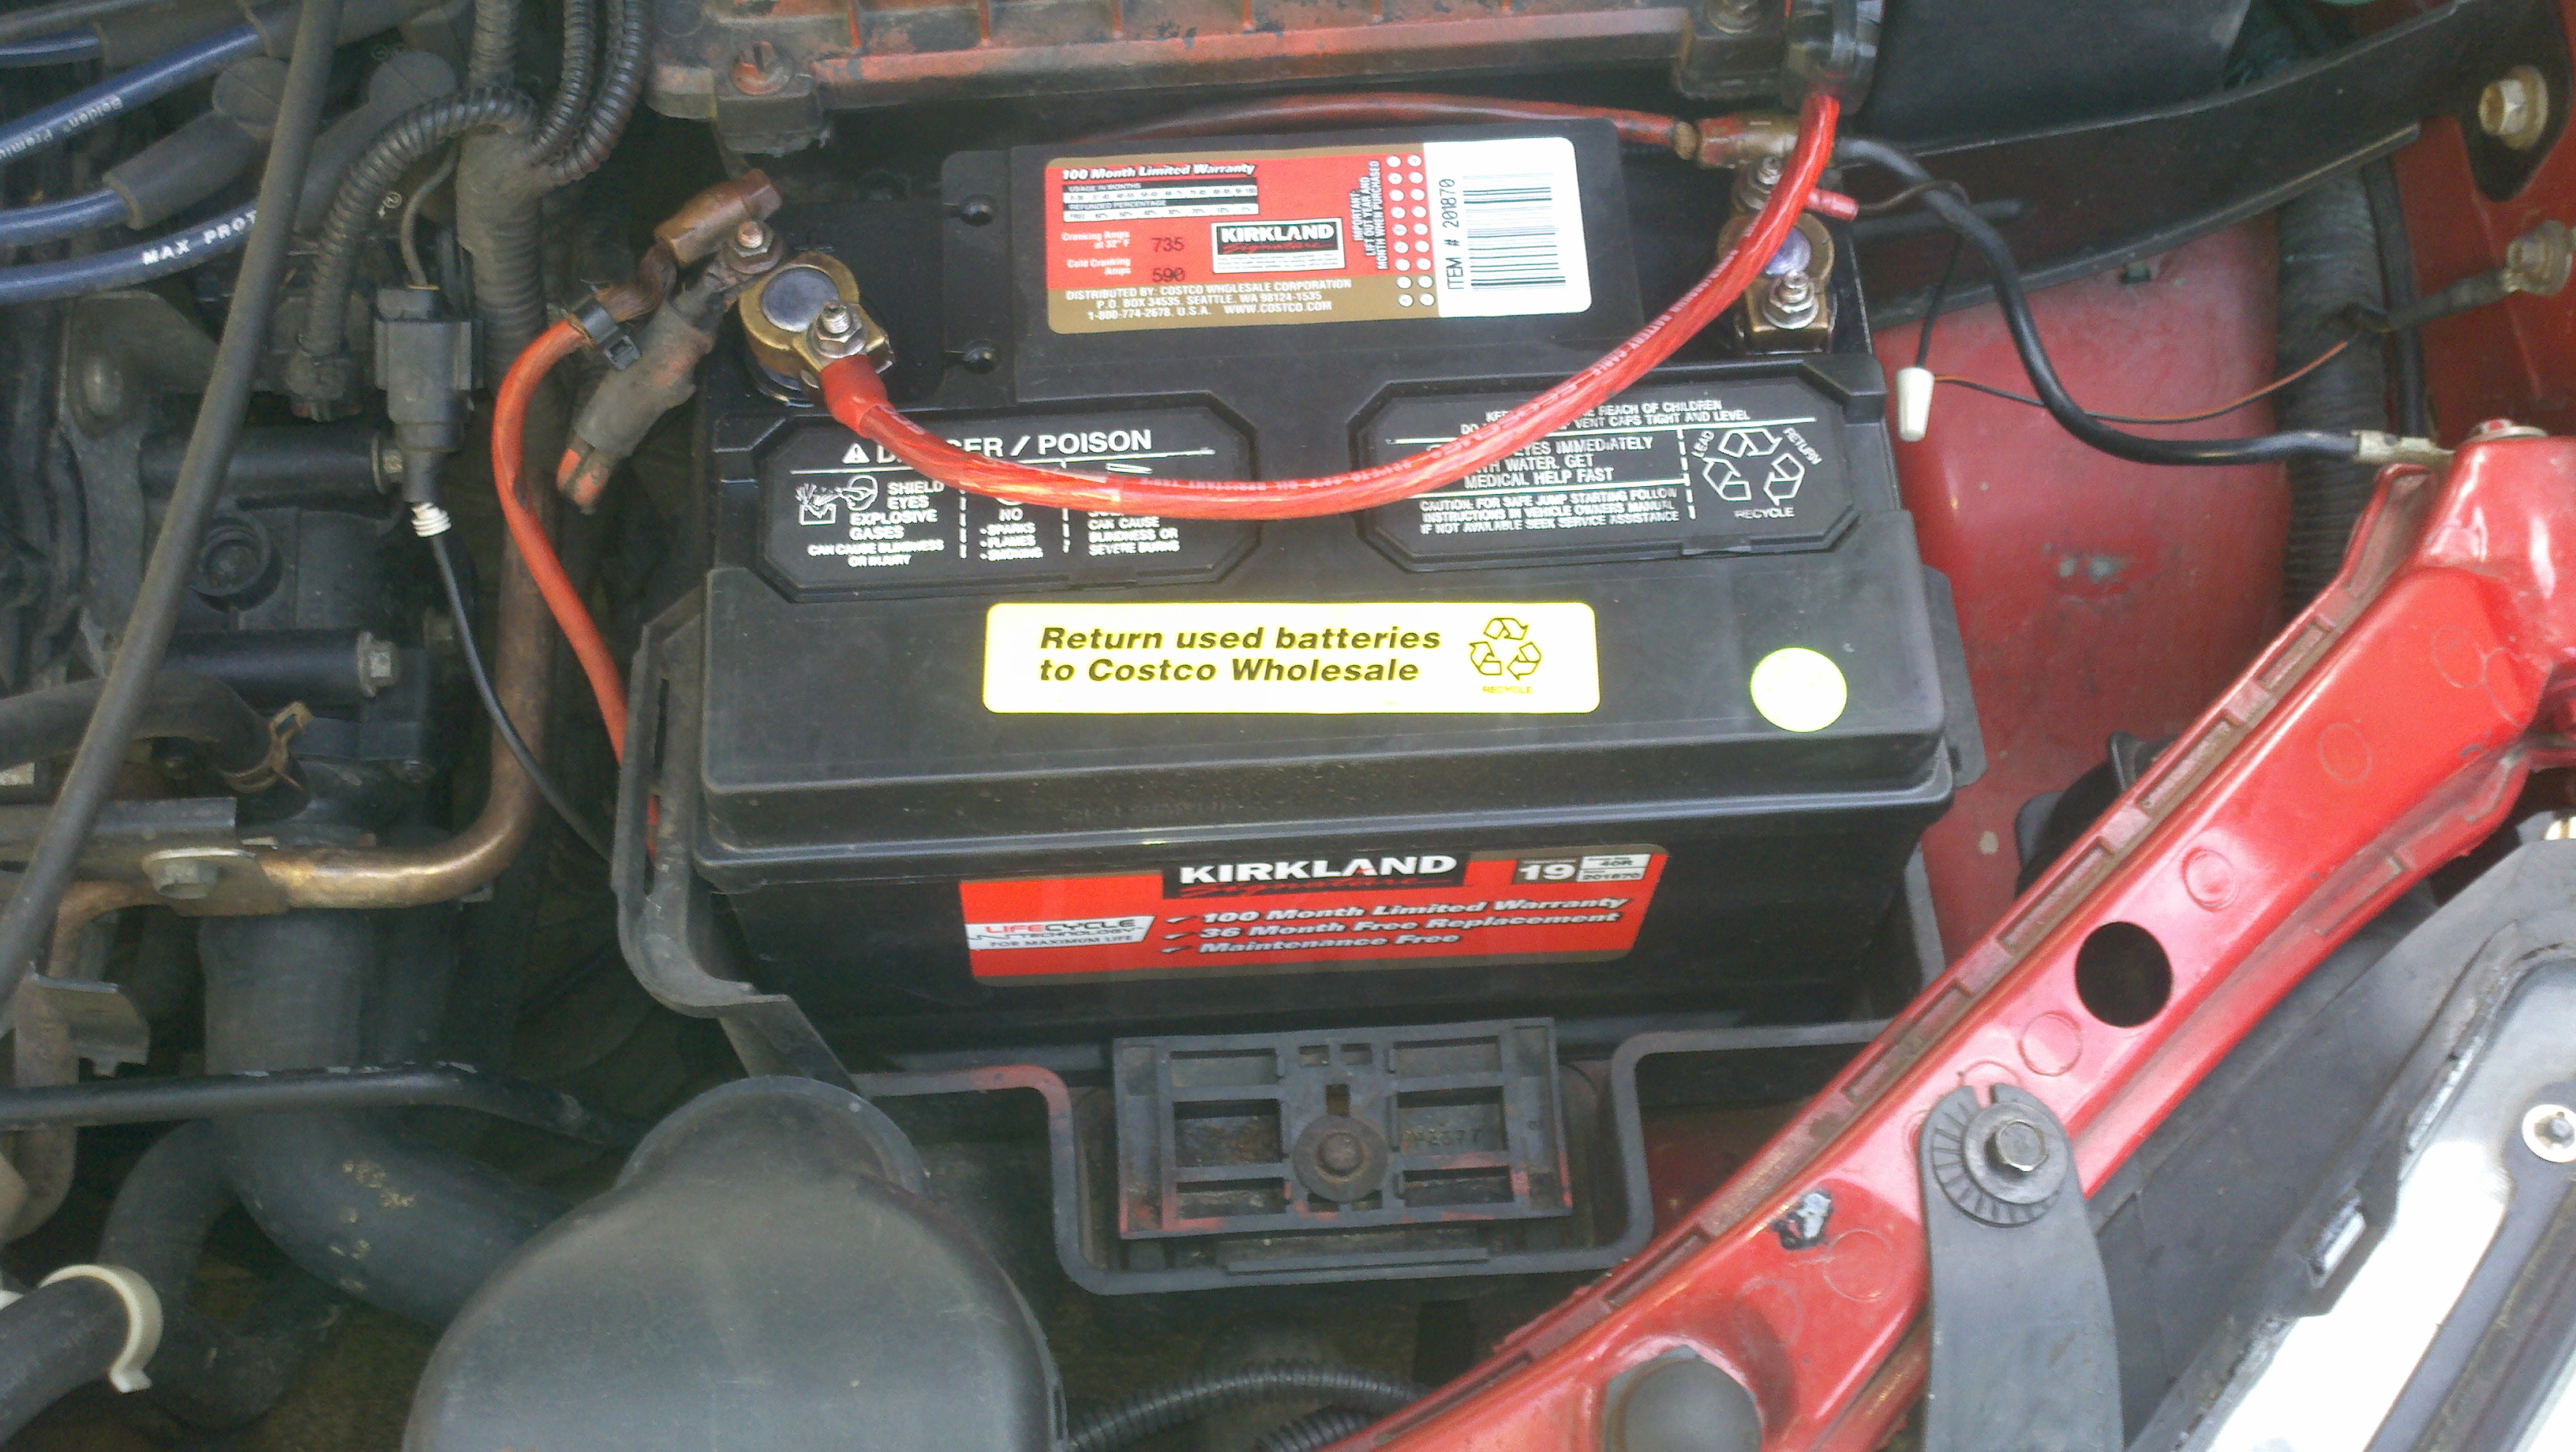
remove battery
Figure 13
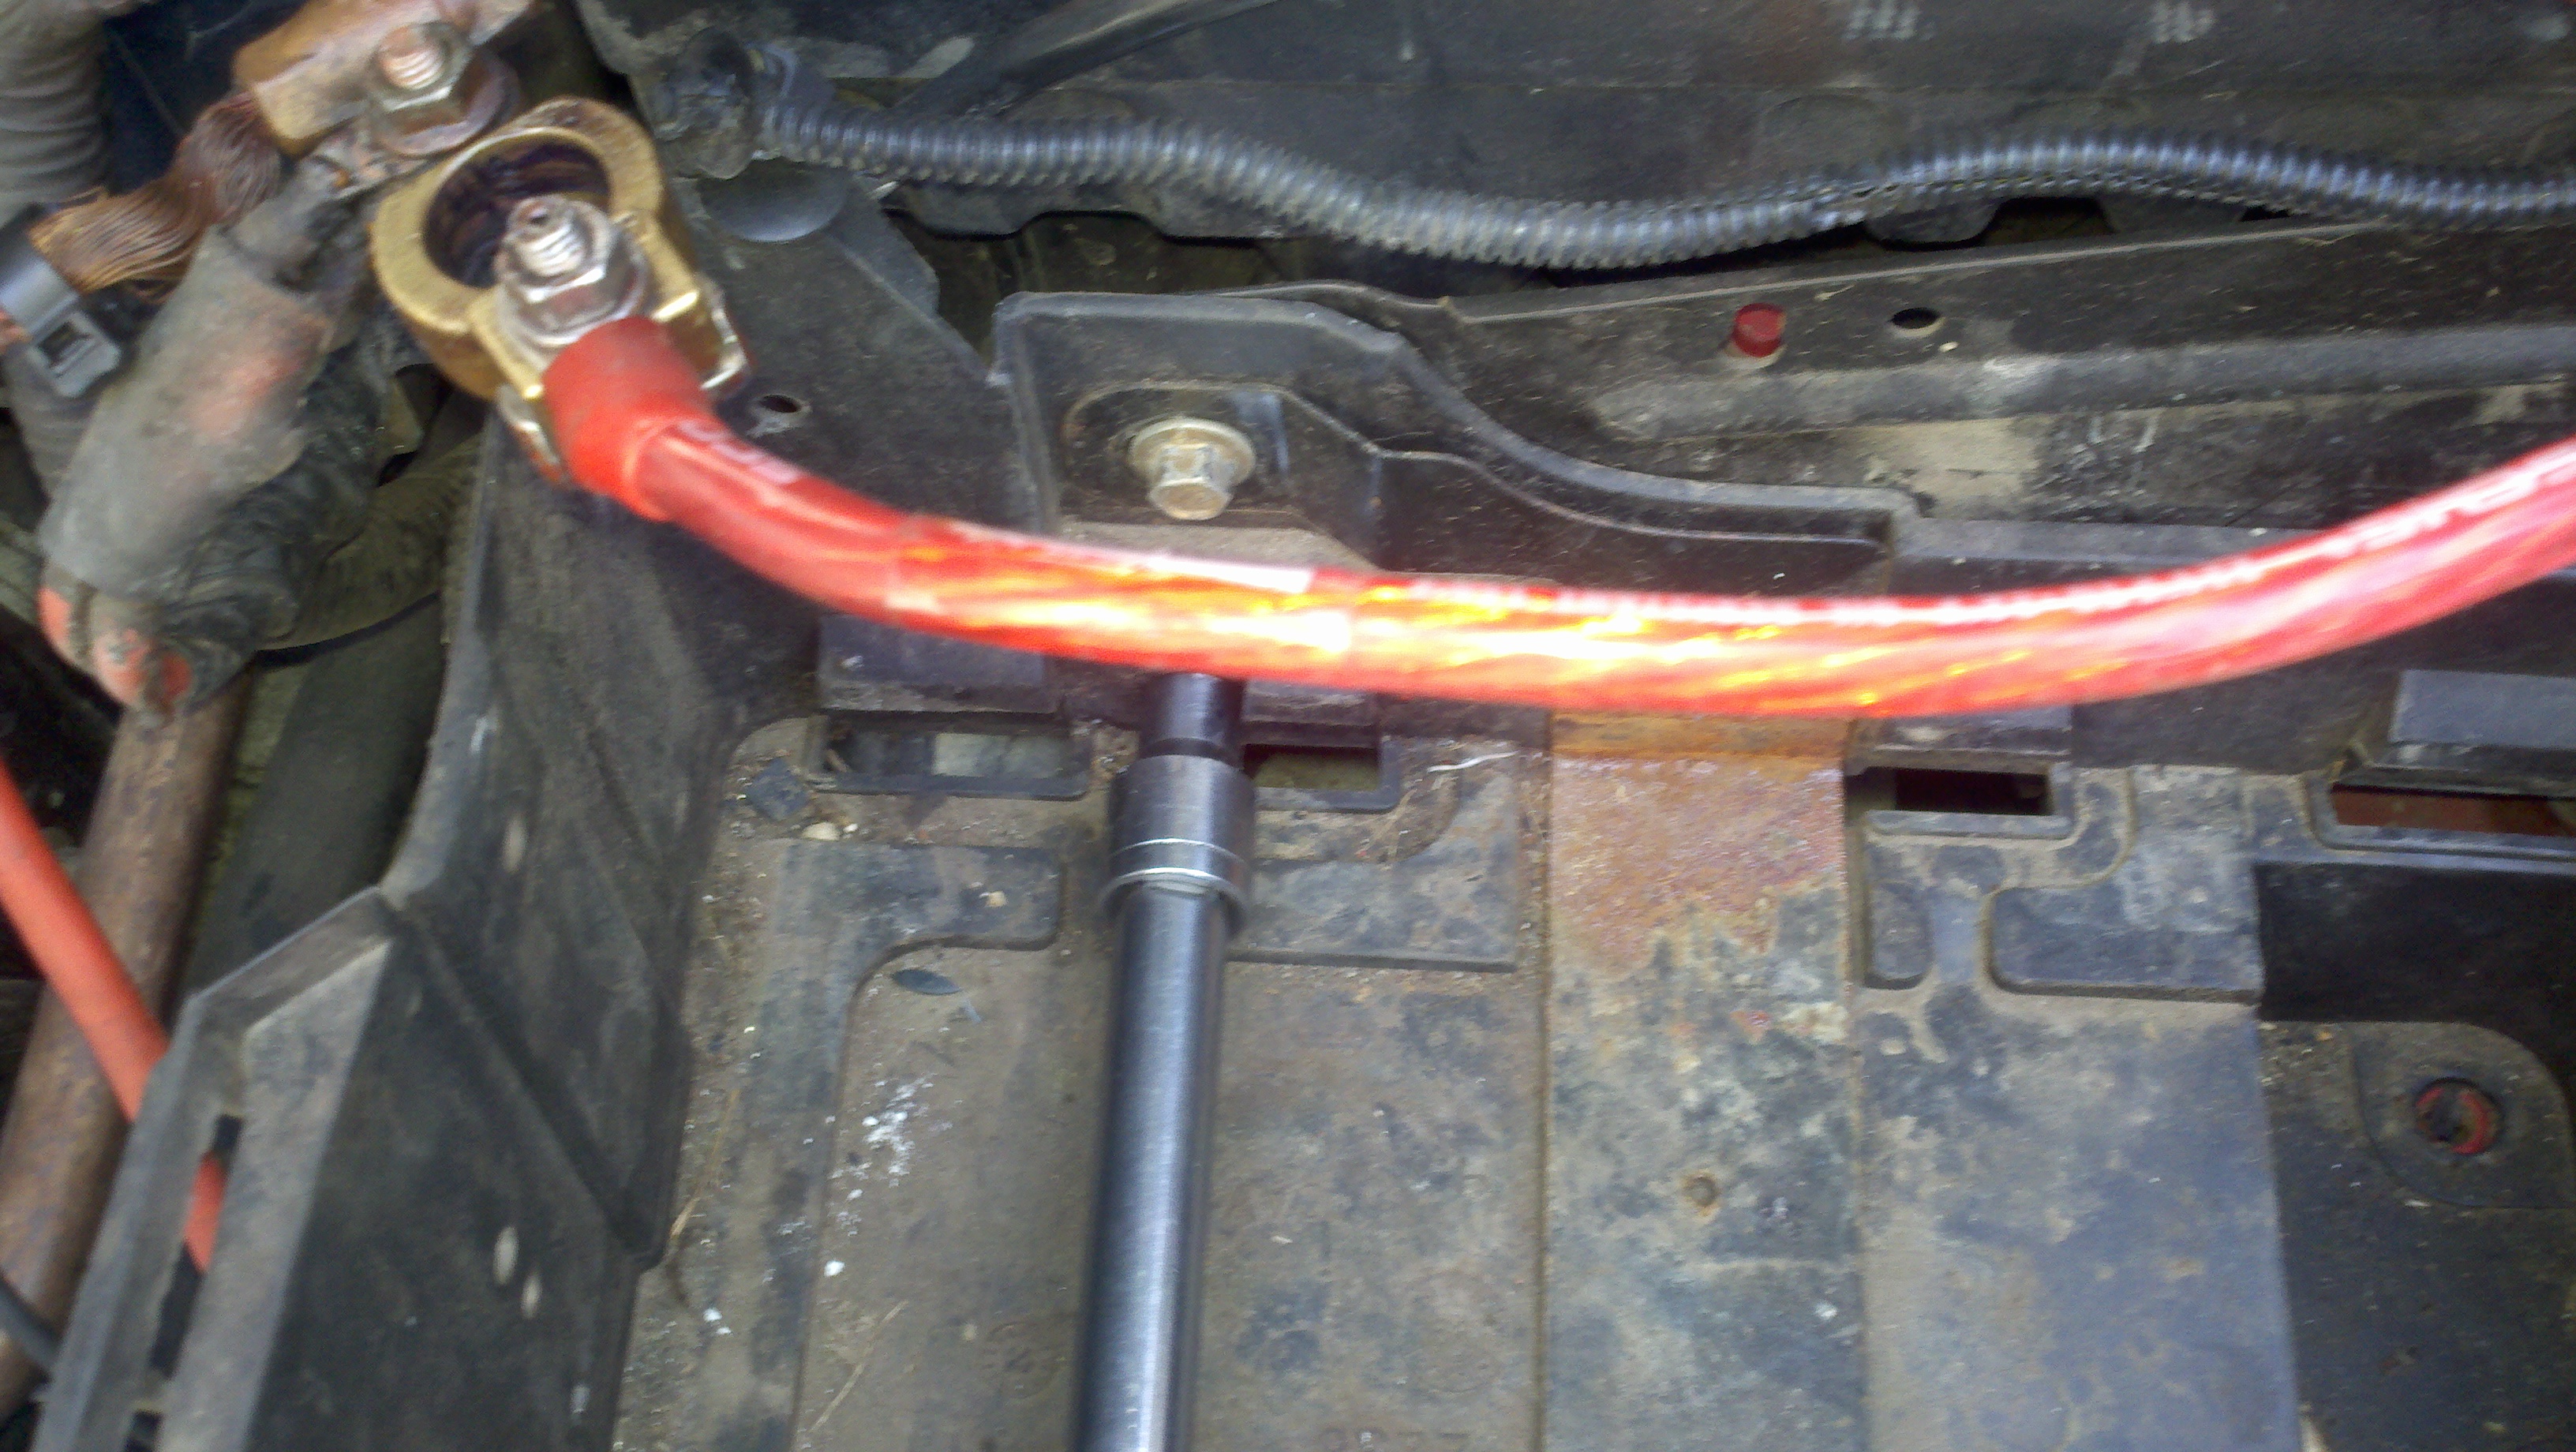
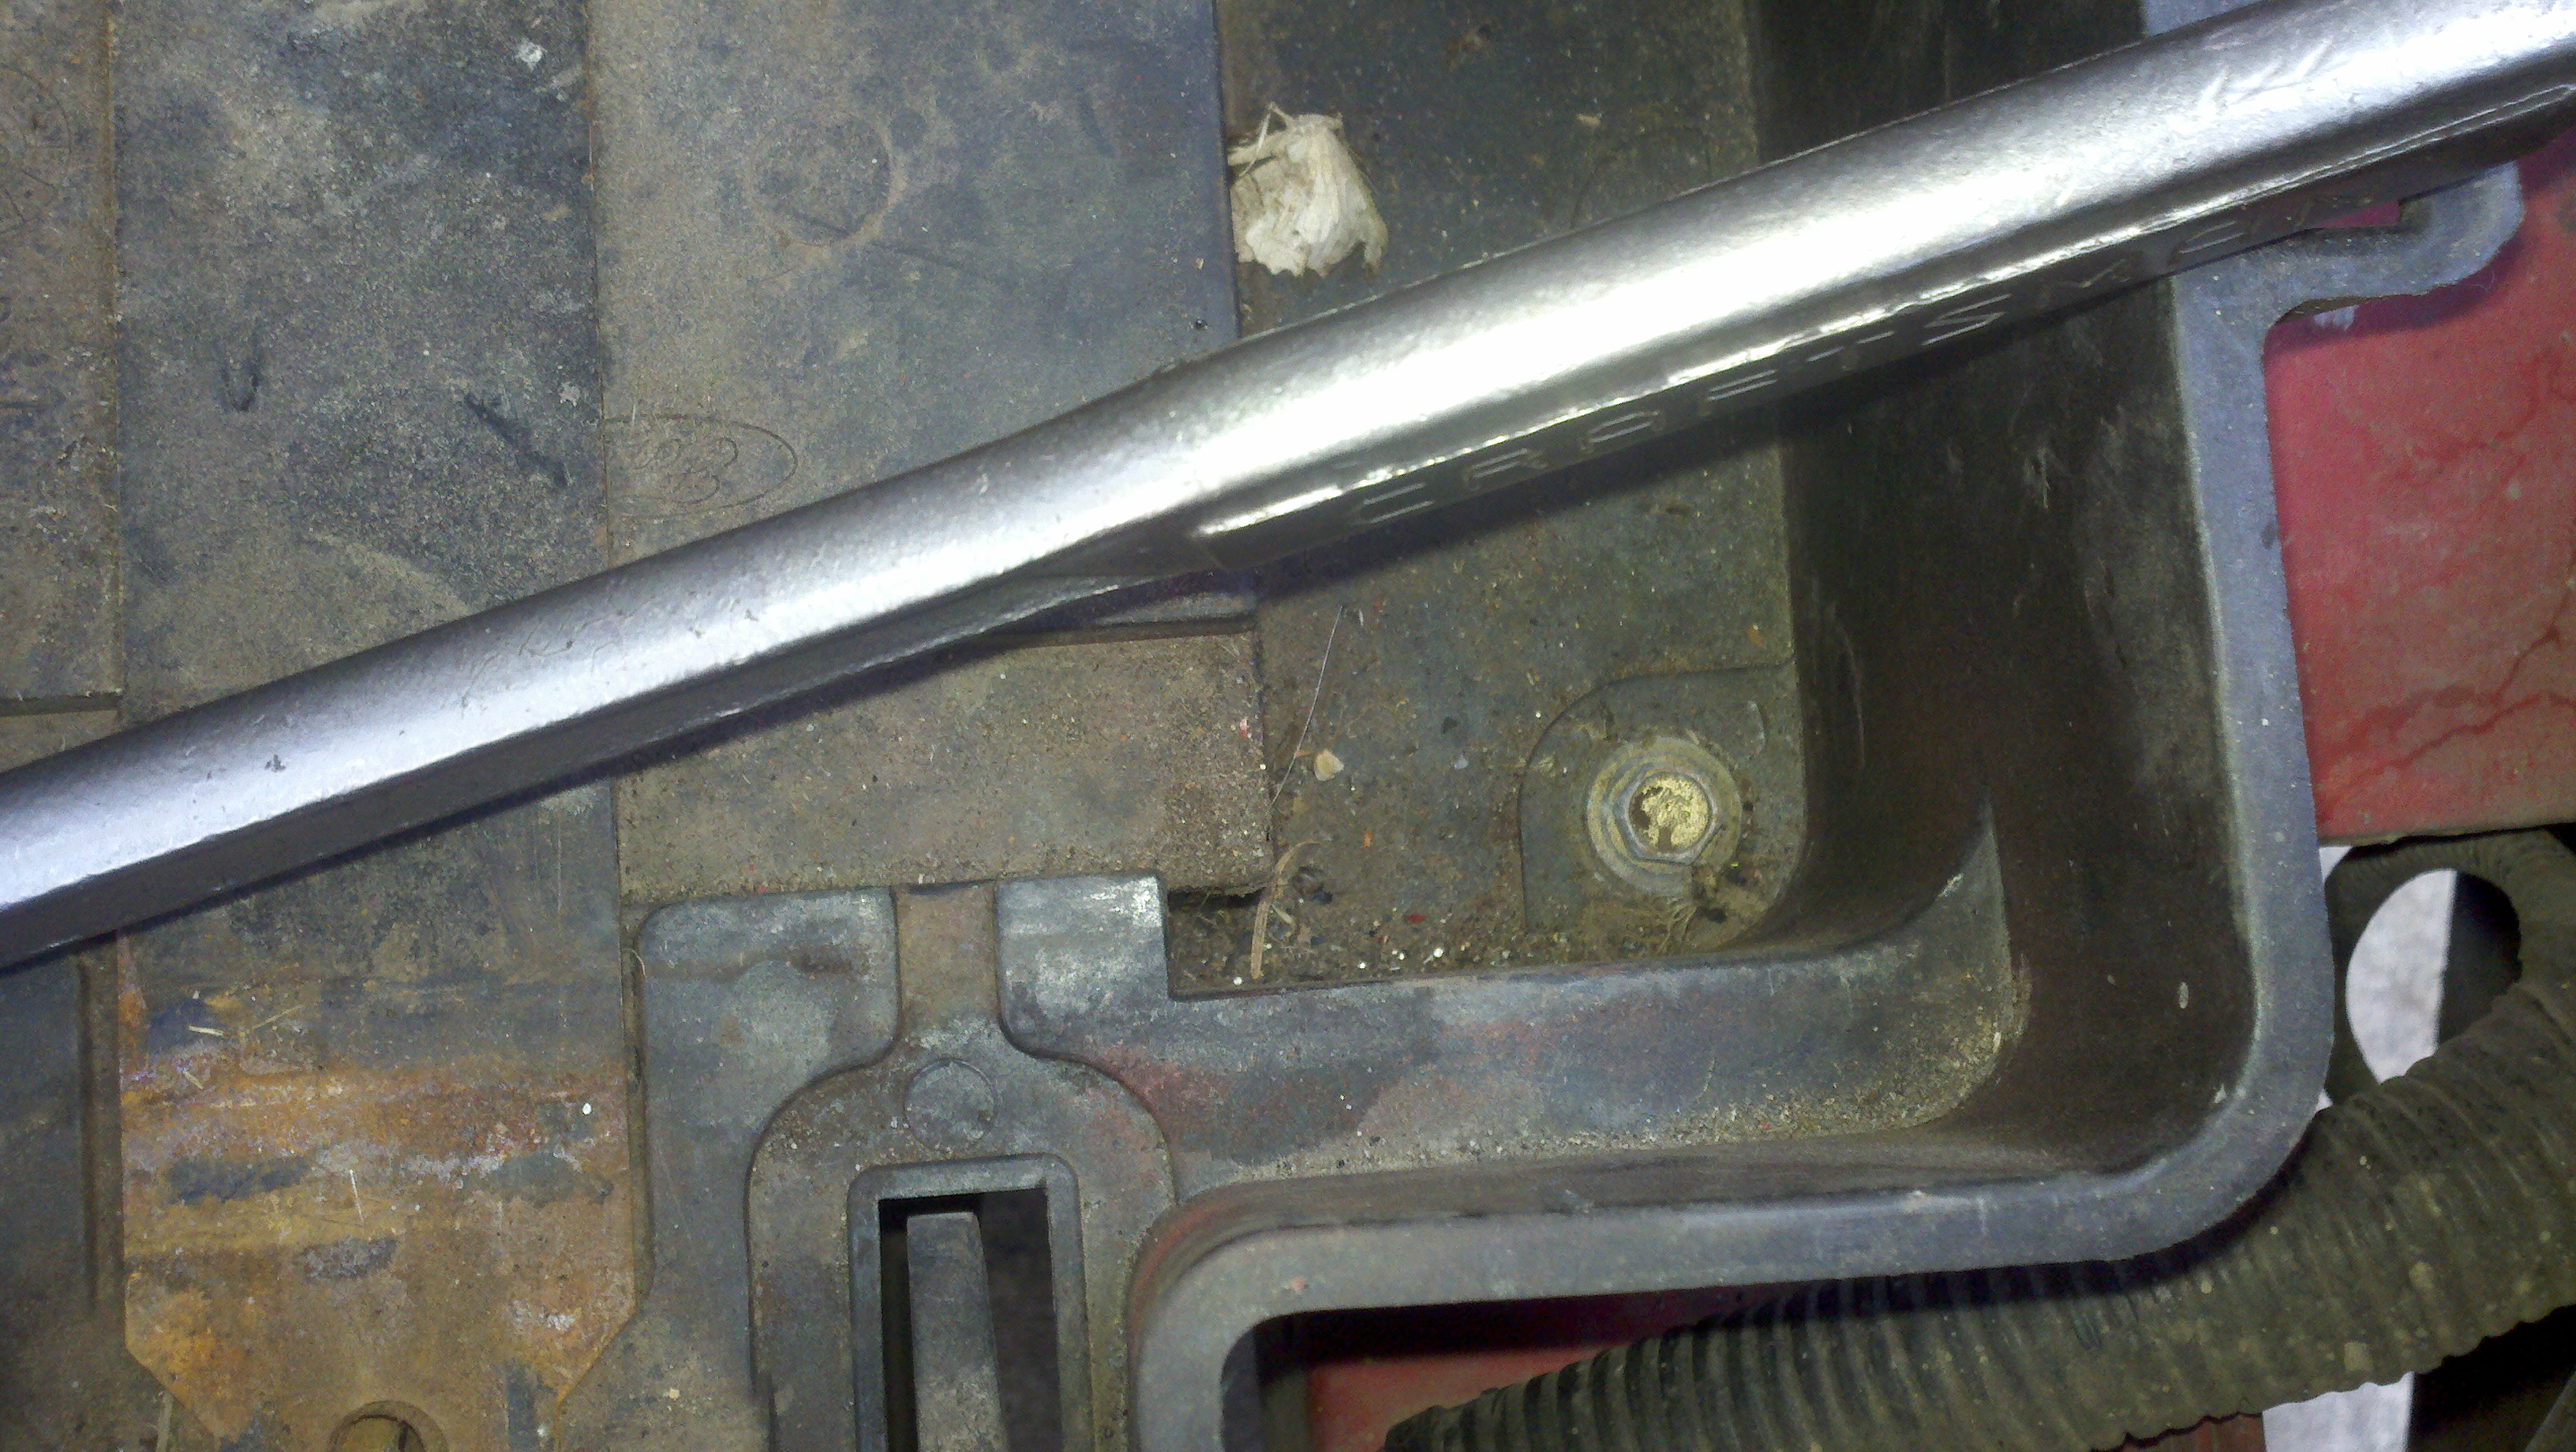
remove battery tray, there are 3 bolts (one was missing on my car I replaced it with a
bolt from my junk box of bolts later)
Figure 14
Figure 15
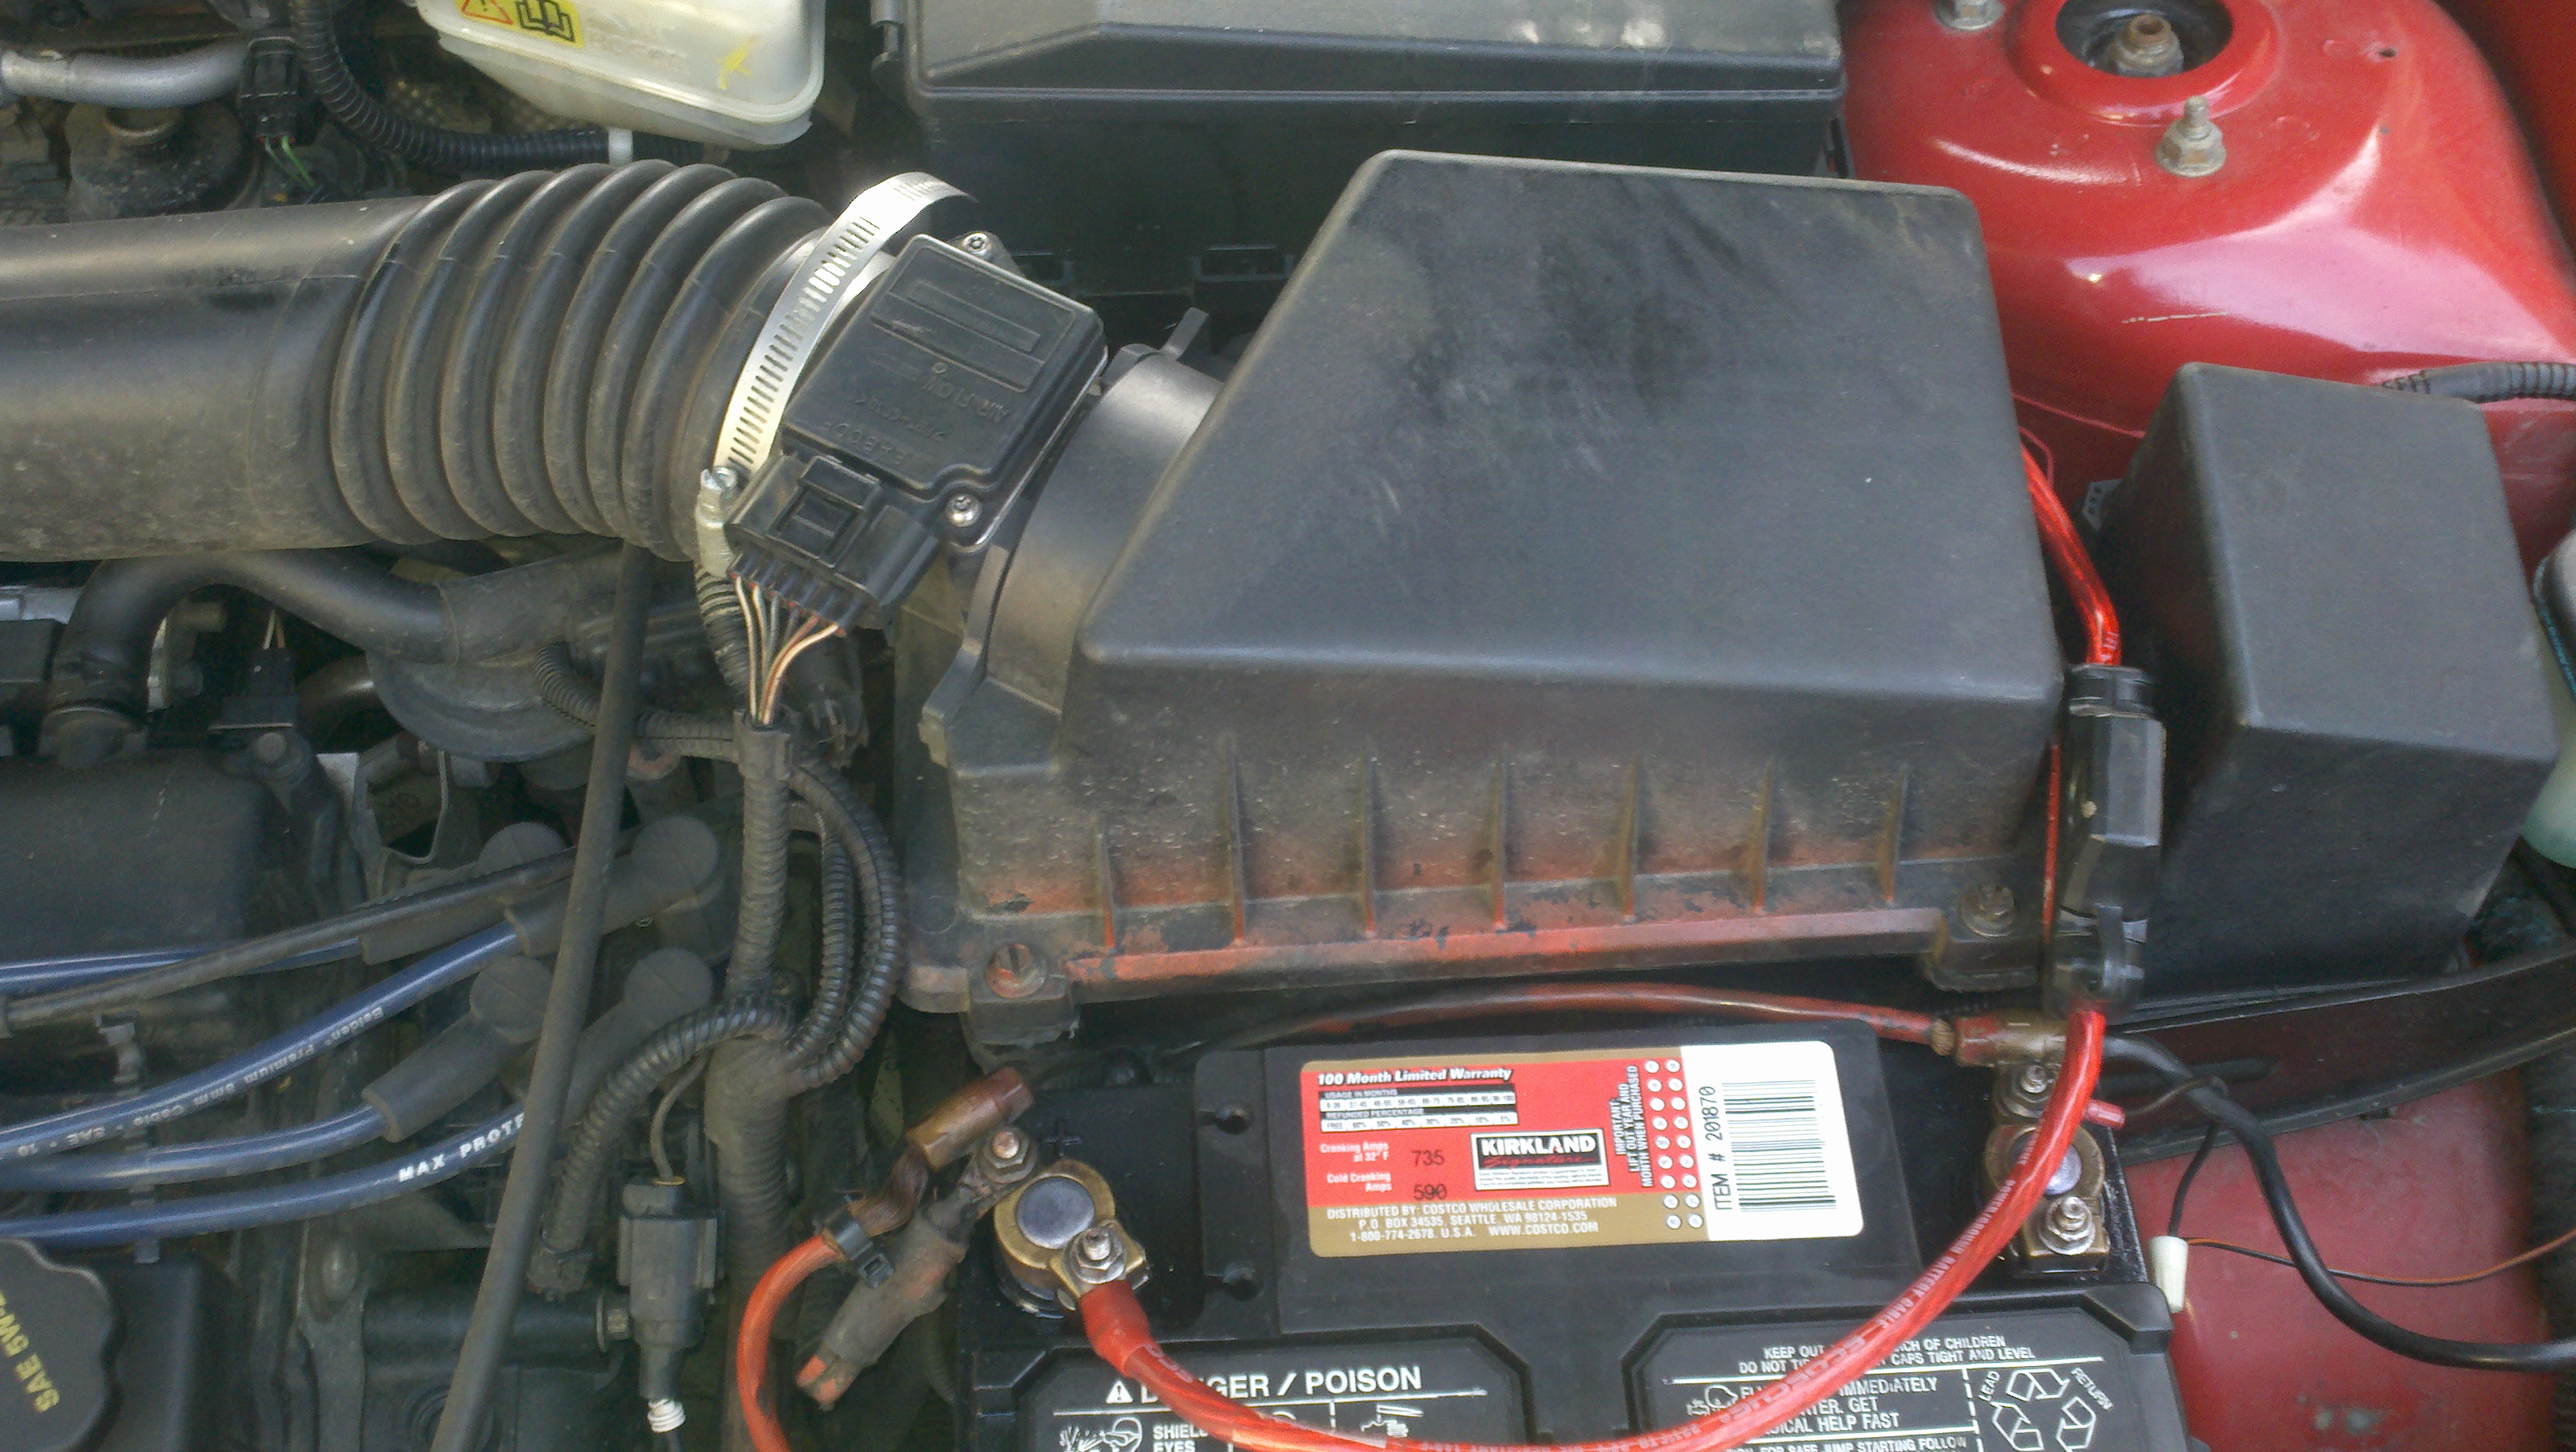
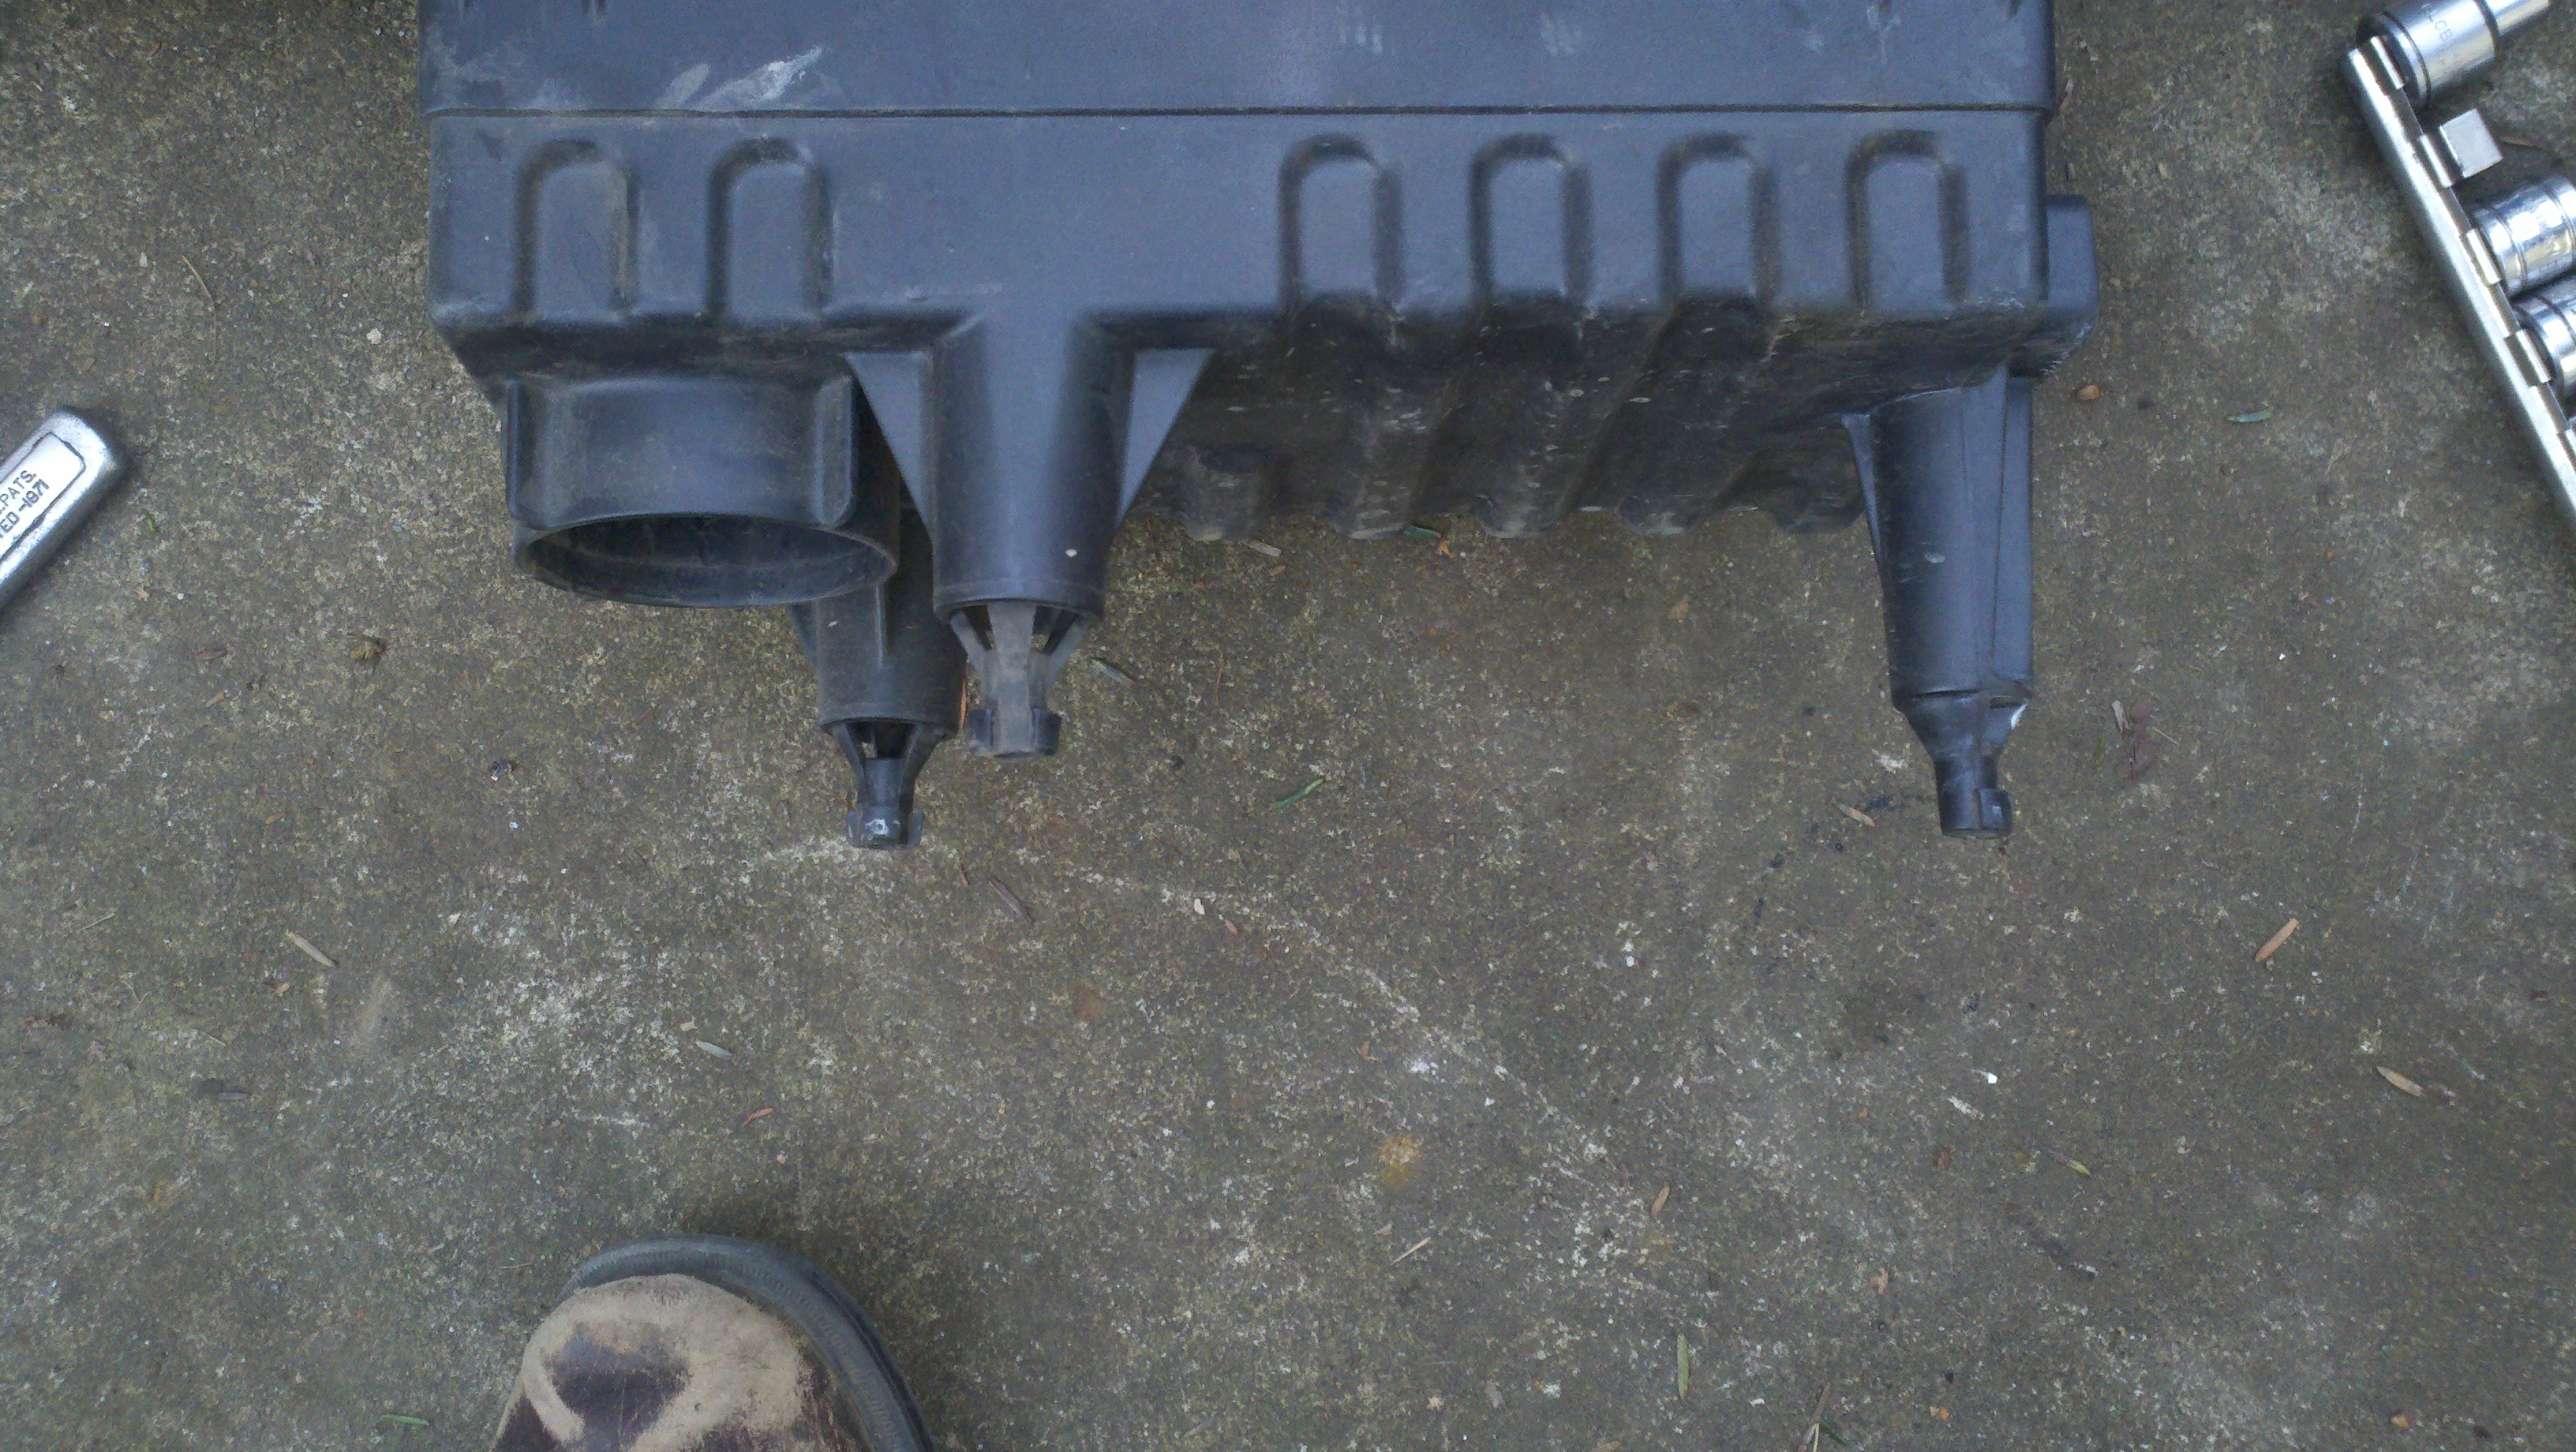
This is the airbox we need to remove.
Figure 16
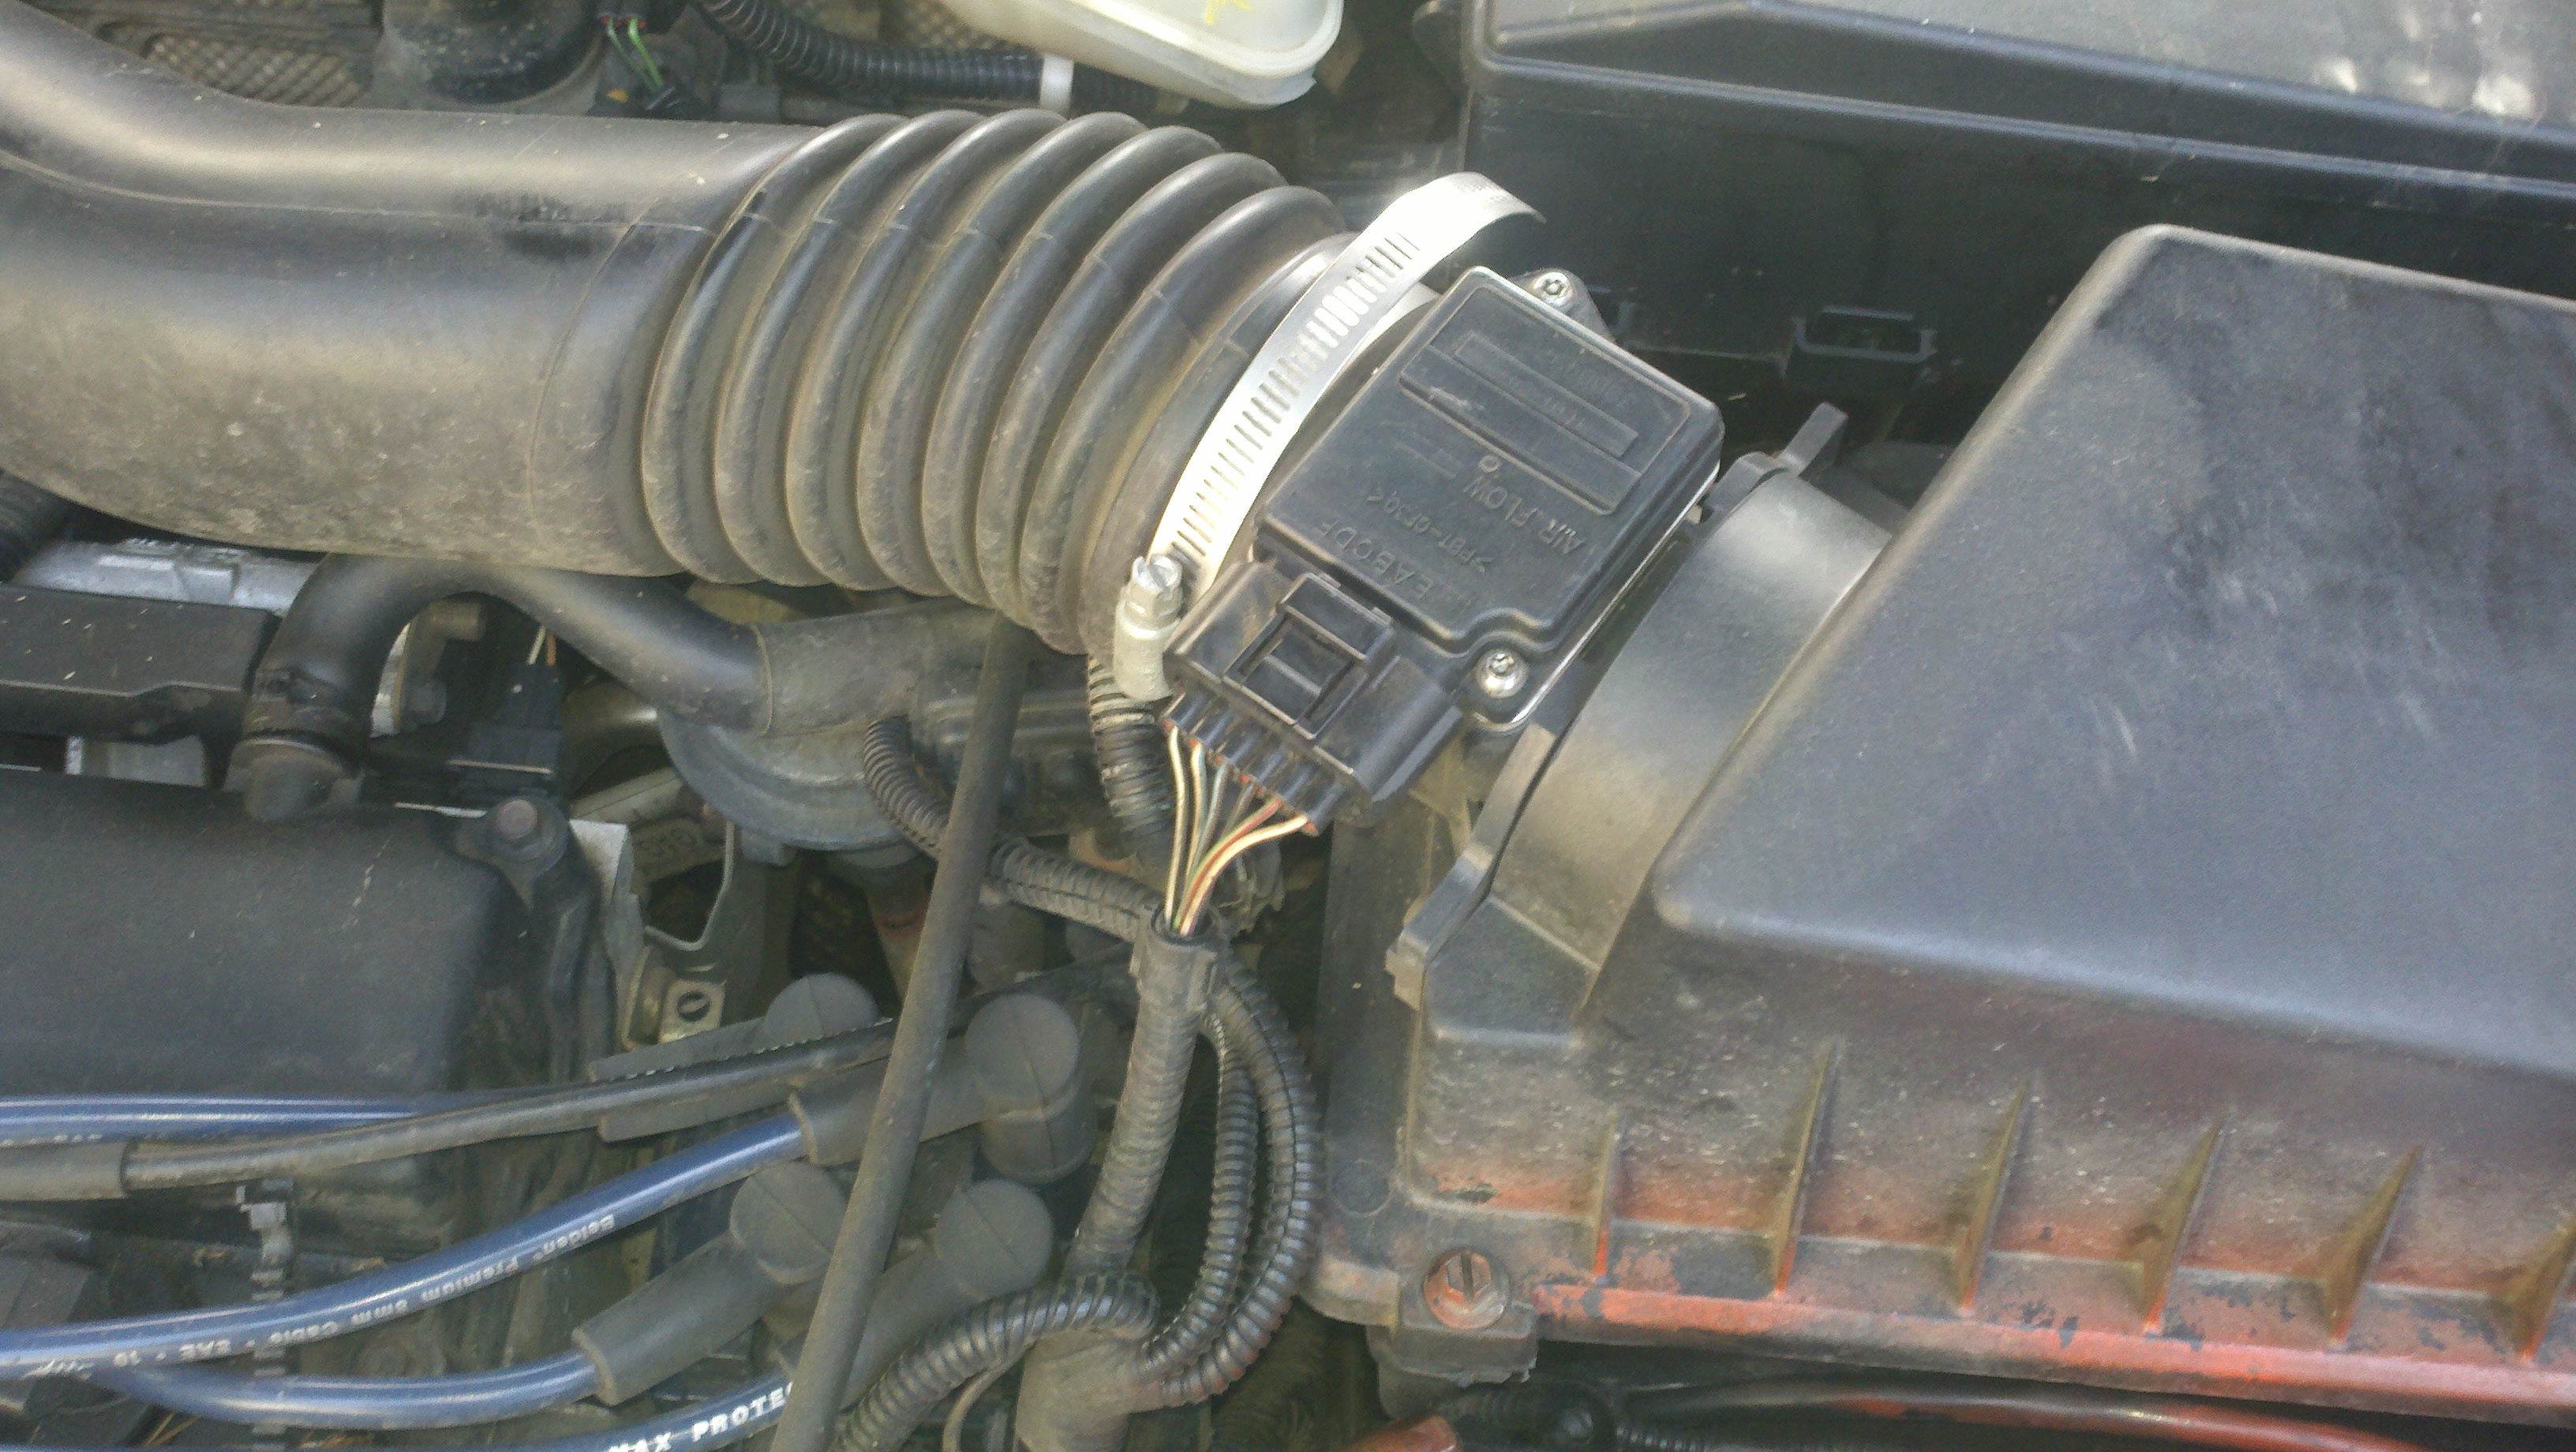
Loosen the clamp from the airbox hose to the throttle body
Figure 17
Unplug the airflow sensor
Figure 18
The airbox lifts out as a unit, there are 3 plastic tabs that snap into 3 rubber grommets
The air intake tube also lifts out, it's not necessary to remove it but I did.
Figure 19
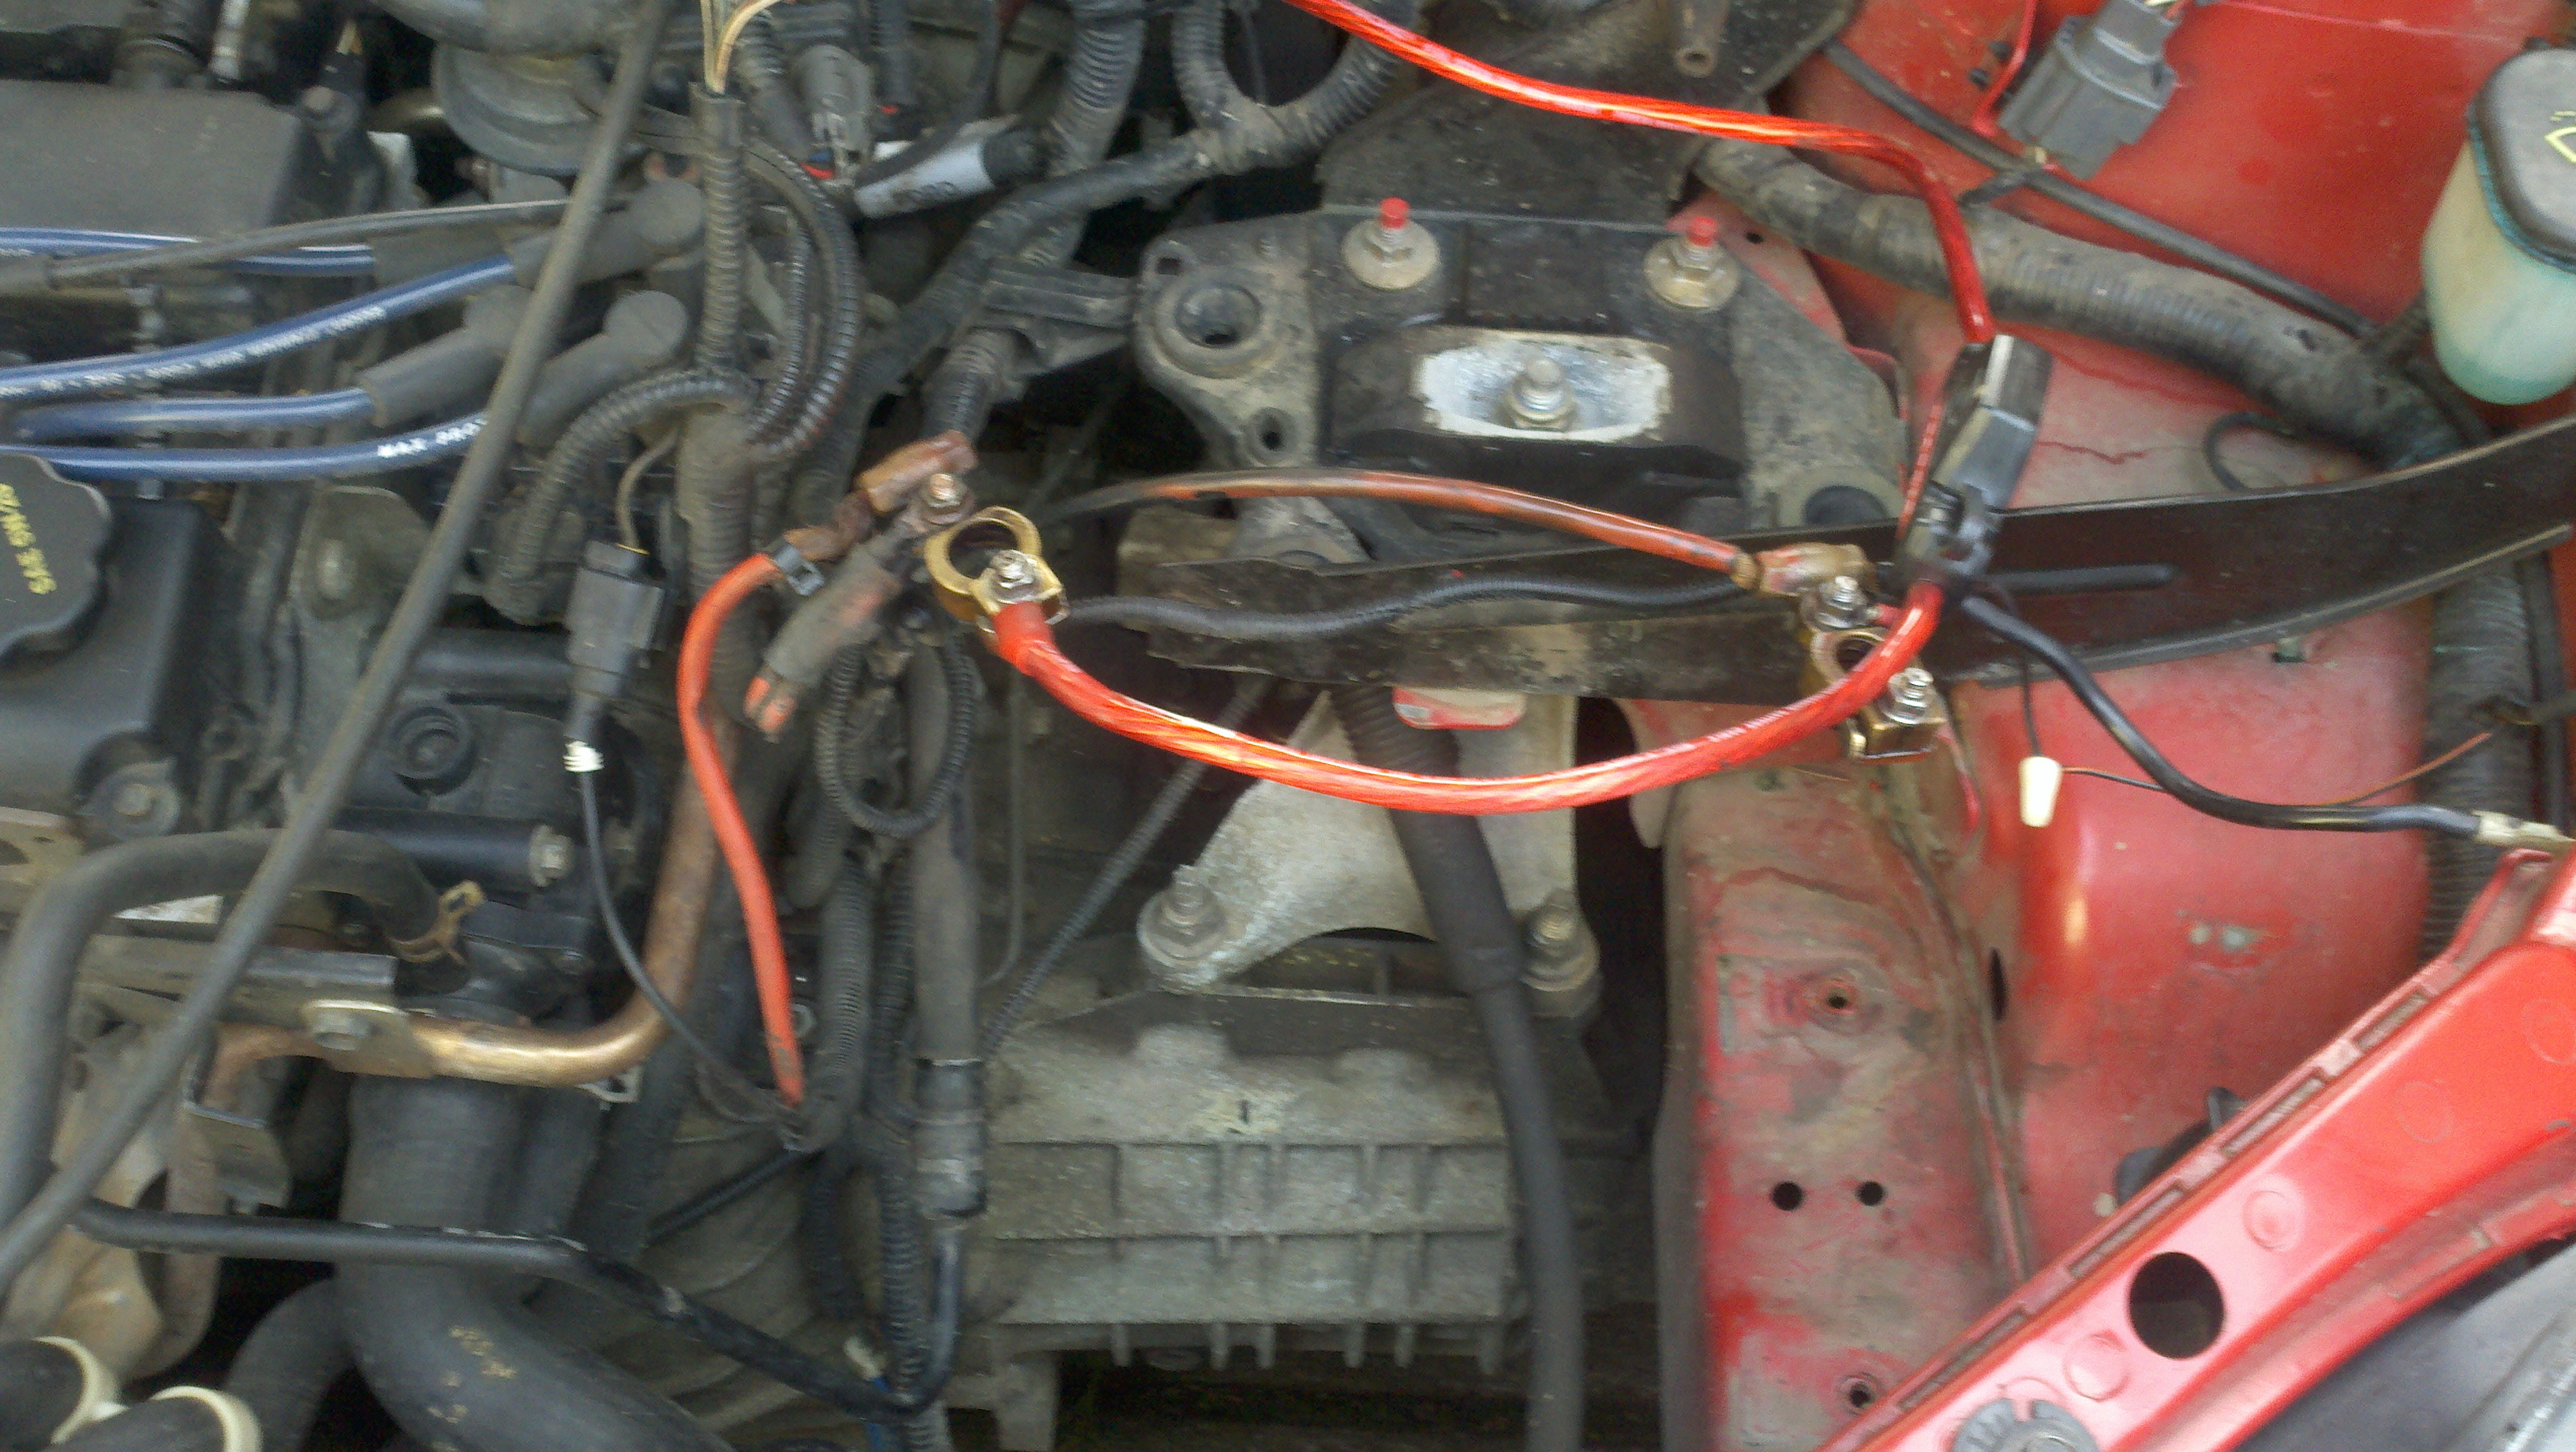
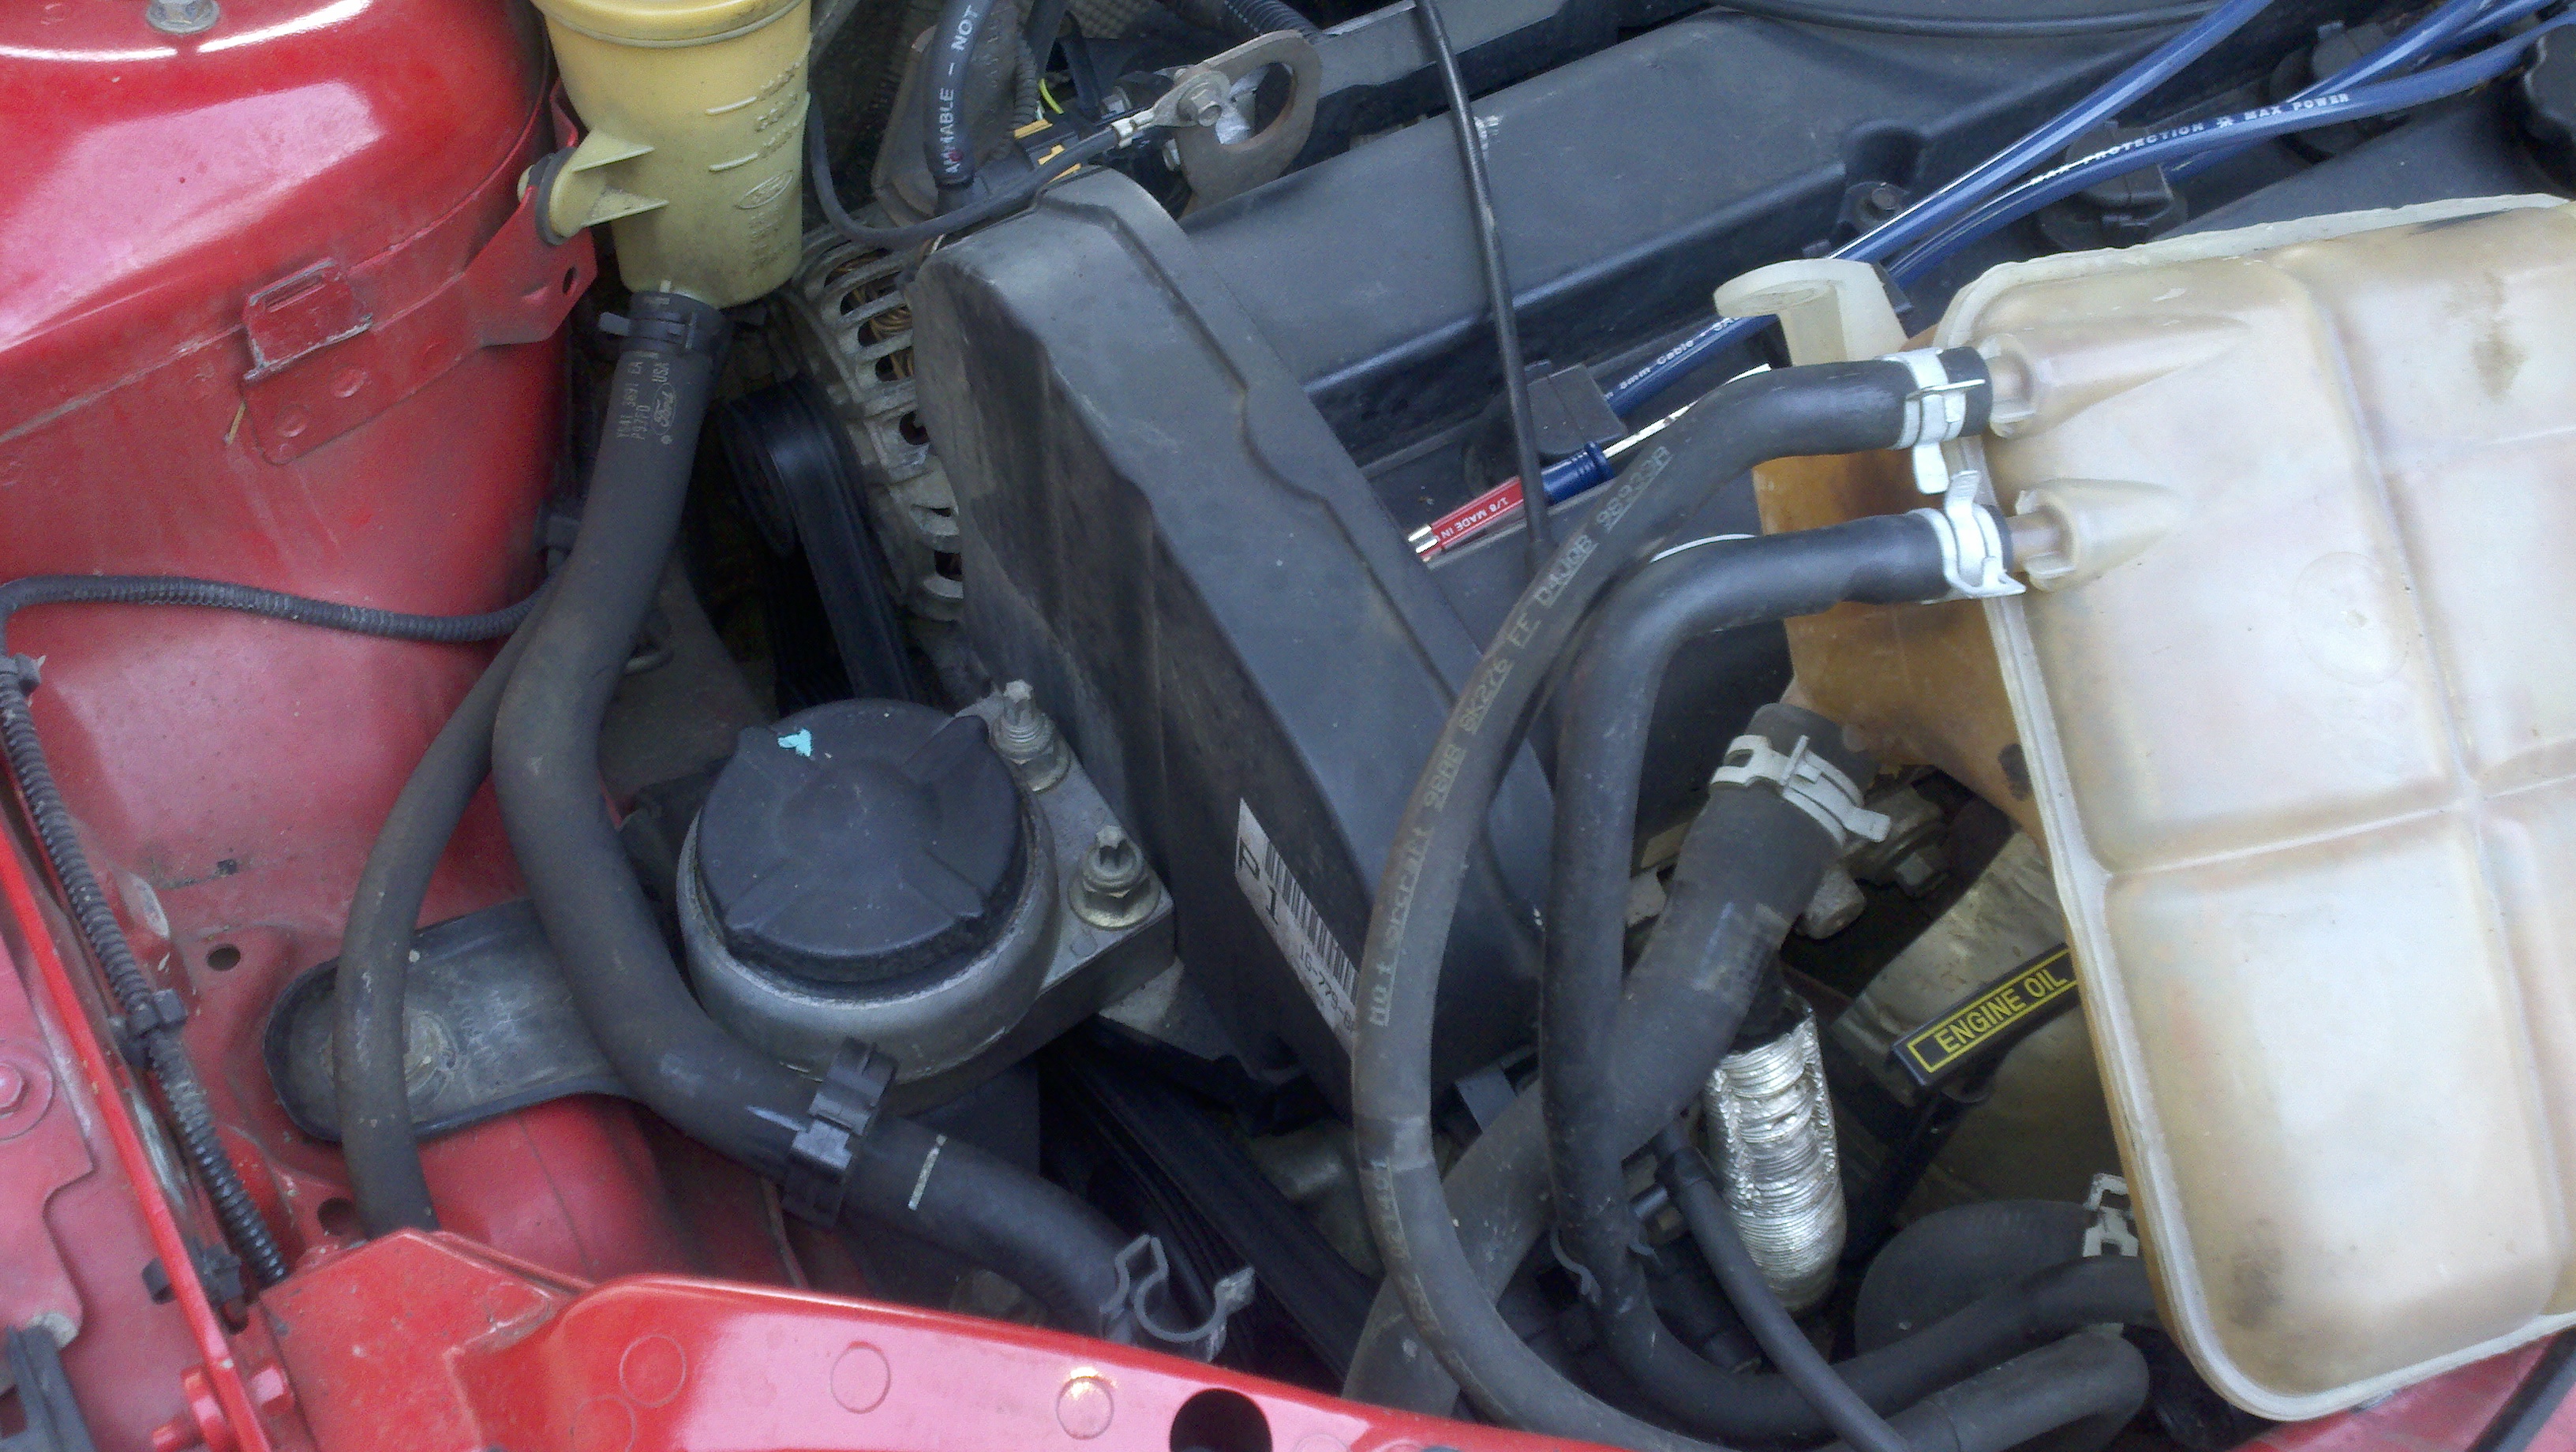
With the airbox and battery out of the way we have plenty of access to the mount, as well
as the transmission (if we were going to change the clutch)
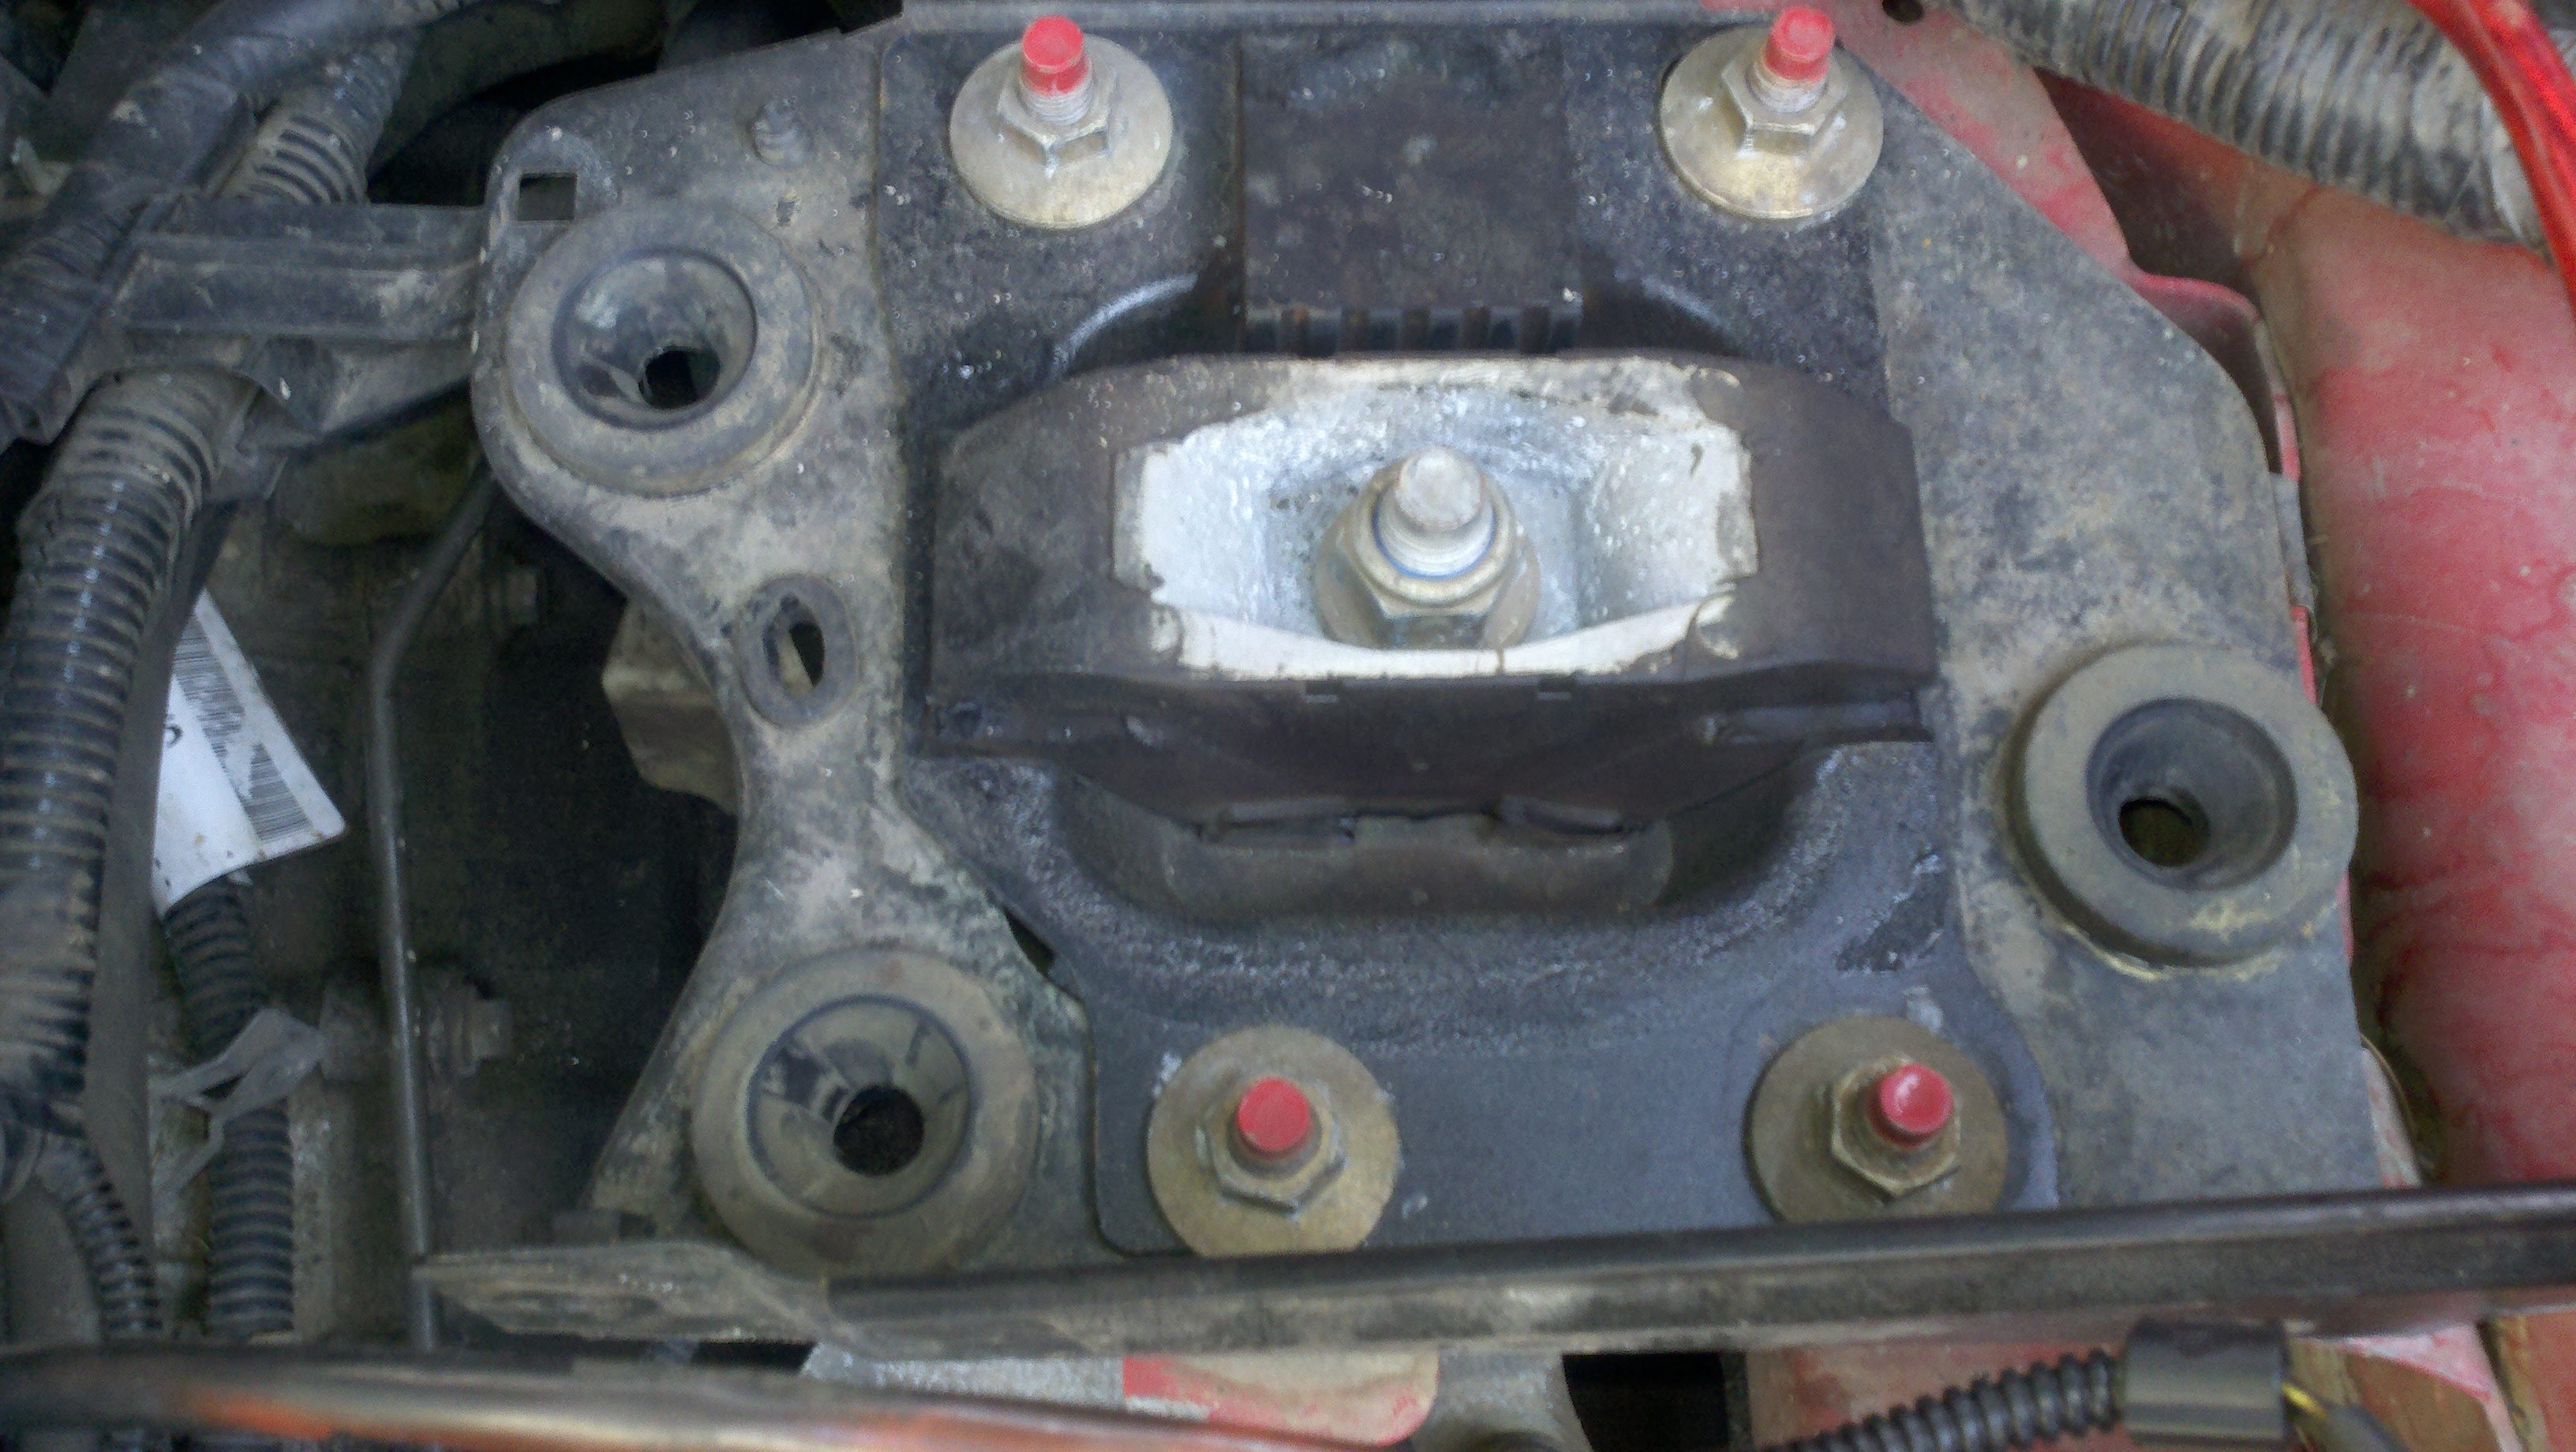
Figure 20
Figure 21
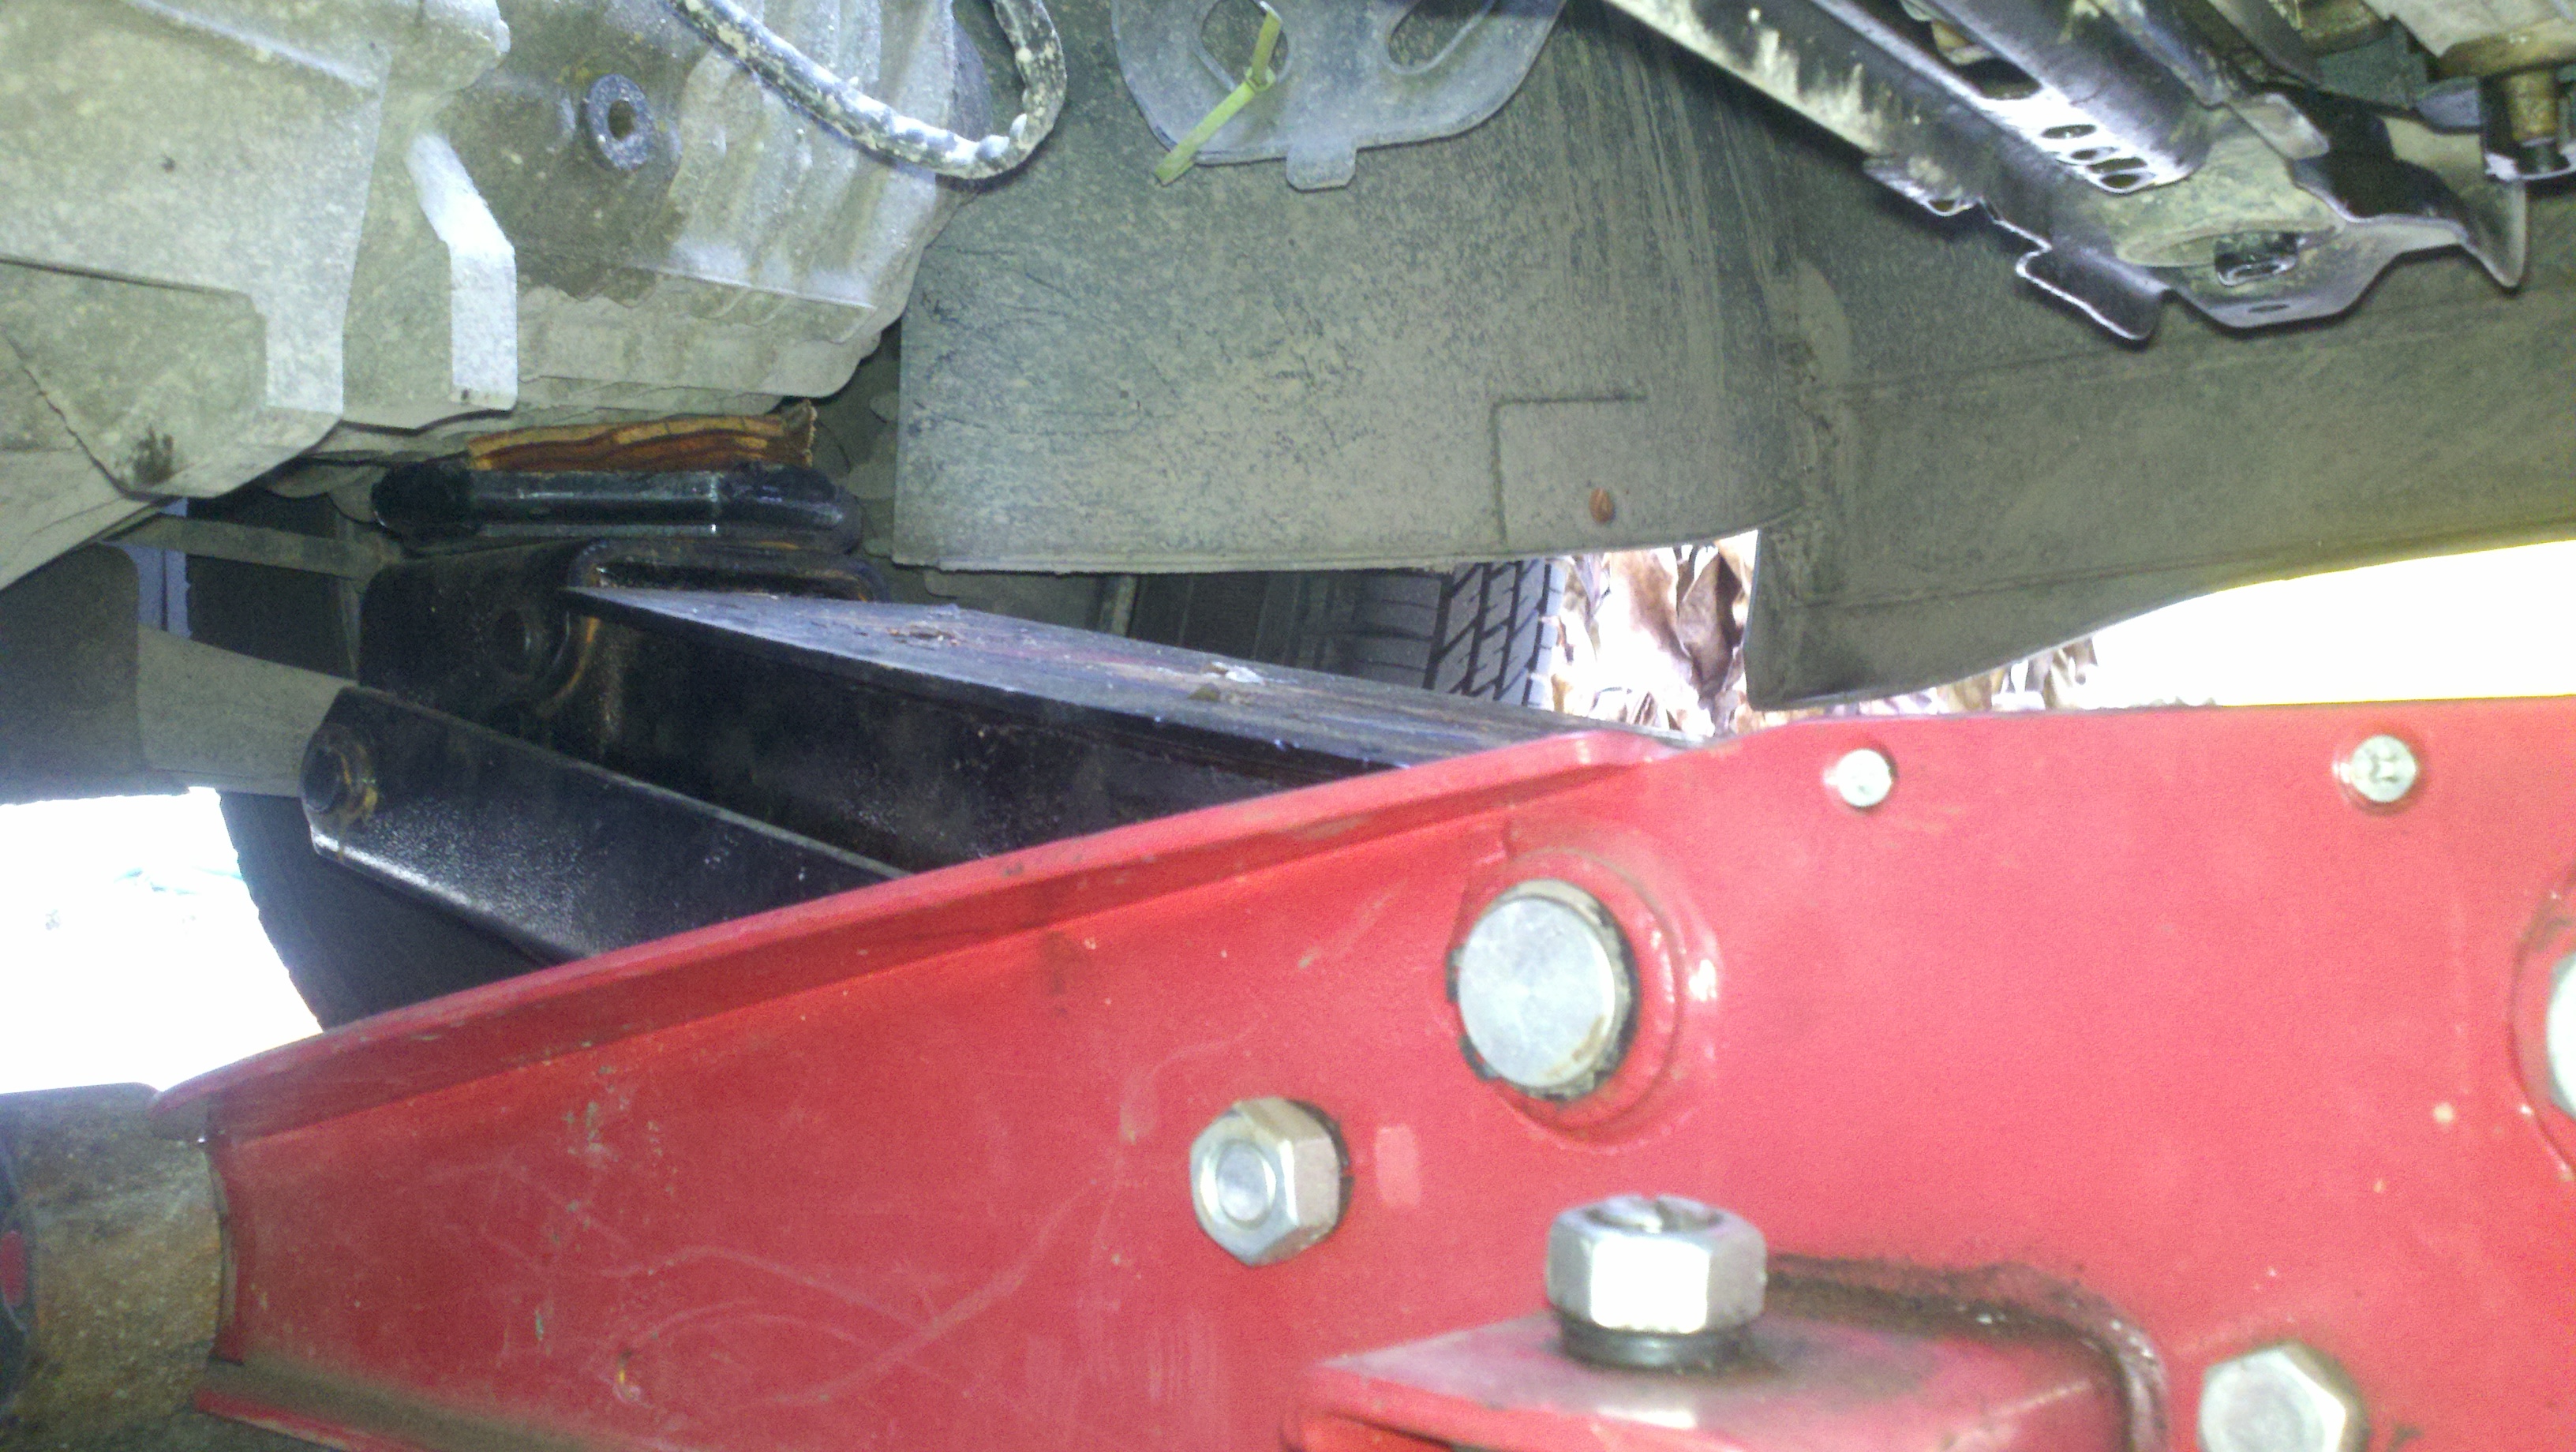
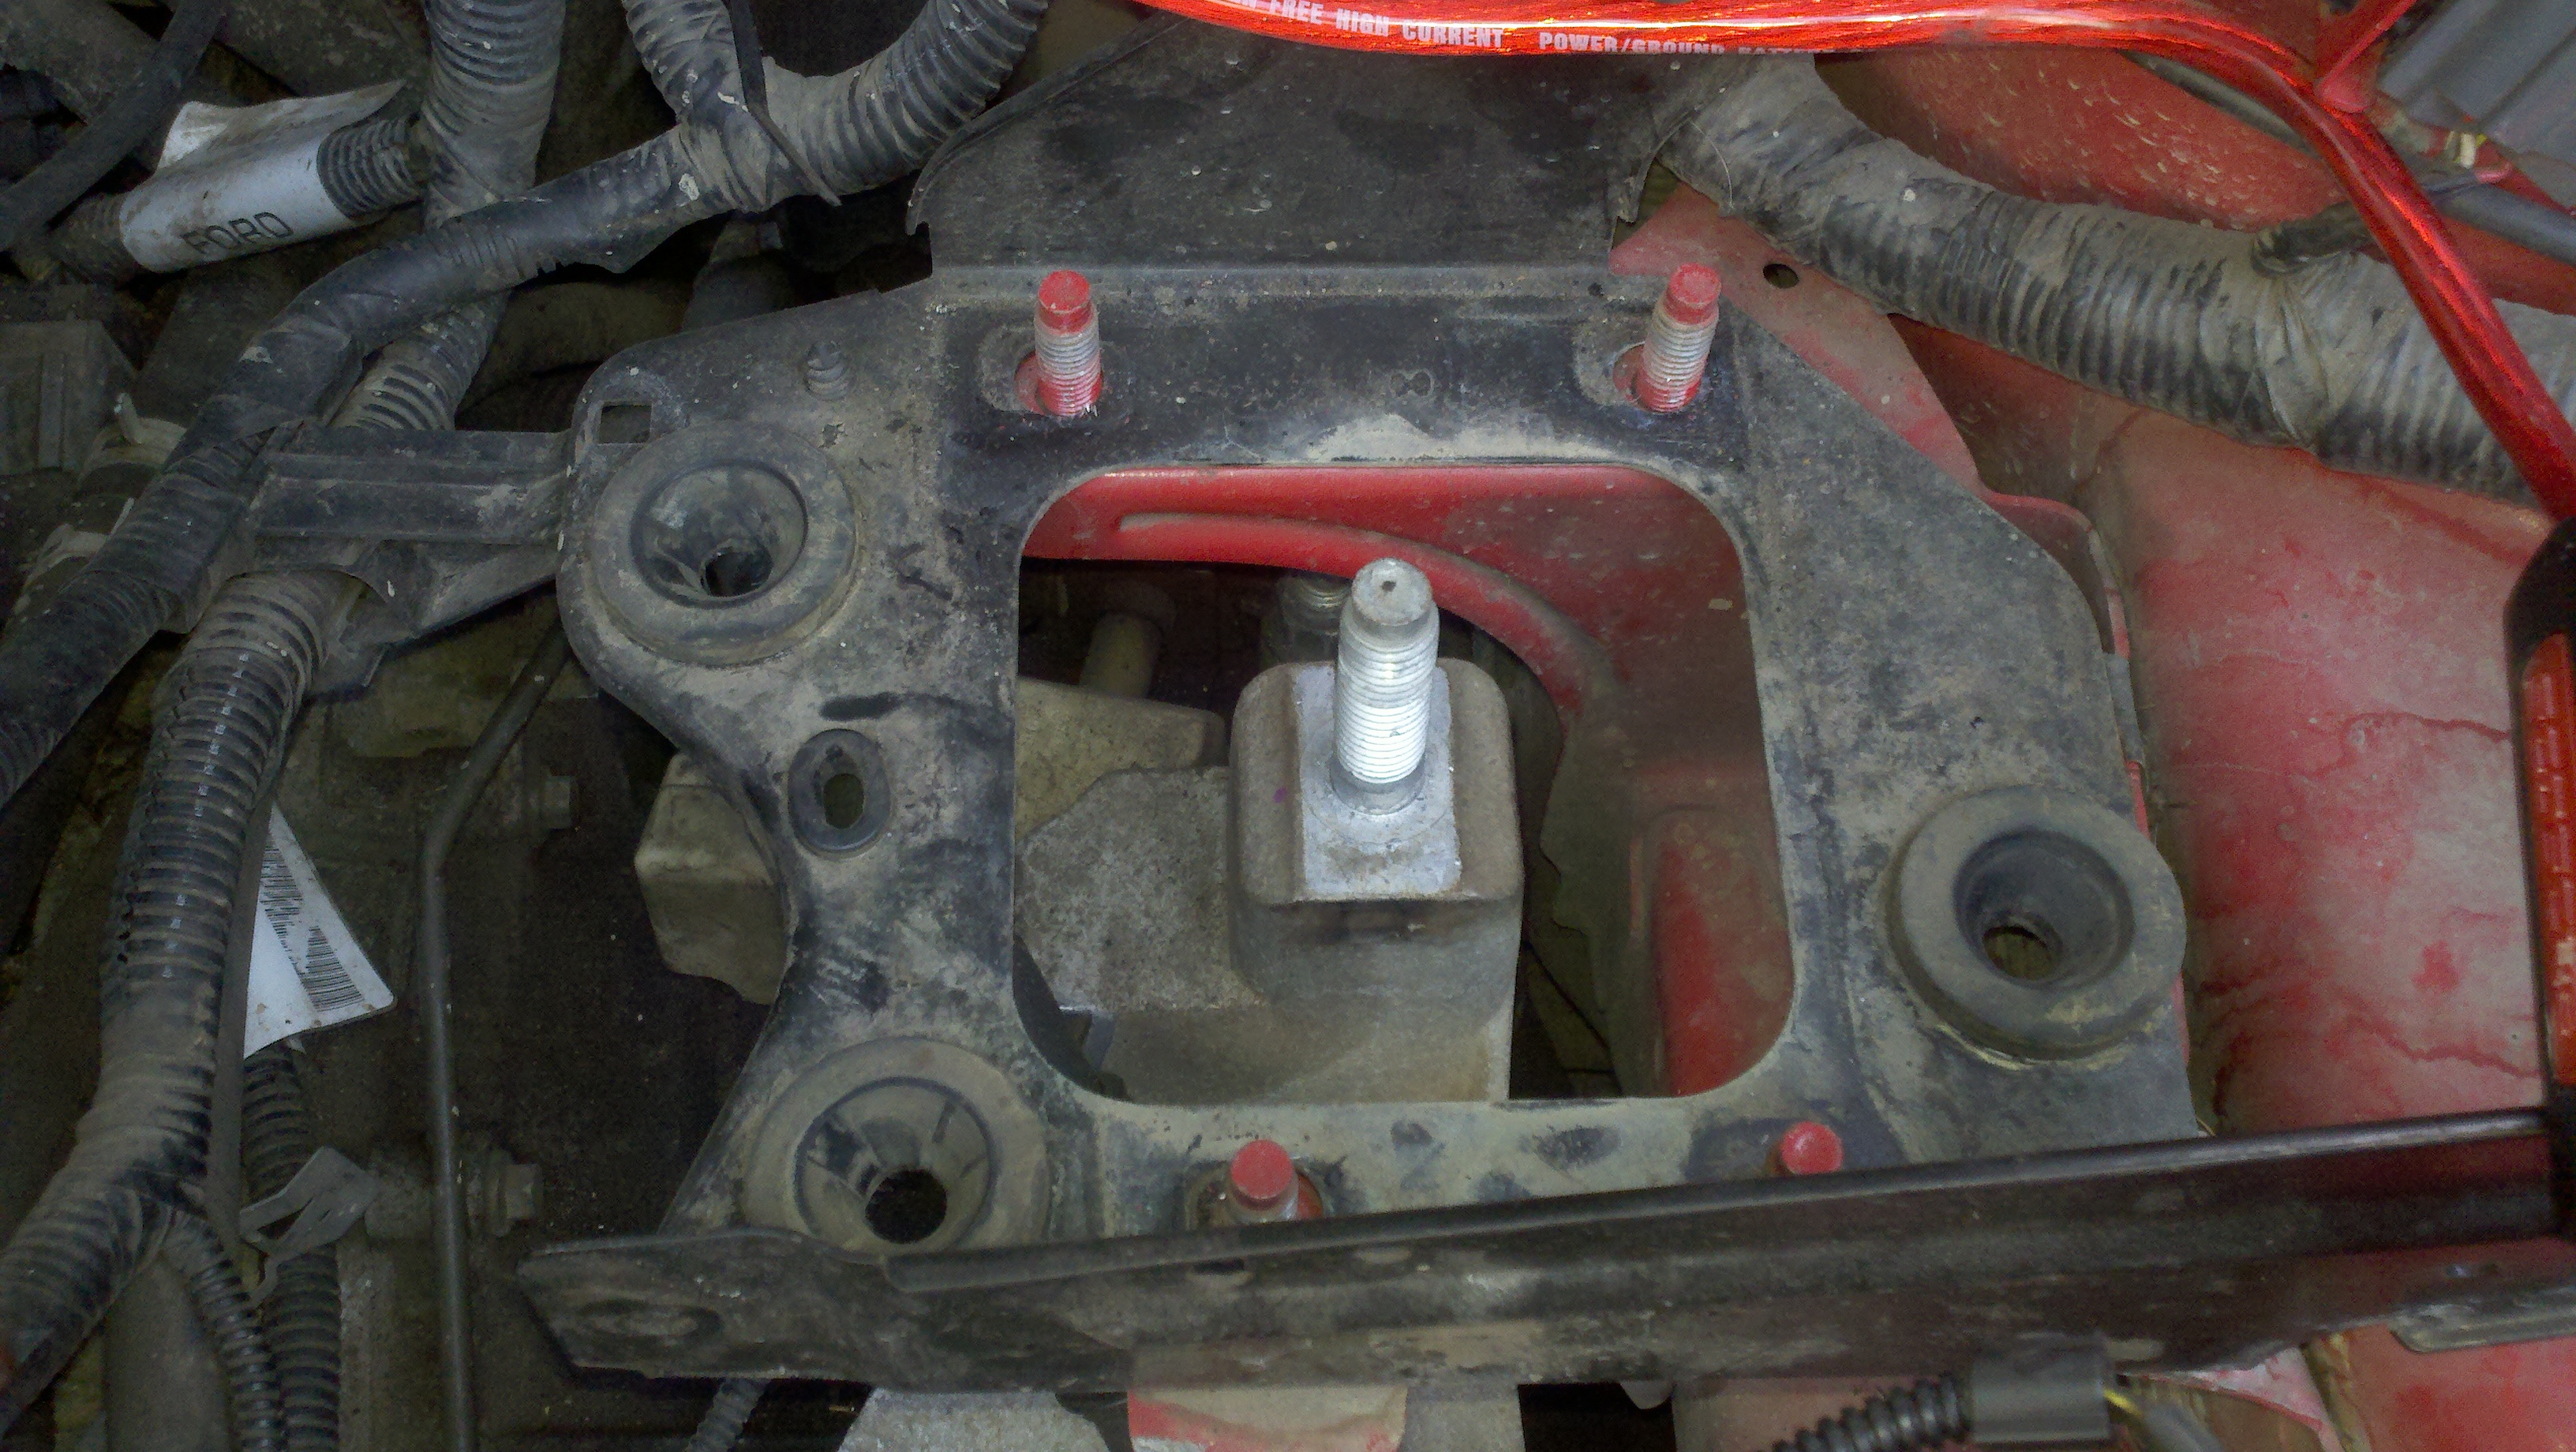
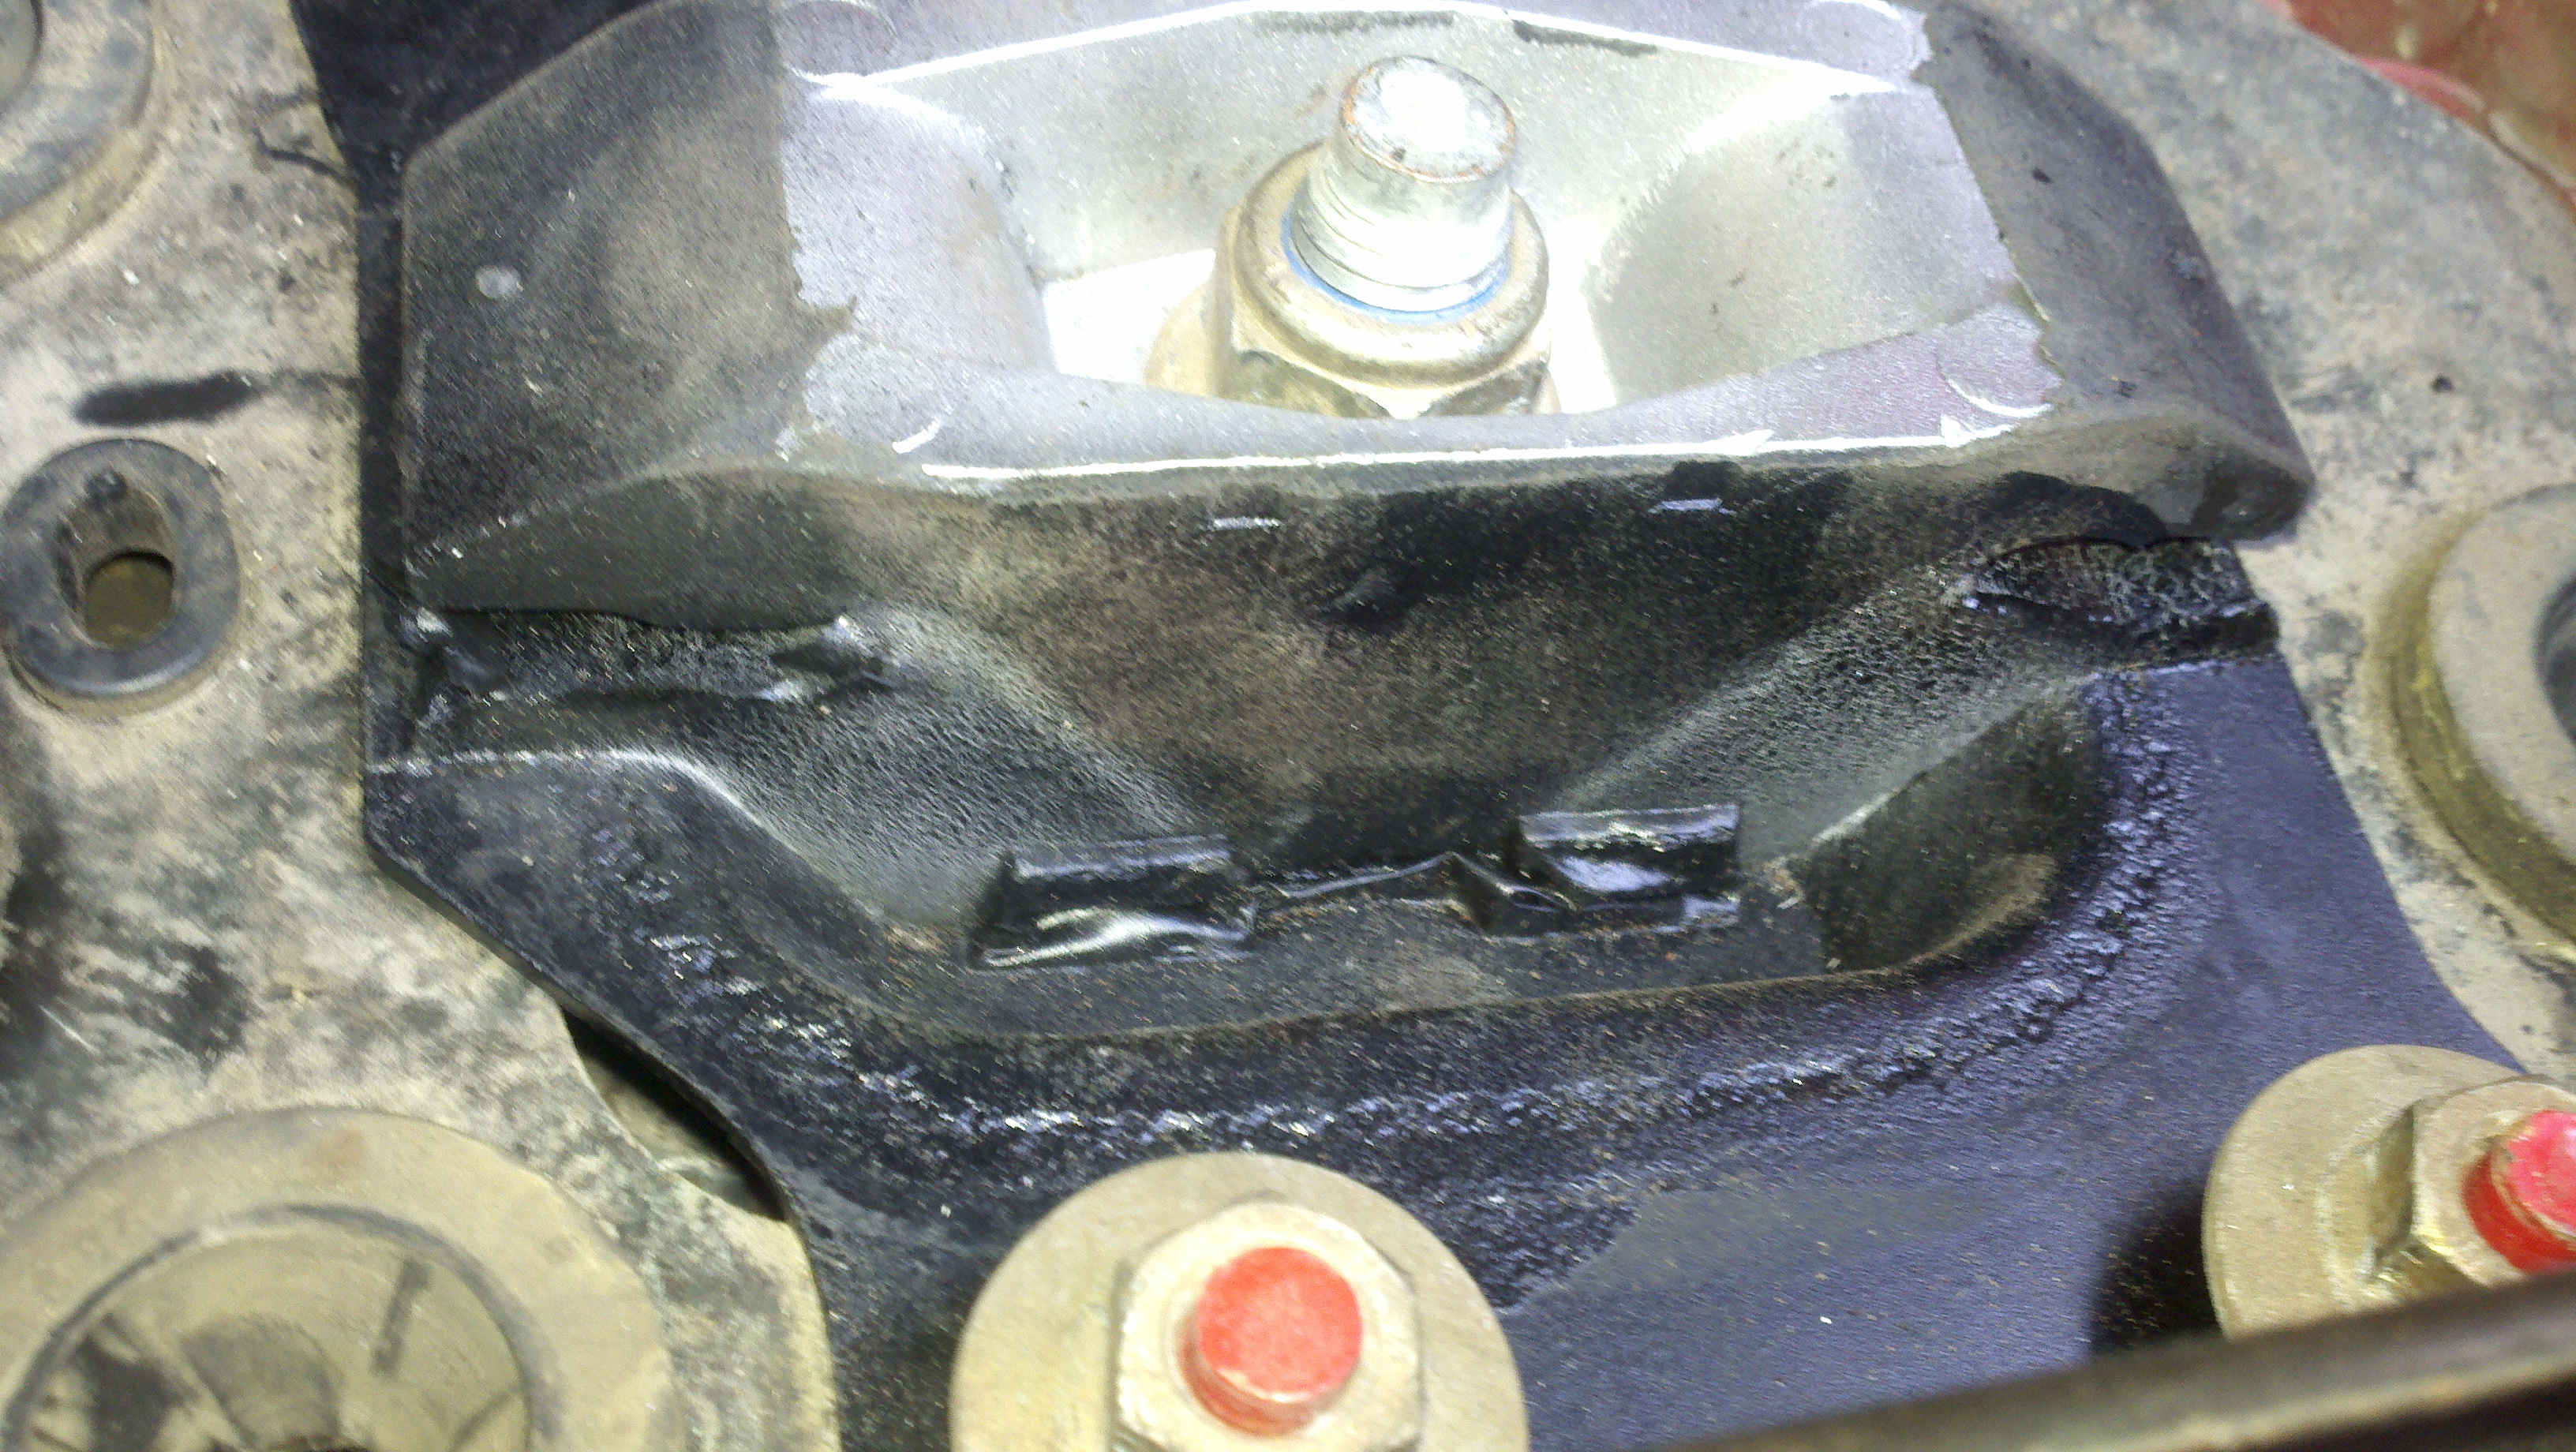
This is the old mount with the full weight of the transmission on it. Notice the distance from the
"ears" to the rubber
Figure 22
Position floor jack with wood block between the jack and the transmission bottom and raise jack
enough to support the transmission
Figure 23
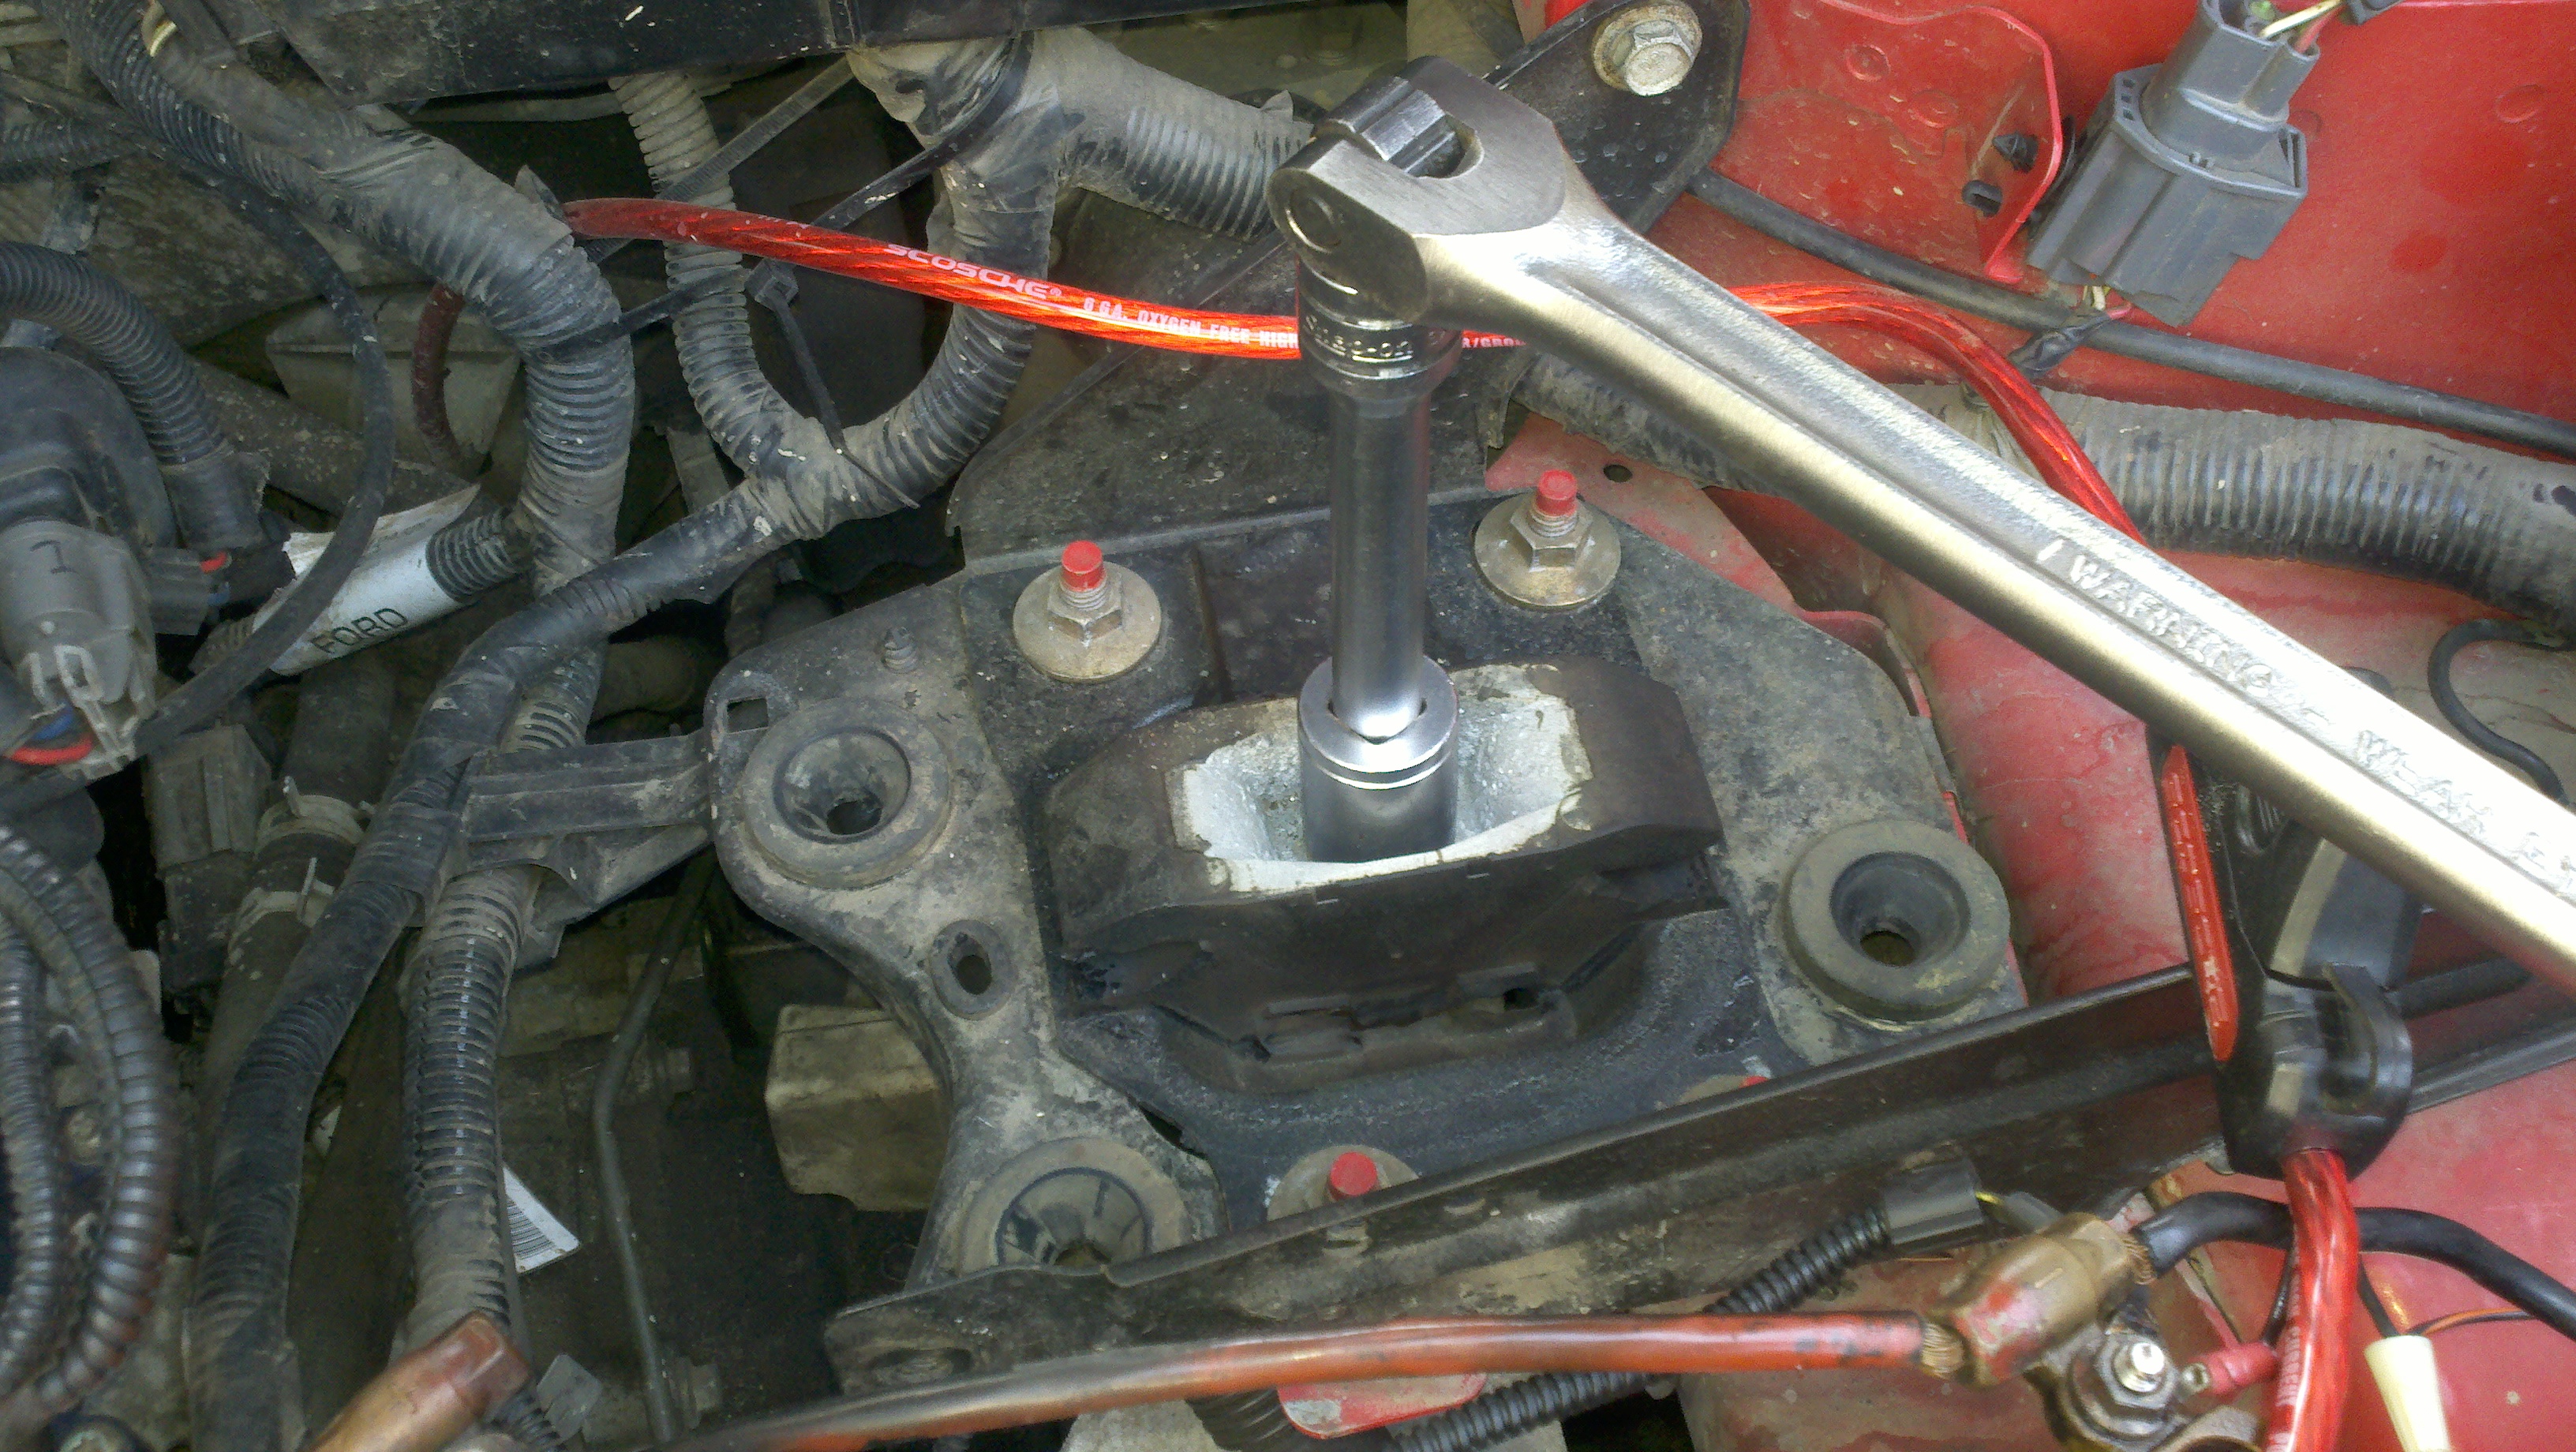
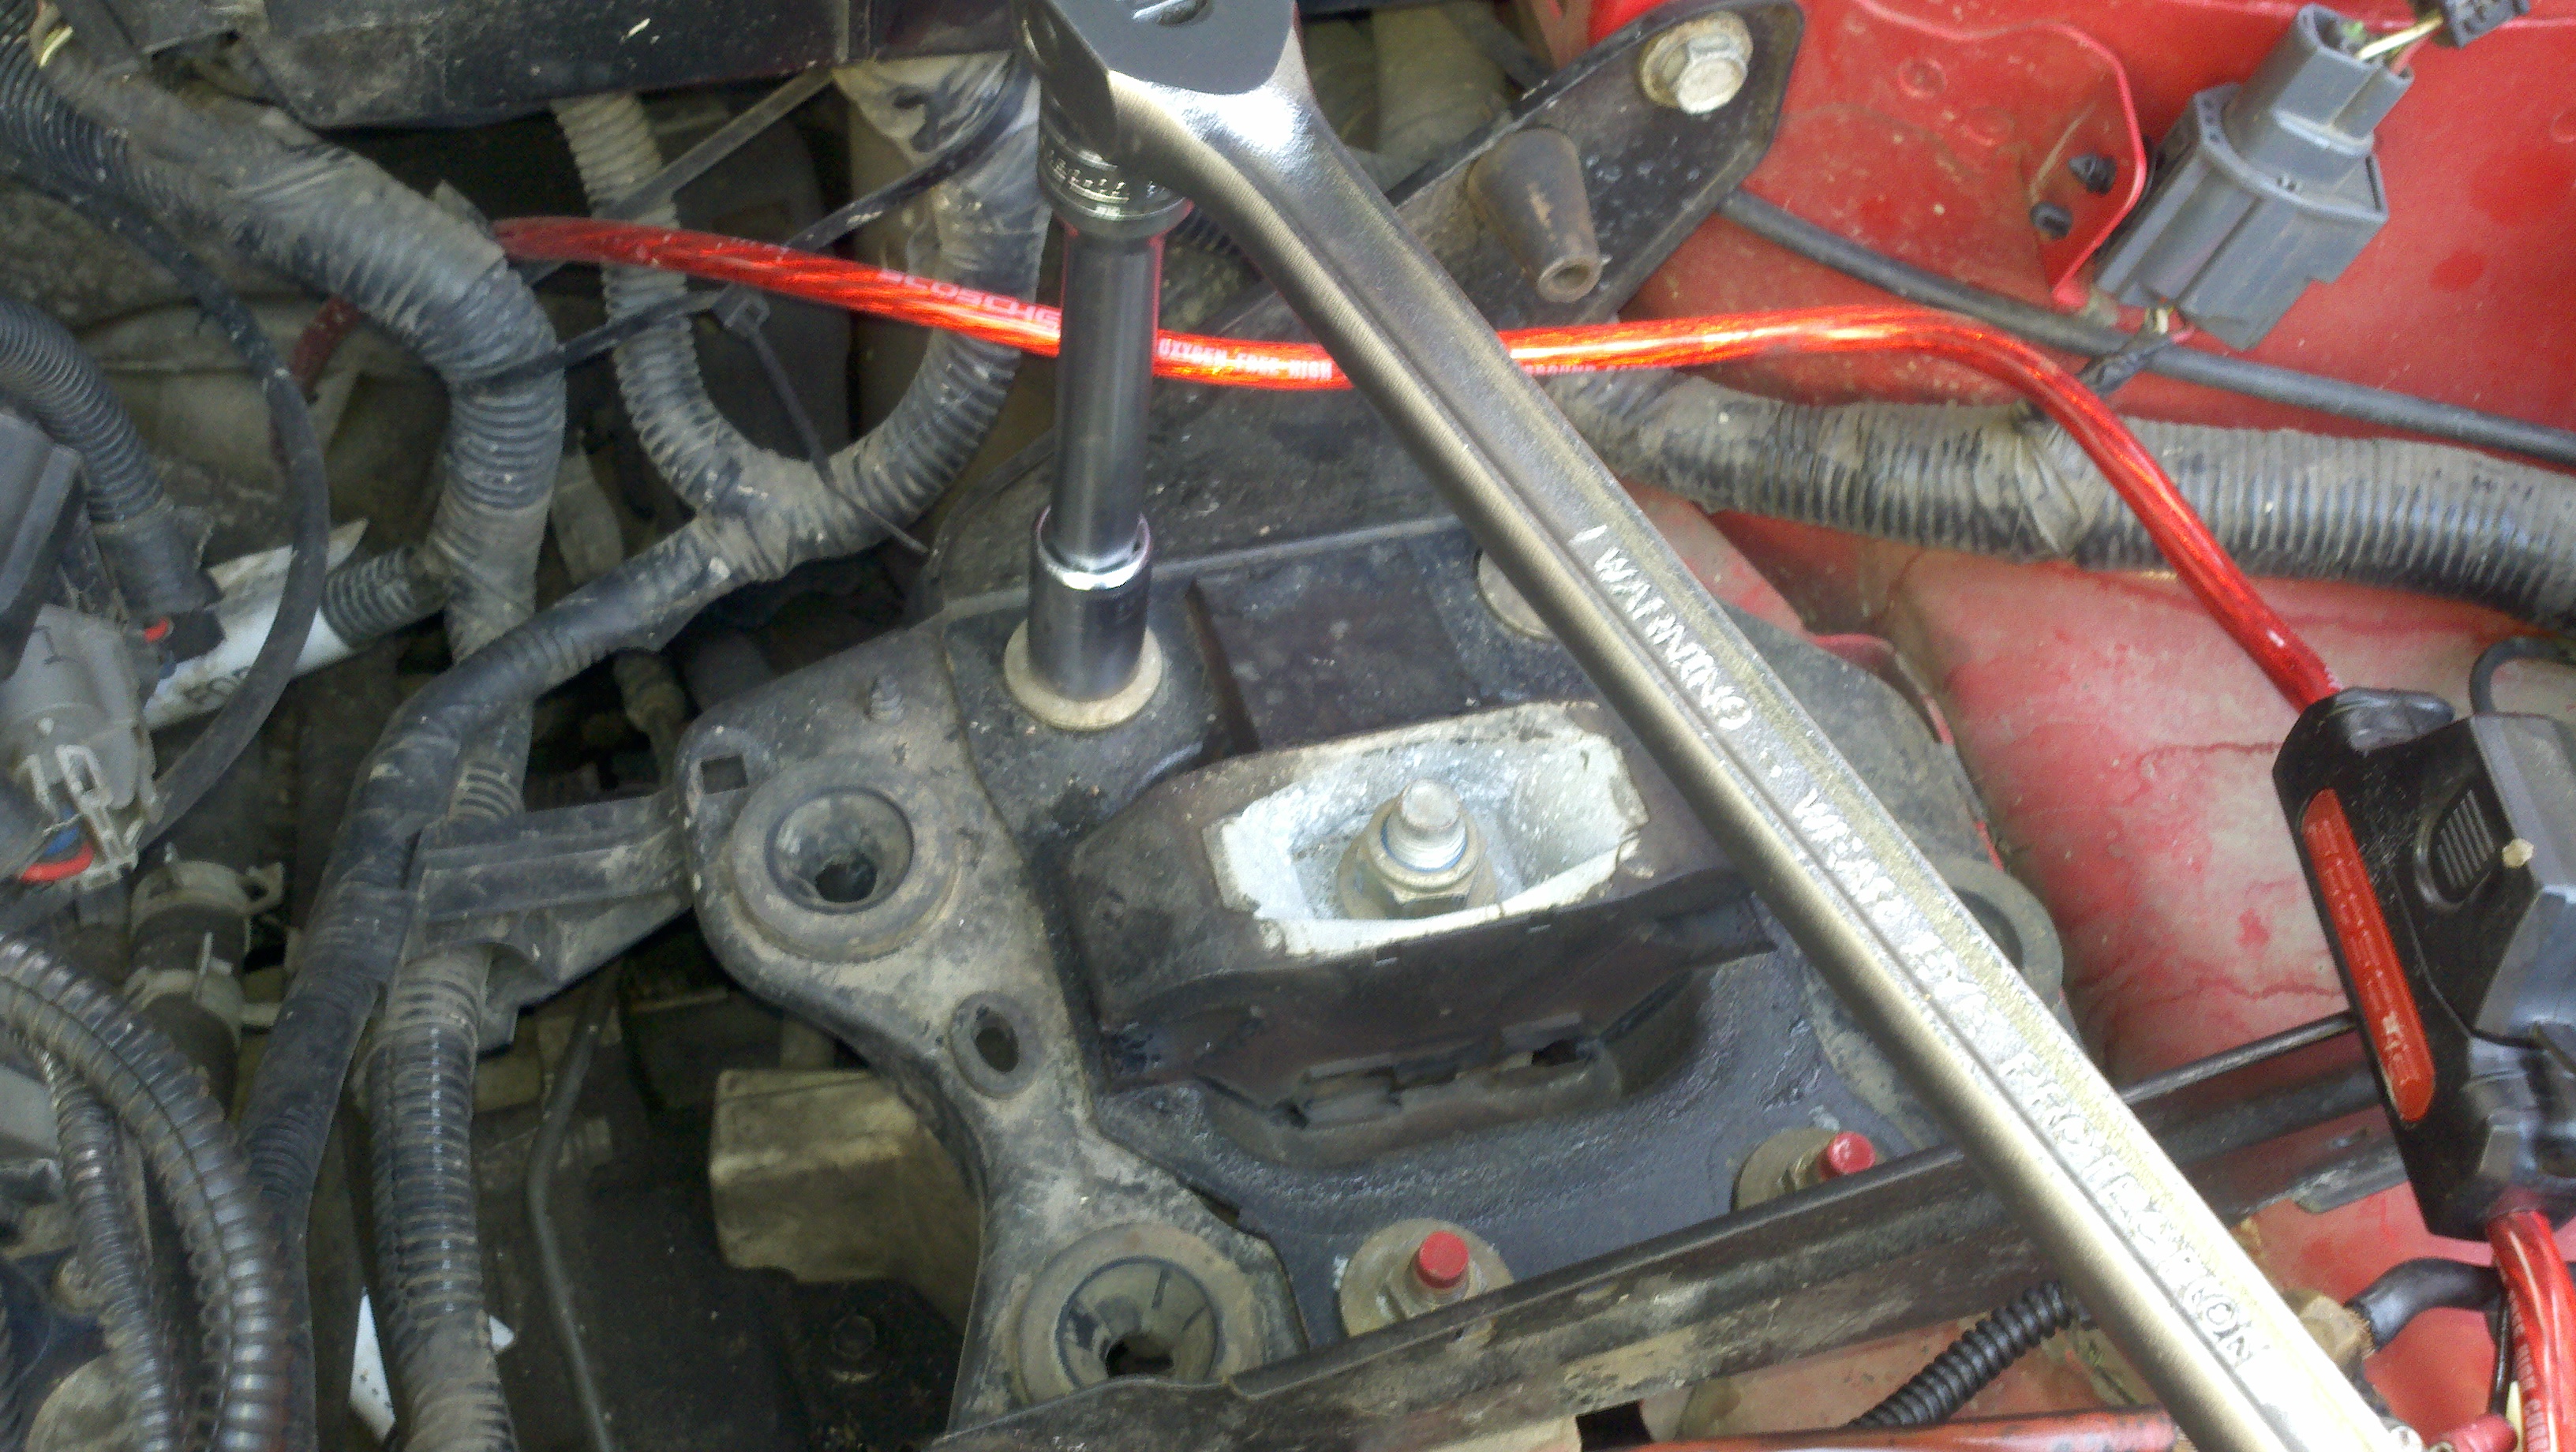
Remove center nut from transmission jack
Figure 24
Remove mount to body nuts
Figure 25
The mount can just be lifted off. Make sure that the transmission is supported by the
floor jack
Figure 26
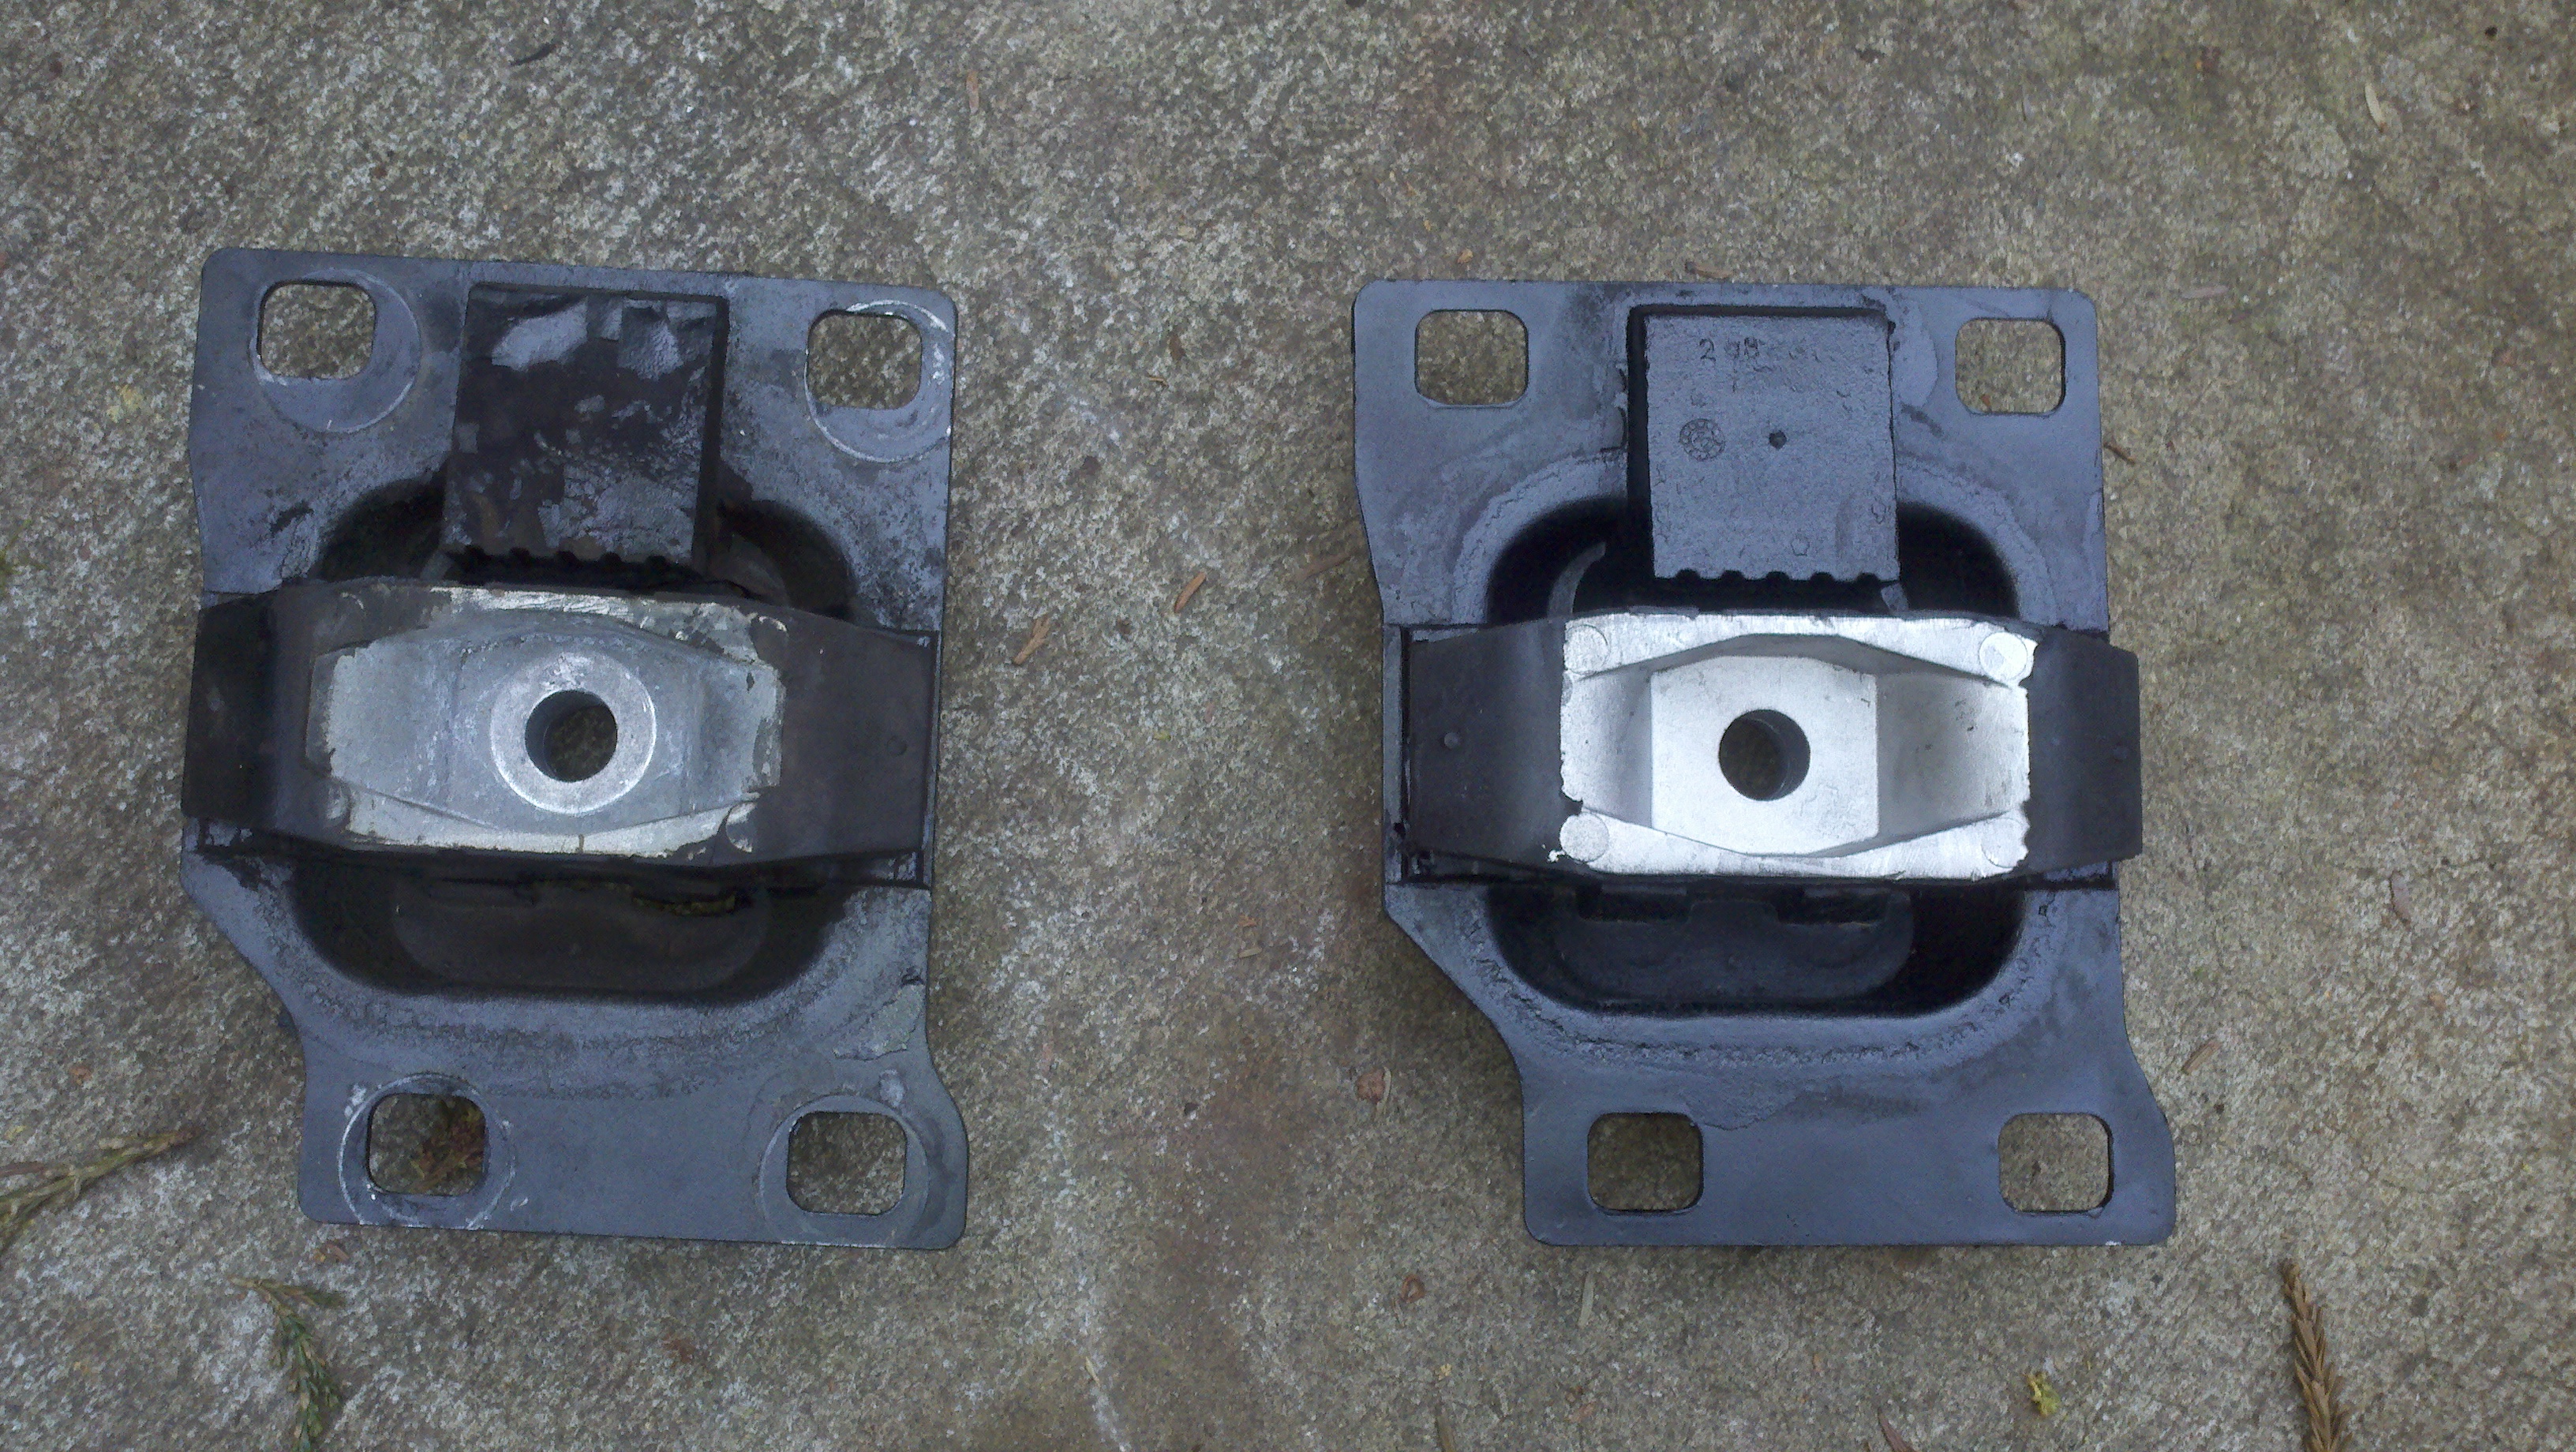
This is a comparison to the old Ford transmission mount and the new Anchor mount. The mounts are
basically identical but theres a little bit of cracking in the old mount. The rubber in the Anchor mount is a little bit firmer, though.
Figure 27
Figure 28
Figure 29
Figure 30
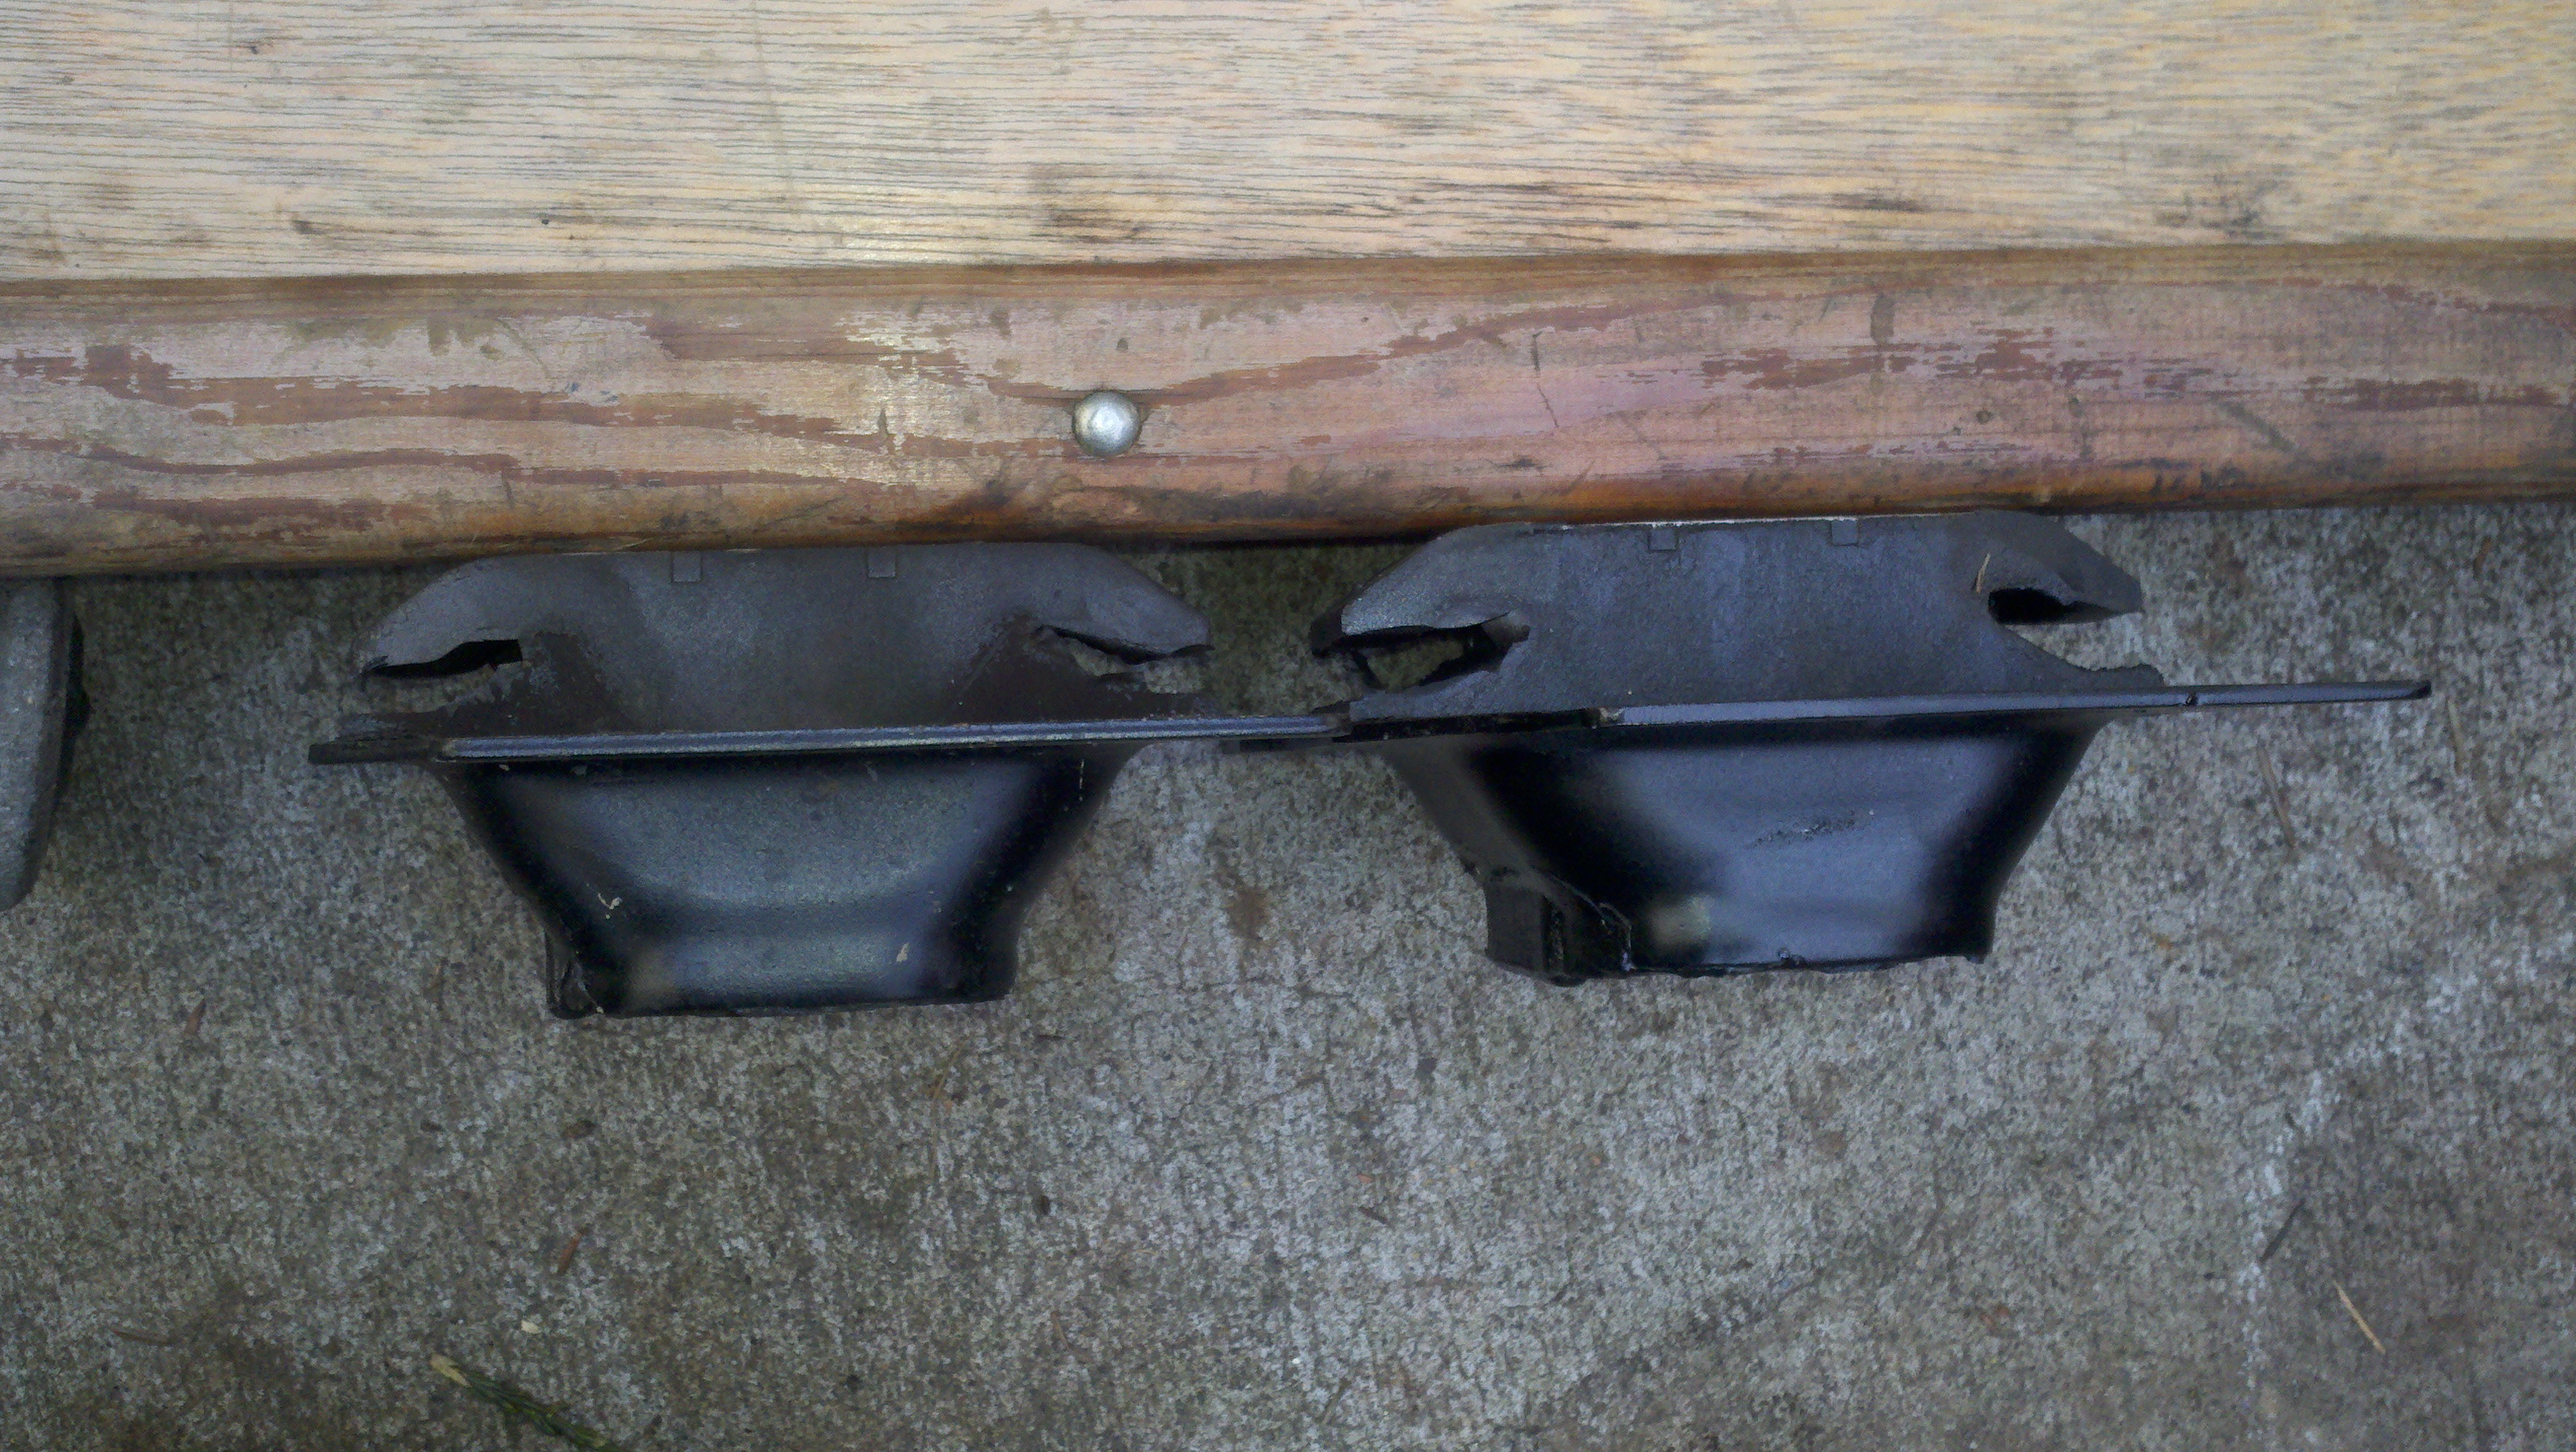
This is the new mount installed with the center nut that holds the mount on to the transmission
tightened up and the body nuts loose to show the slight difference in how compressed the new
mount is compared to the old mount. (the old mount is compressed a little more when it was
in the vehicle) Tighten the 4 mount to body nuts down all the way then back them off a couple turns so that they are loose.
Figure 31
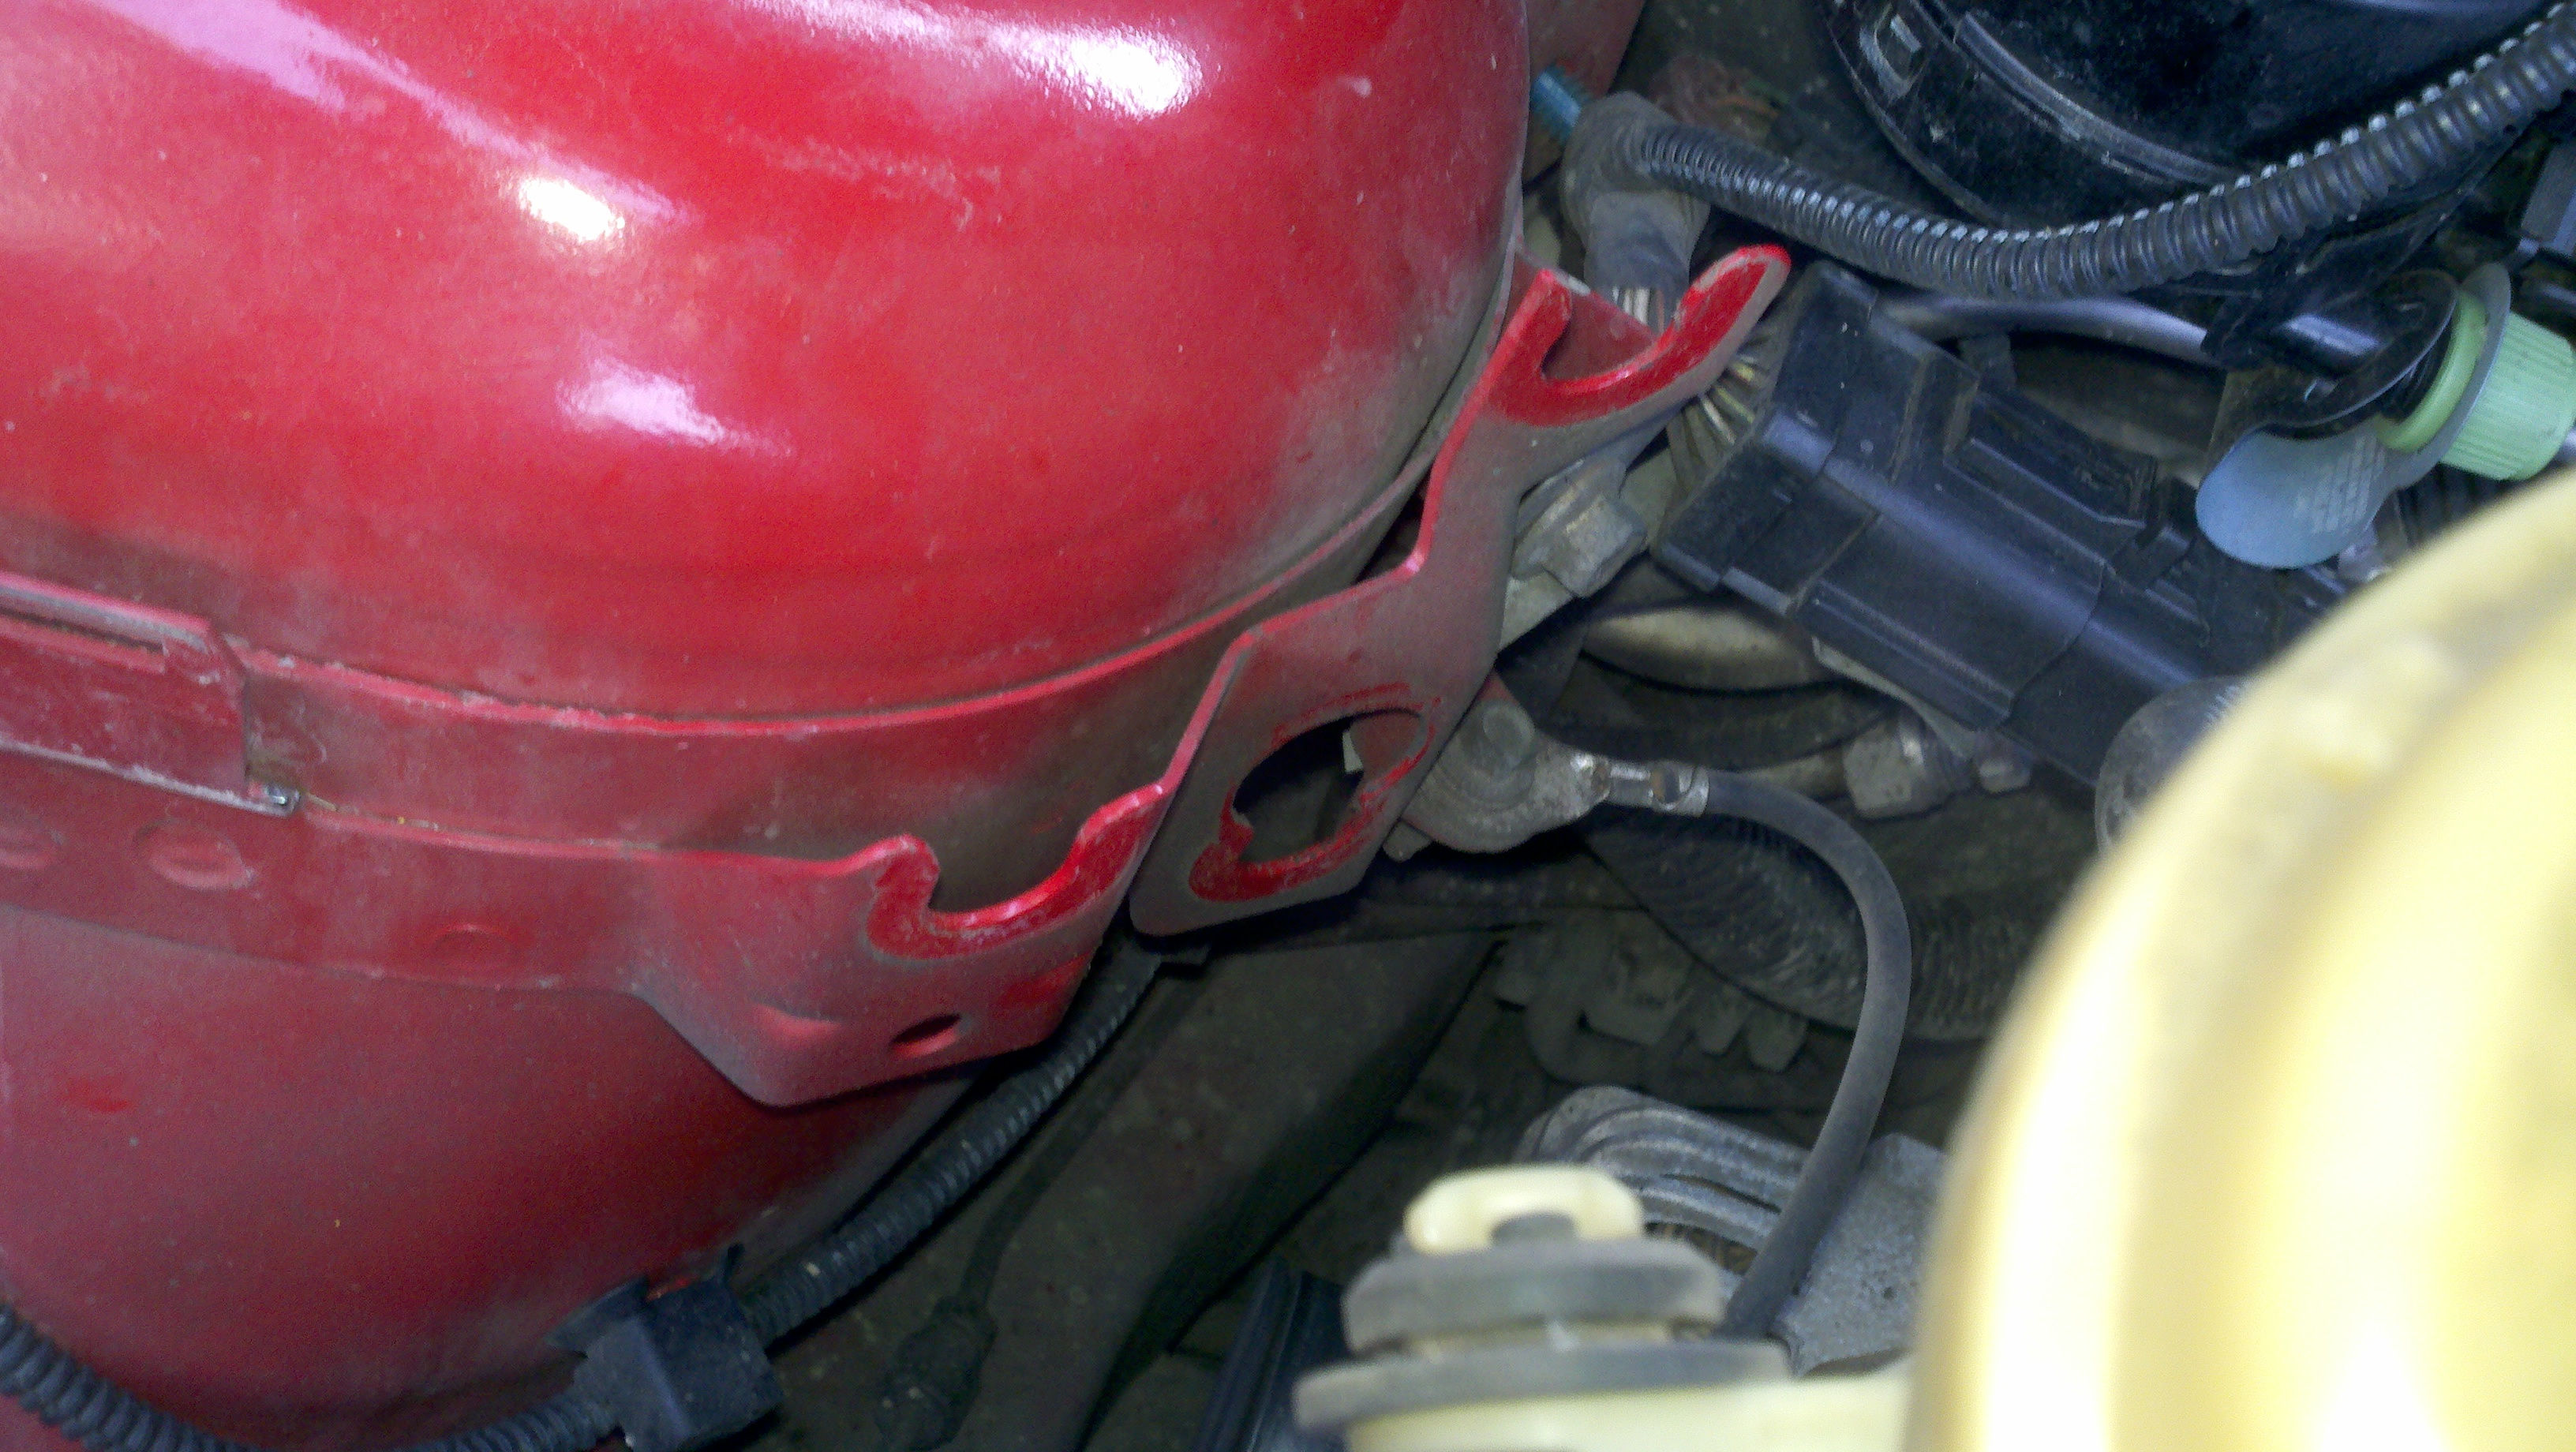
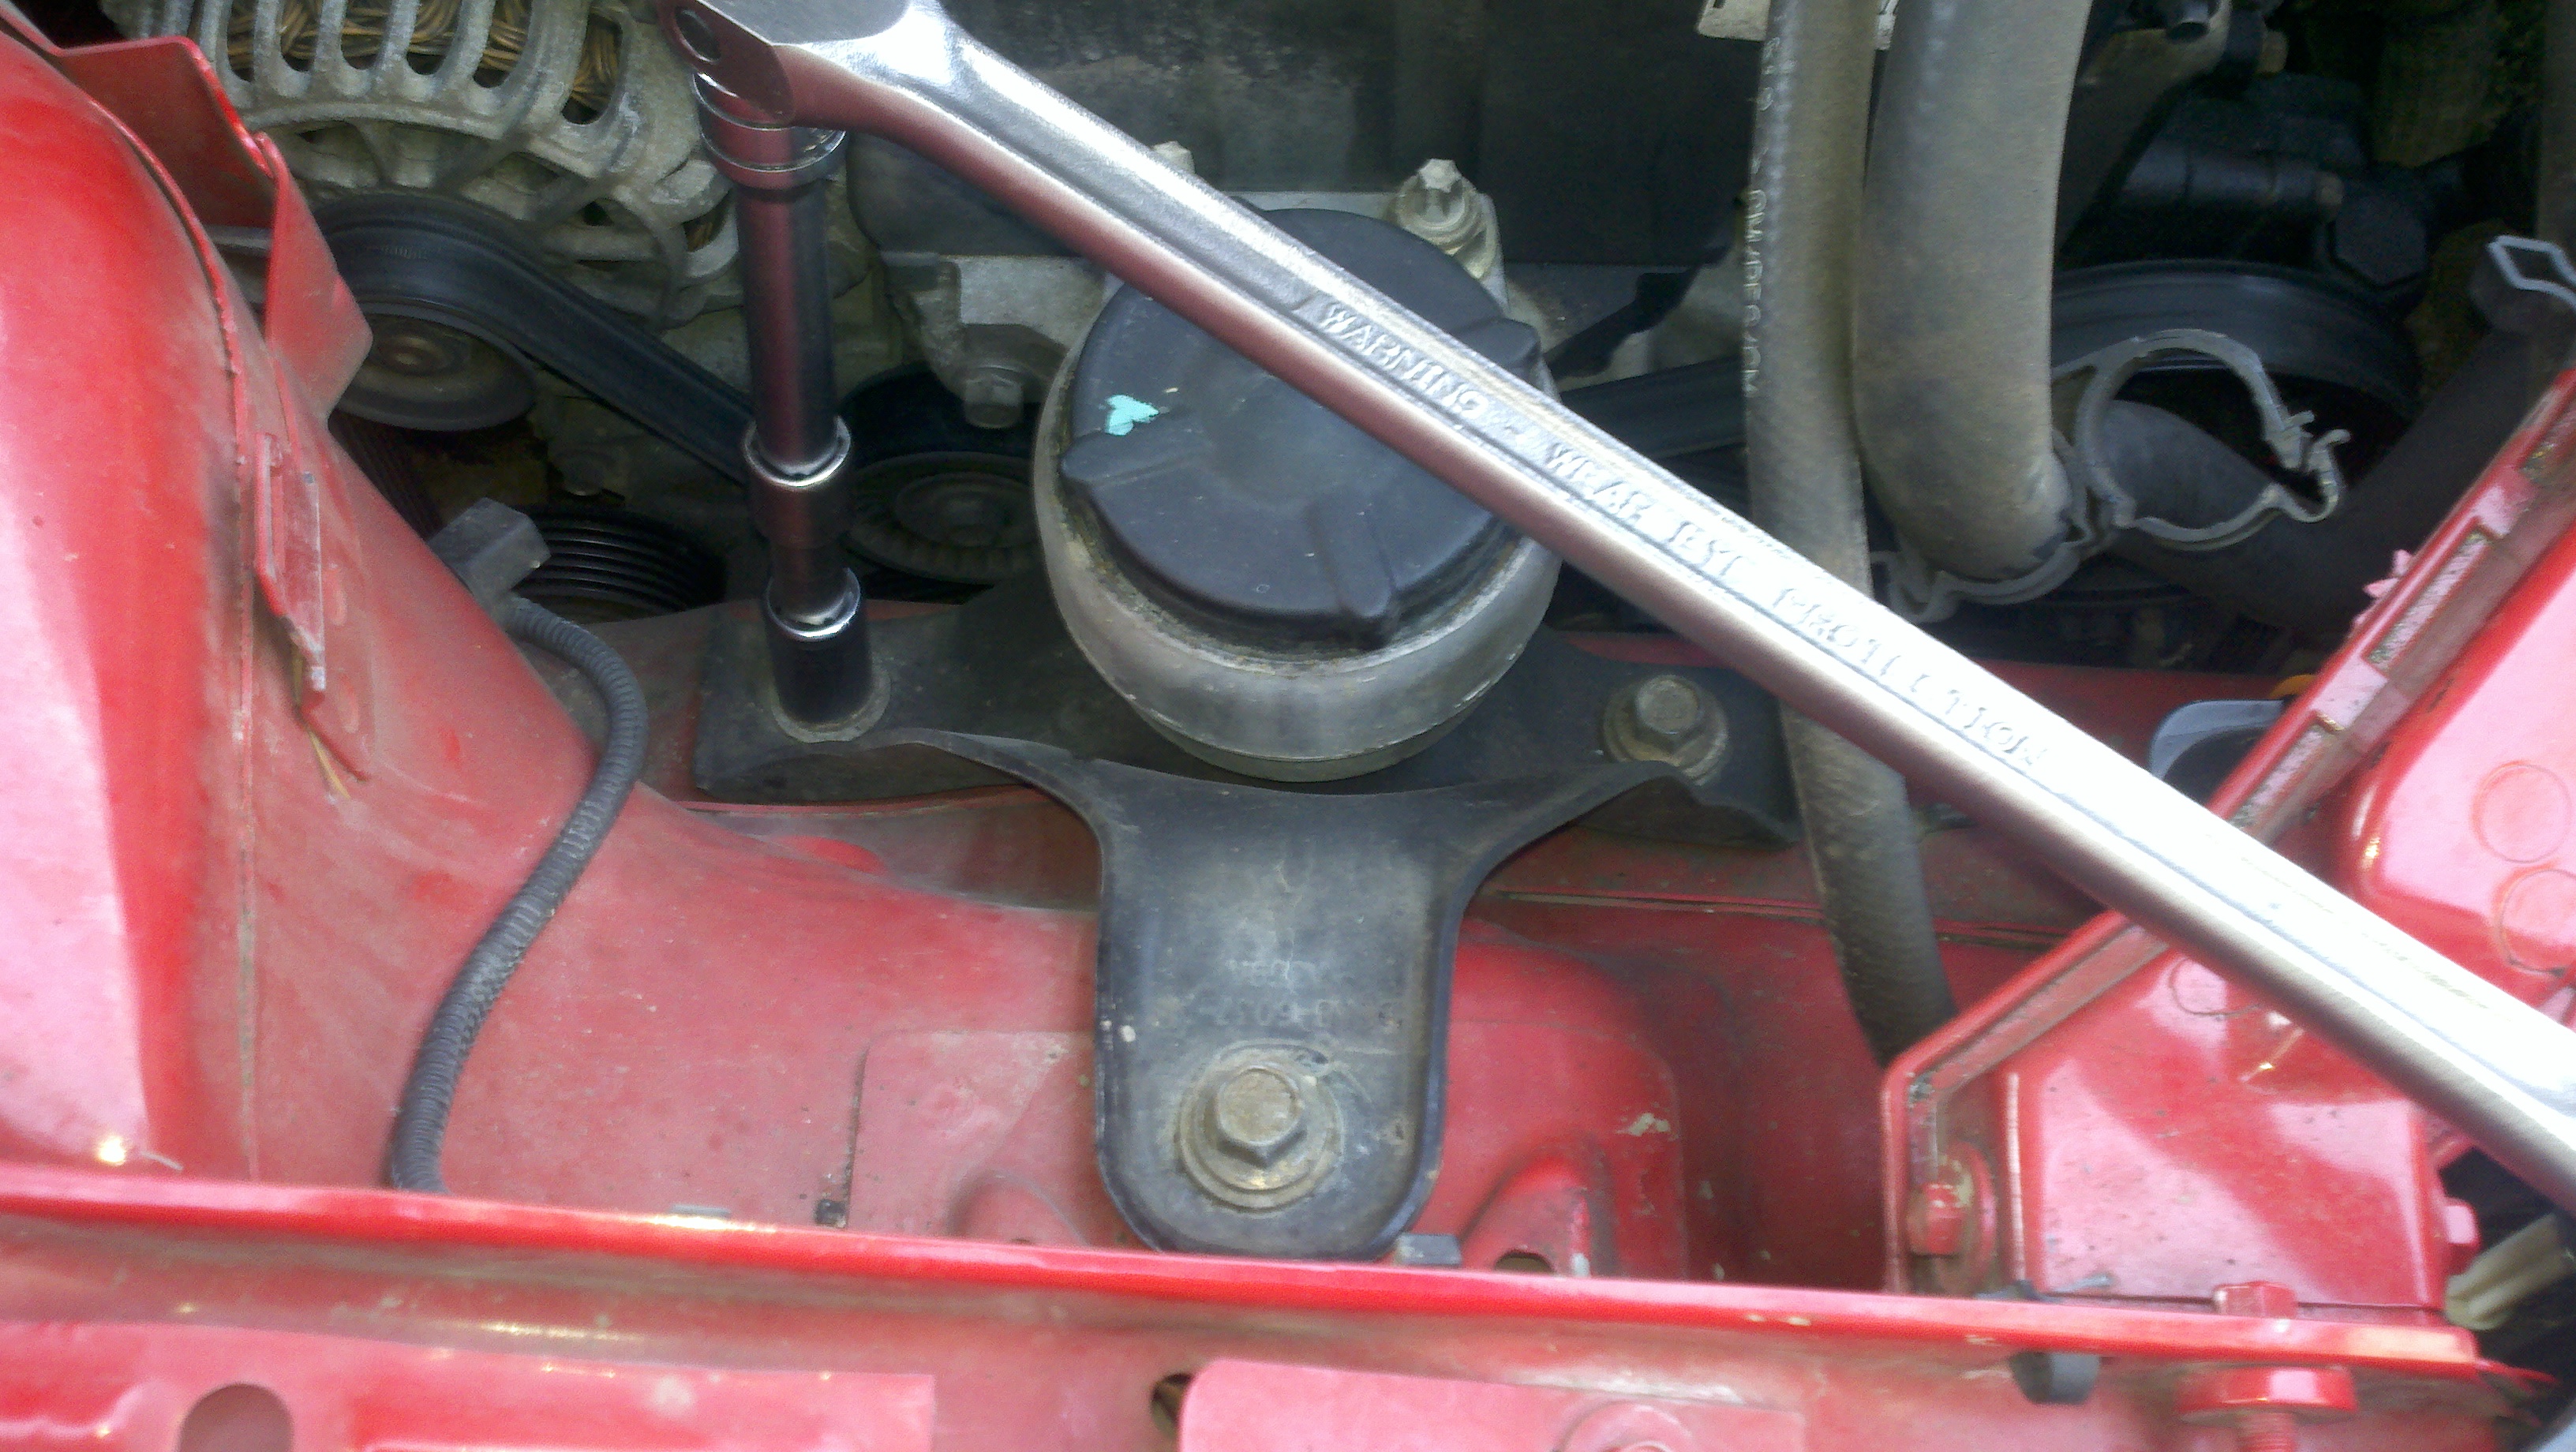
Last to install is the passenger mount. Remove the bolt holding the coolant tank
Figure 32
Detach the coolant tank clip from the shock tower
Figure 33
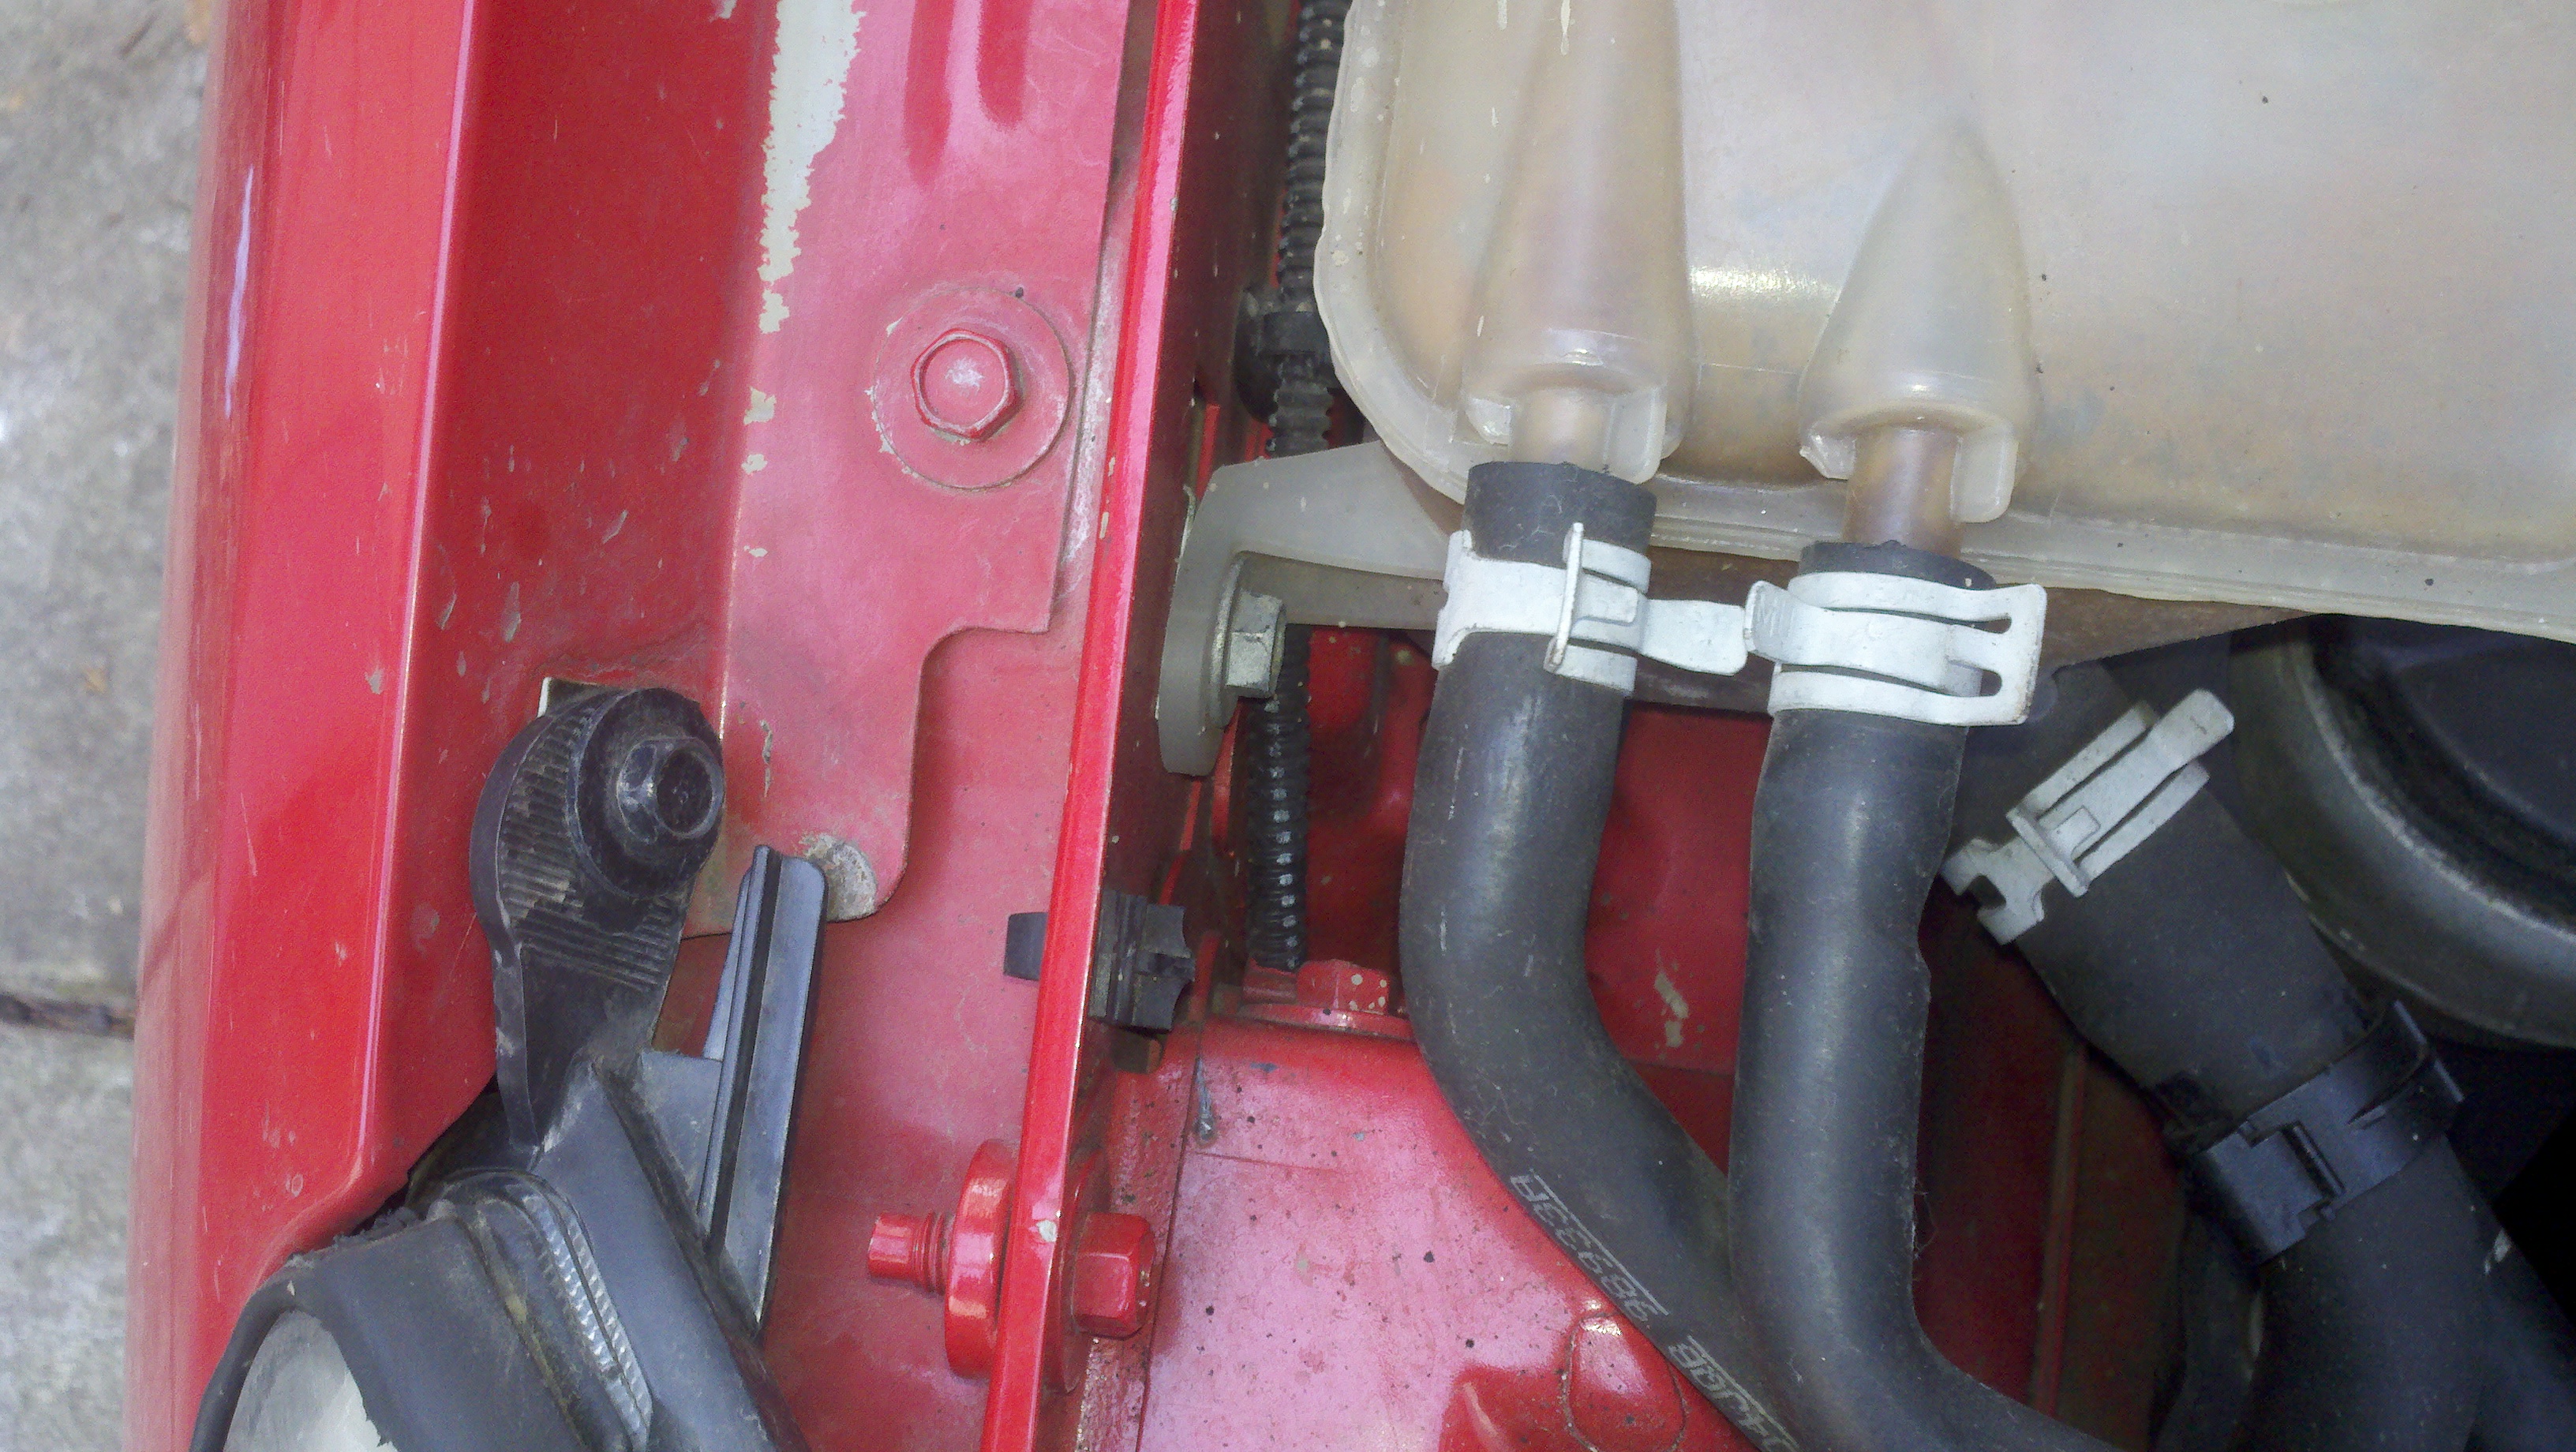
detach the clip holding the coolant hose from the power steering hose
Figure 34
Move the coolant tank out of the way
Figure 35
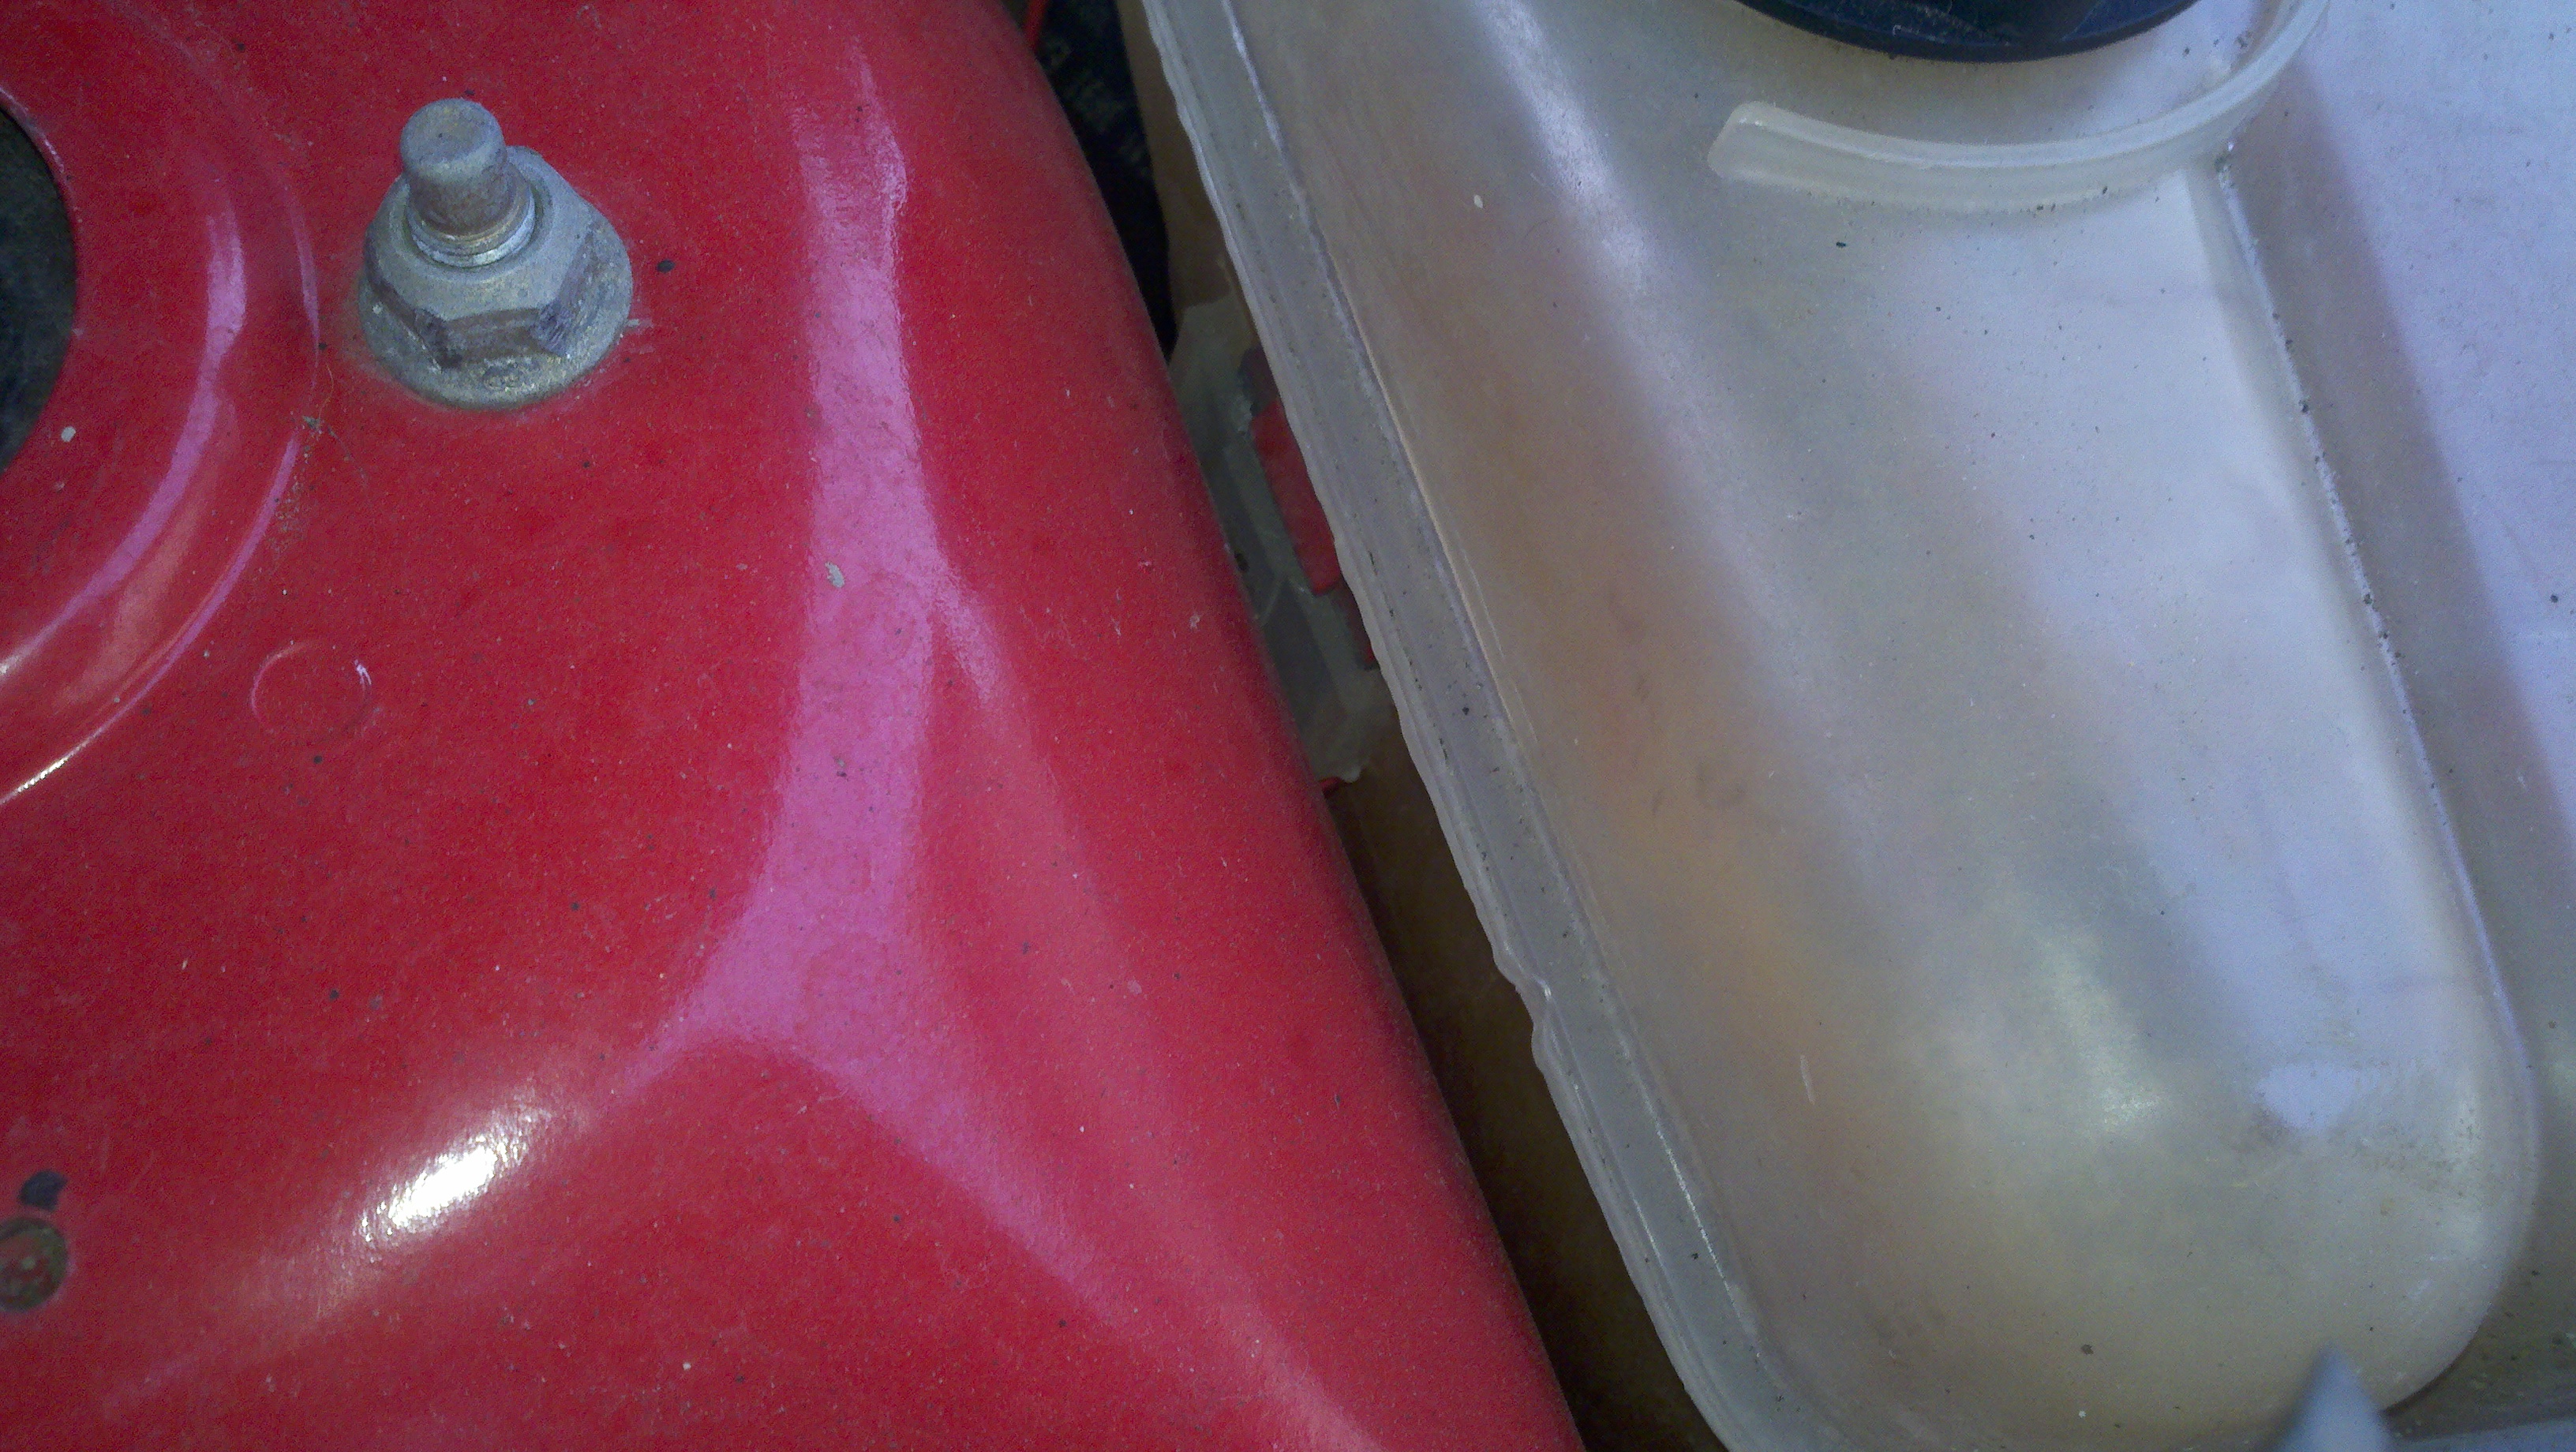
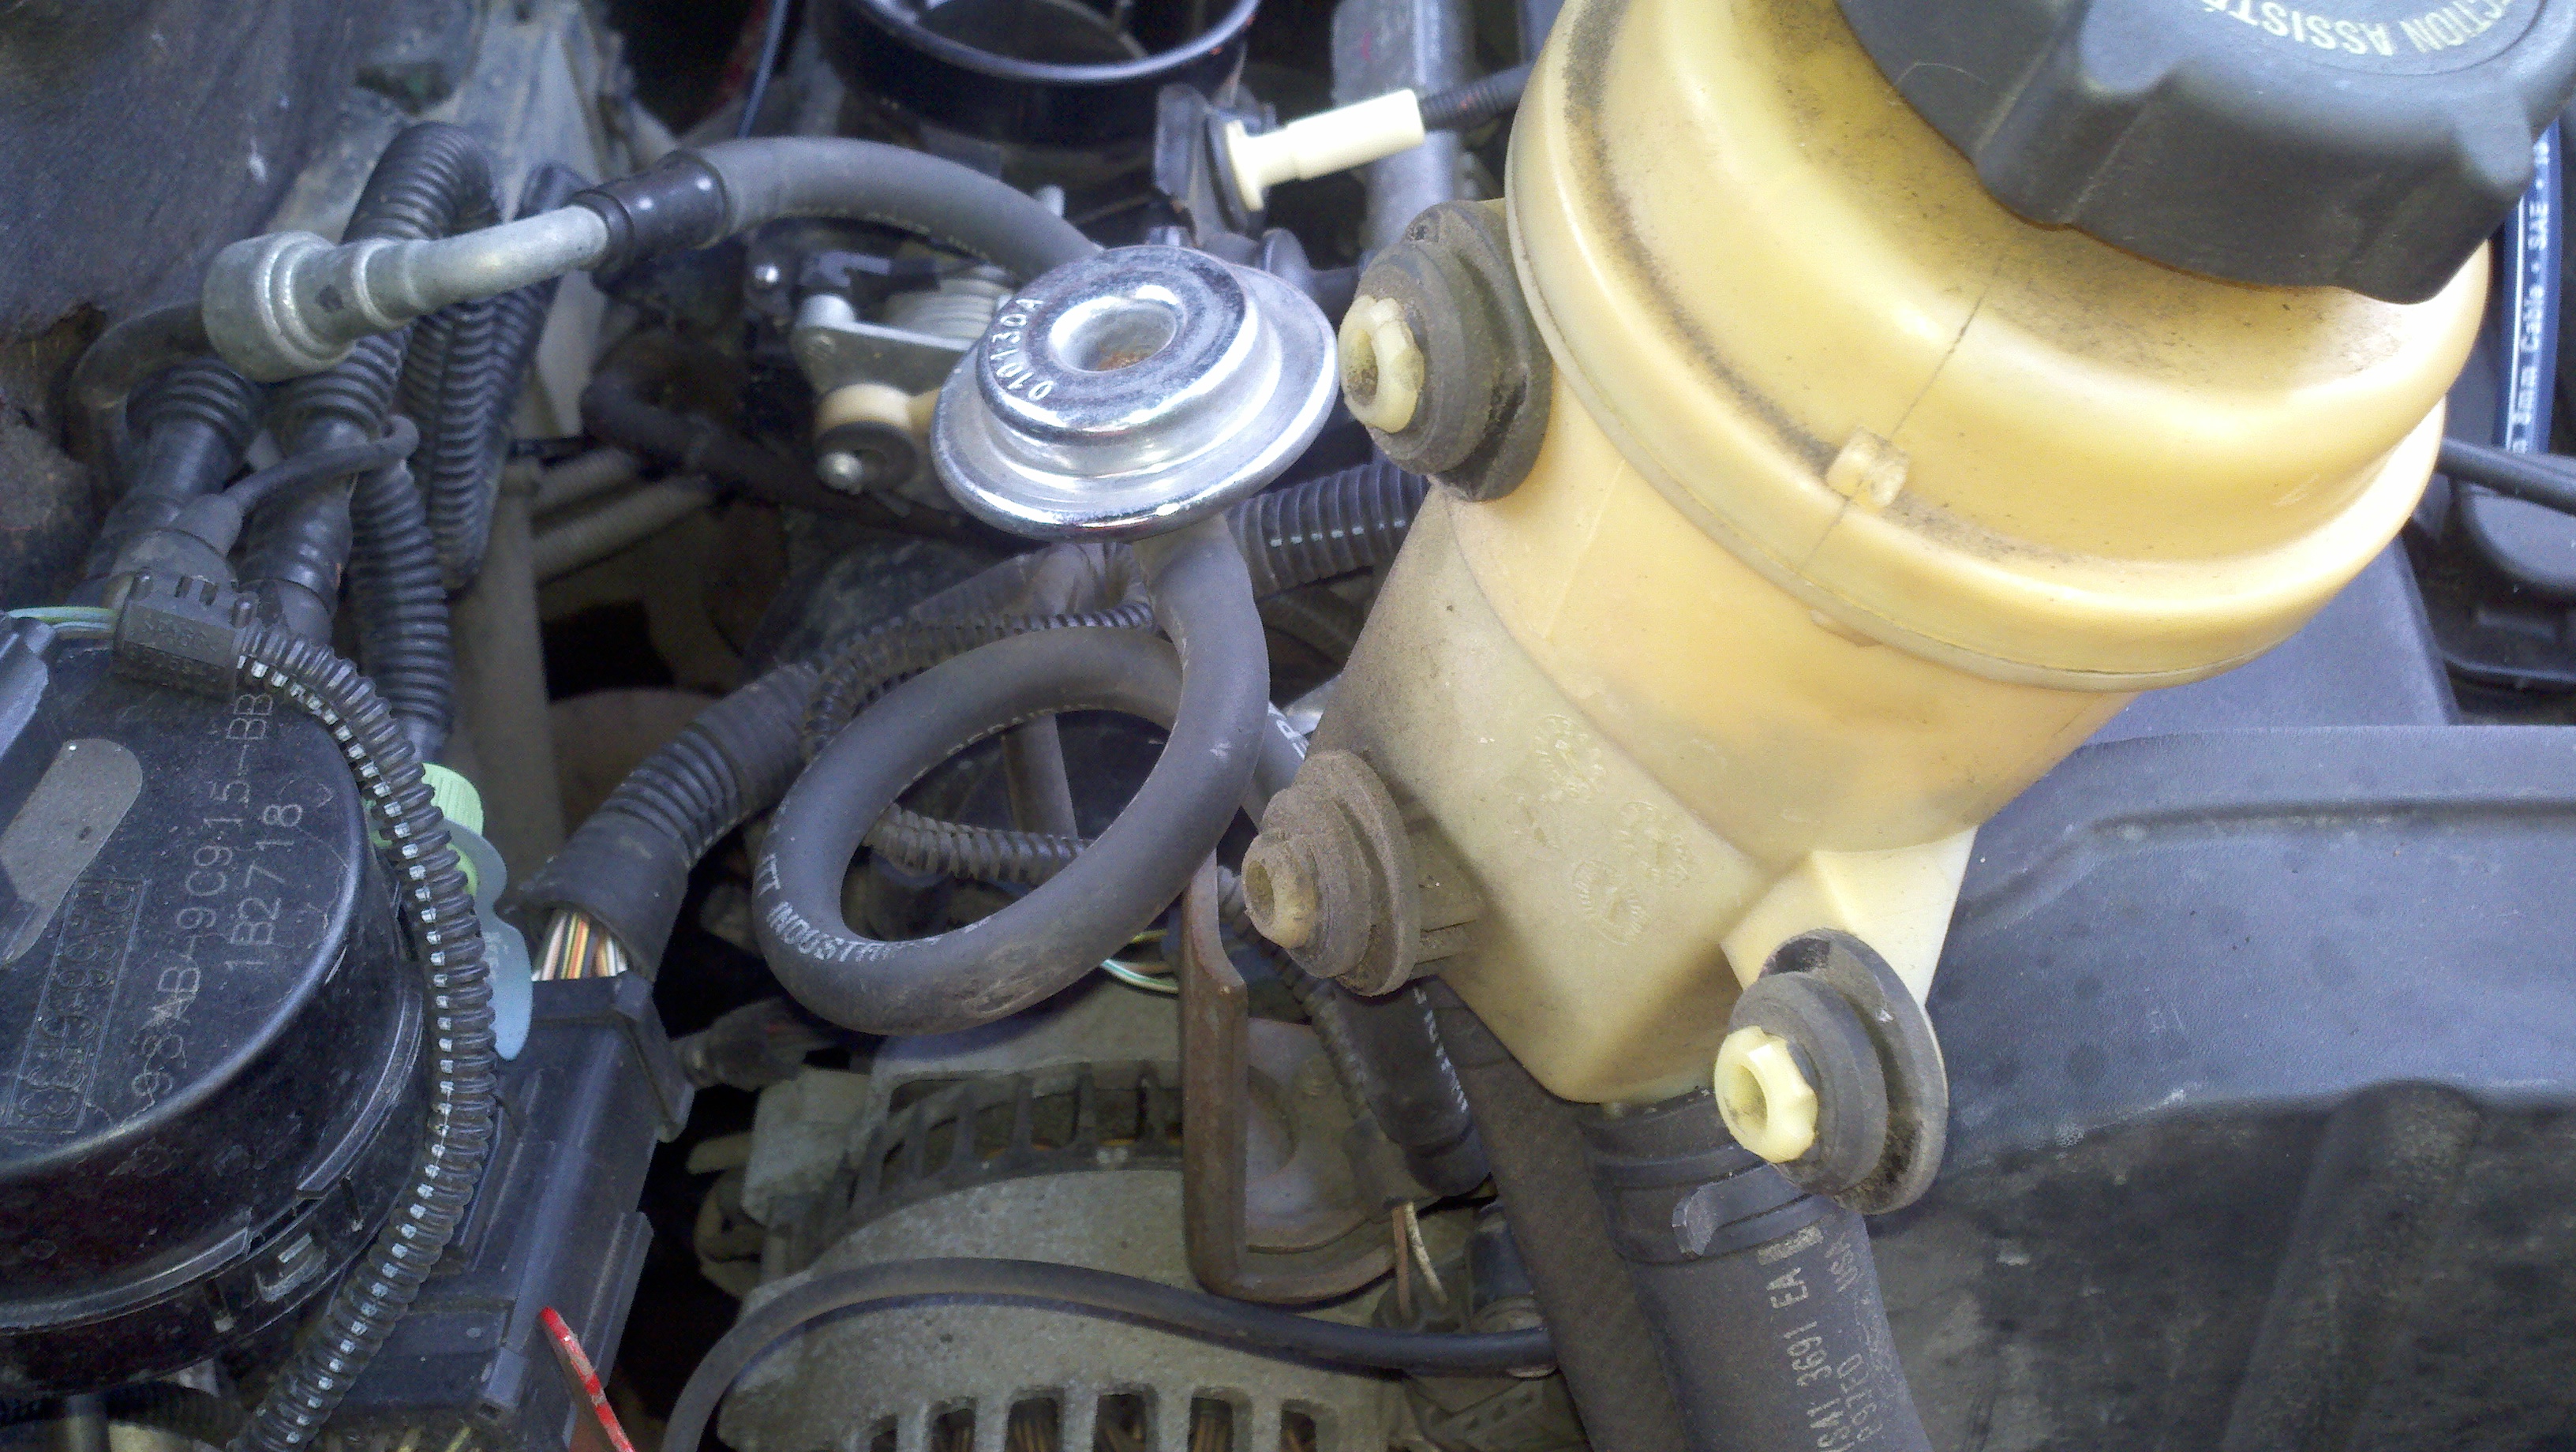
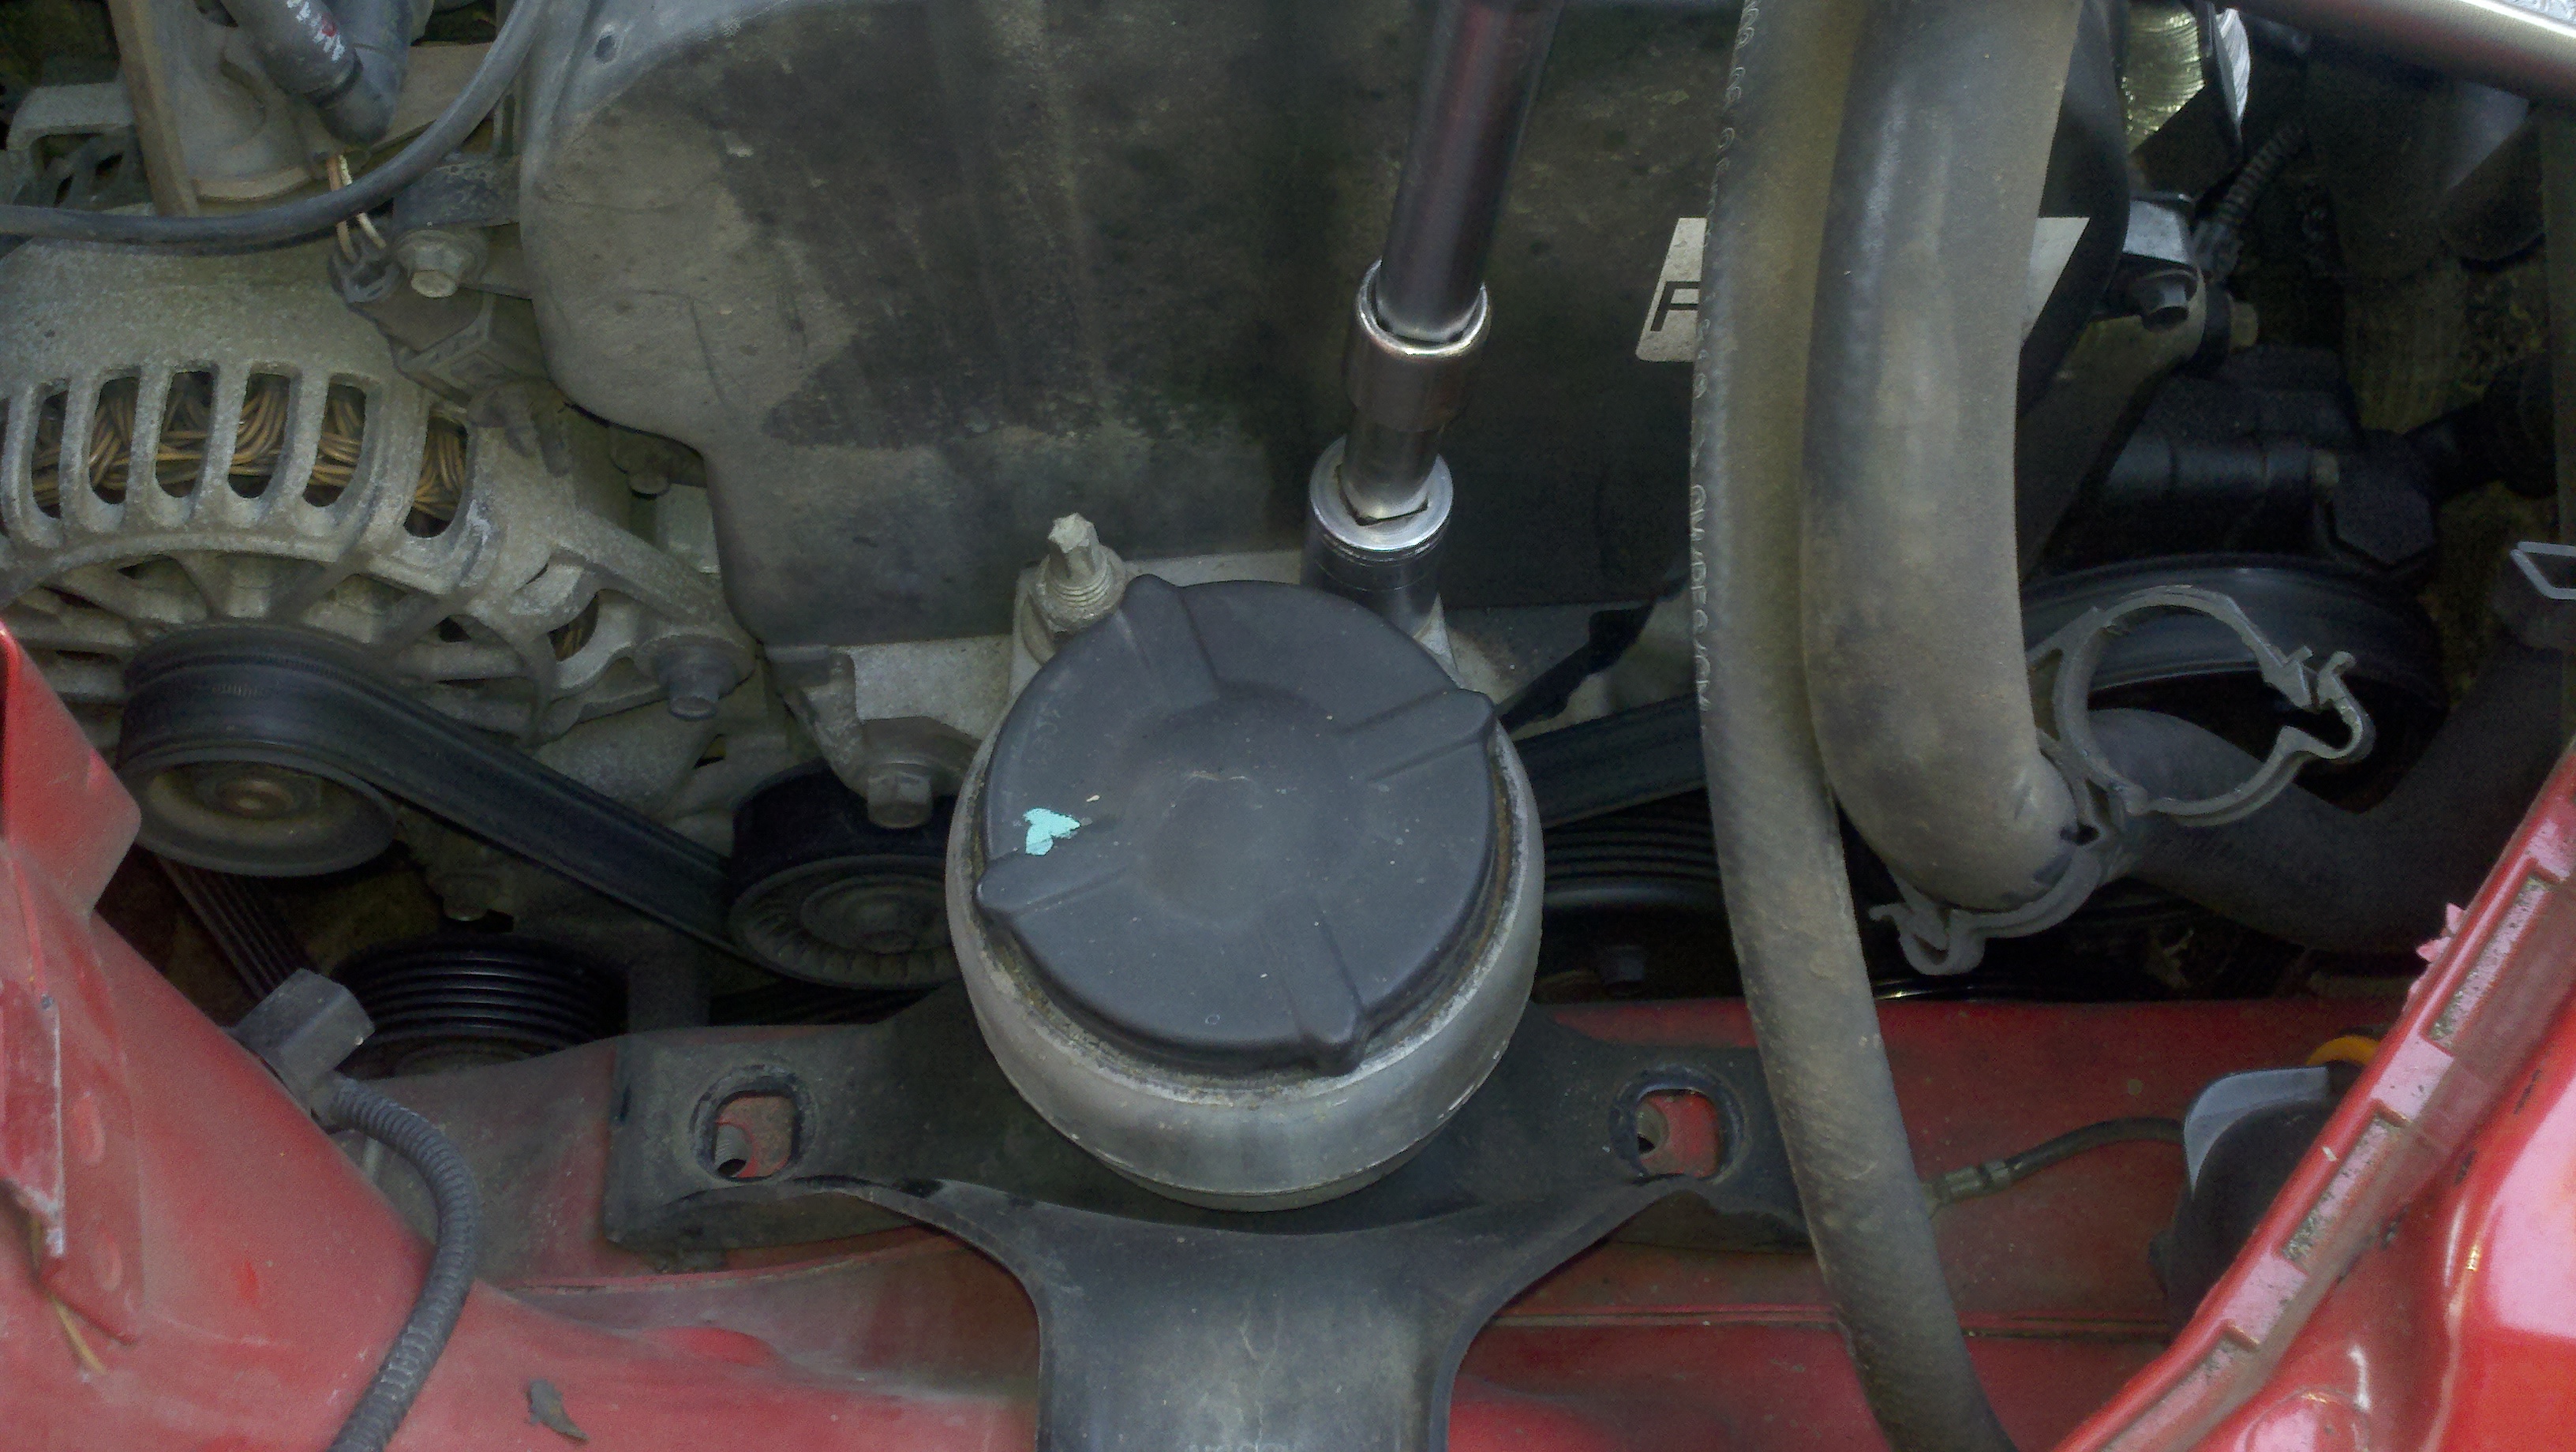
Detach the power steering fluid tank. The tank just lifts straight up.
Figure 36
Figure 37
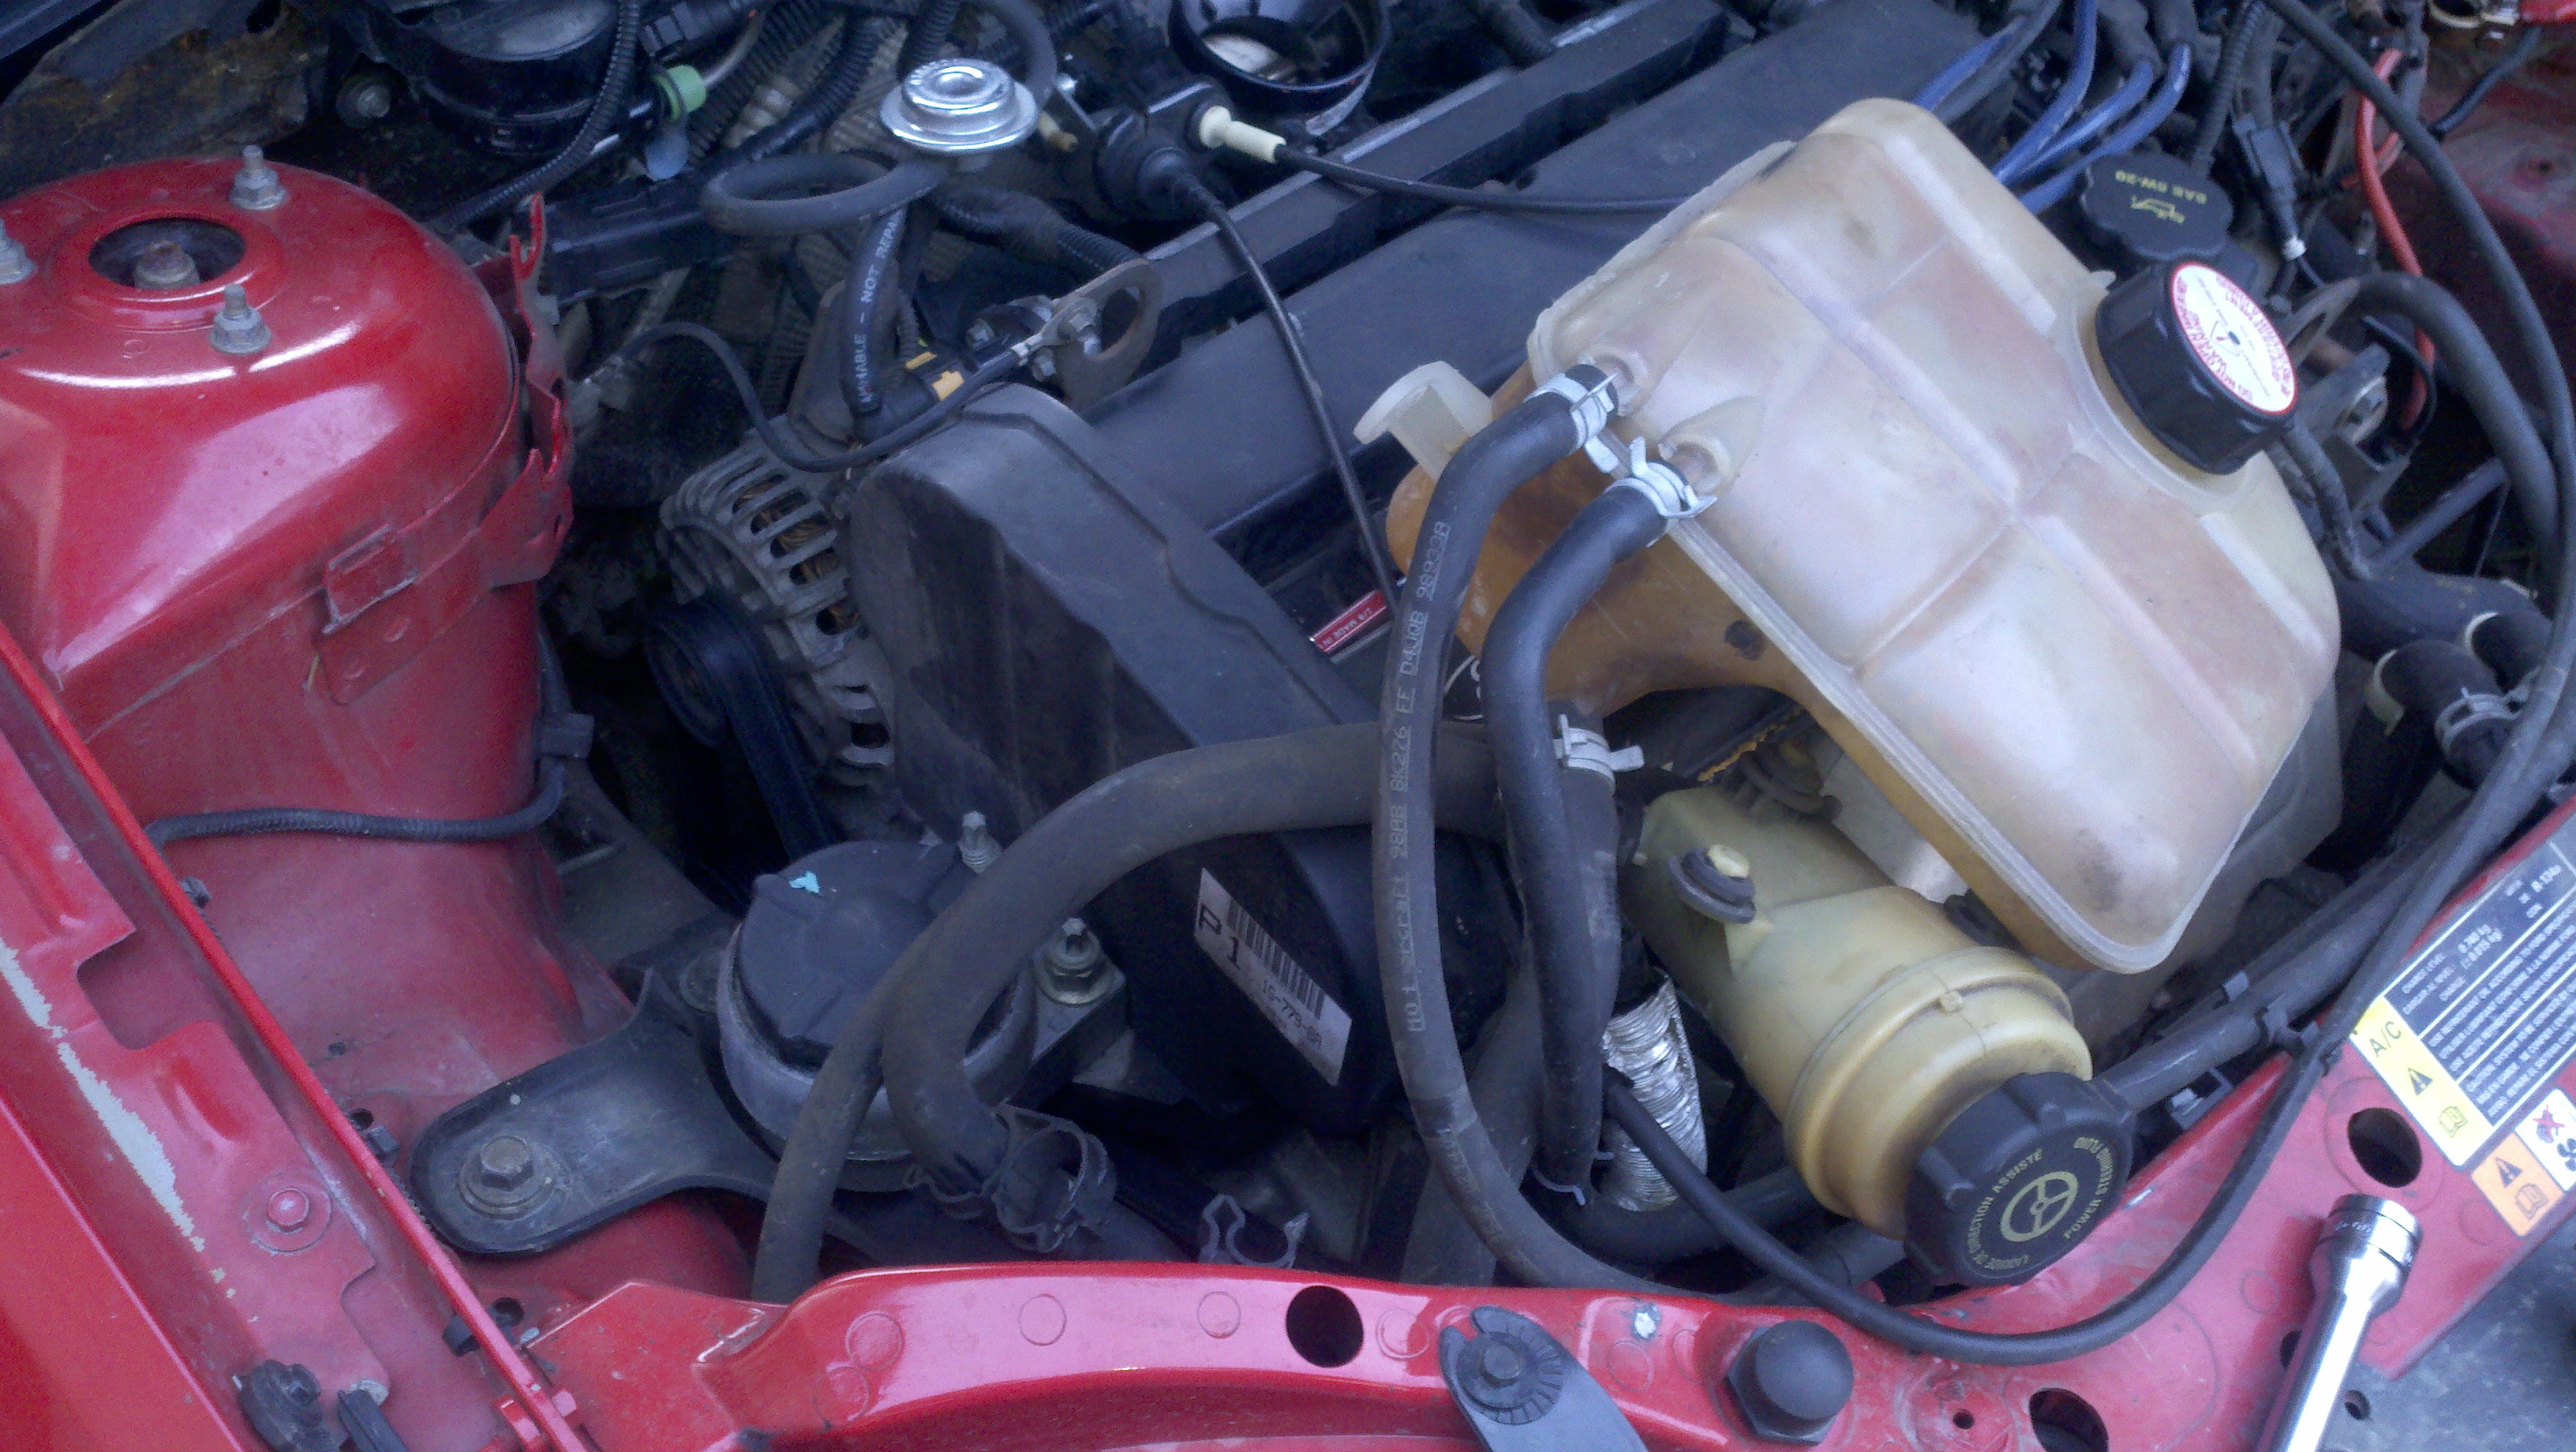
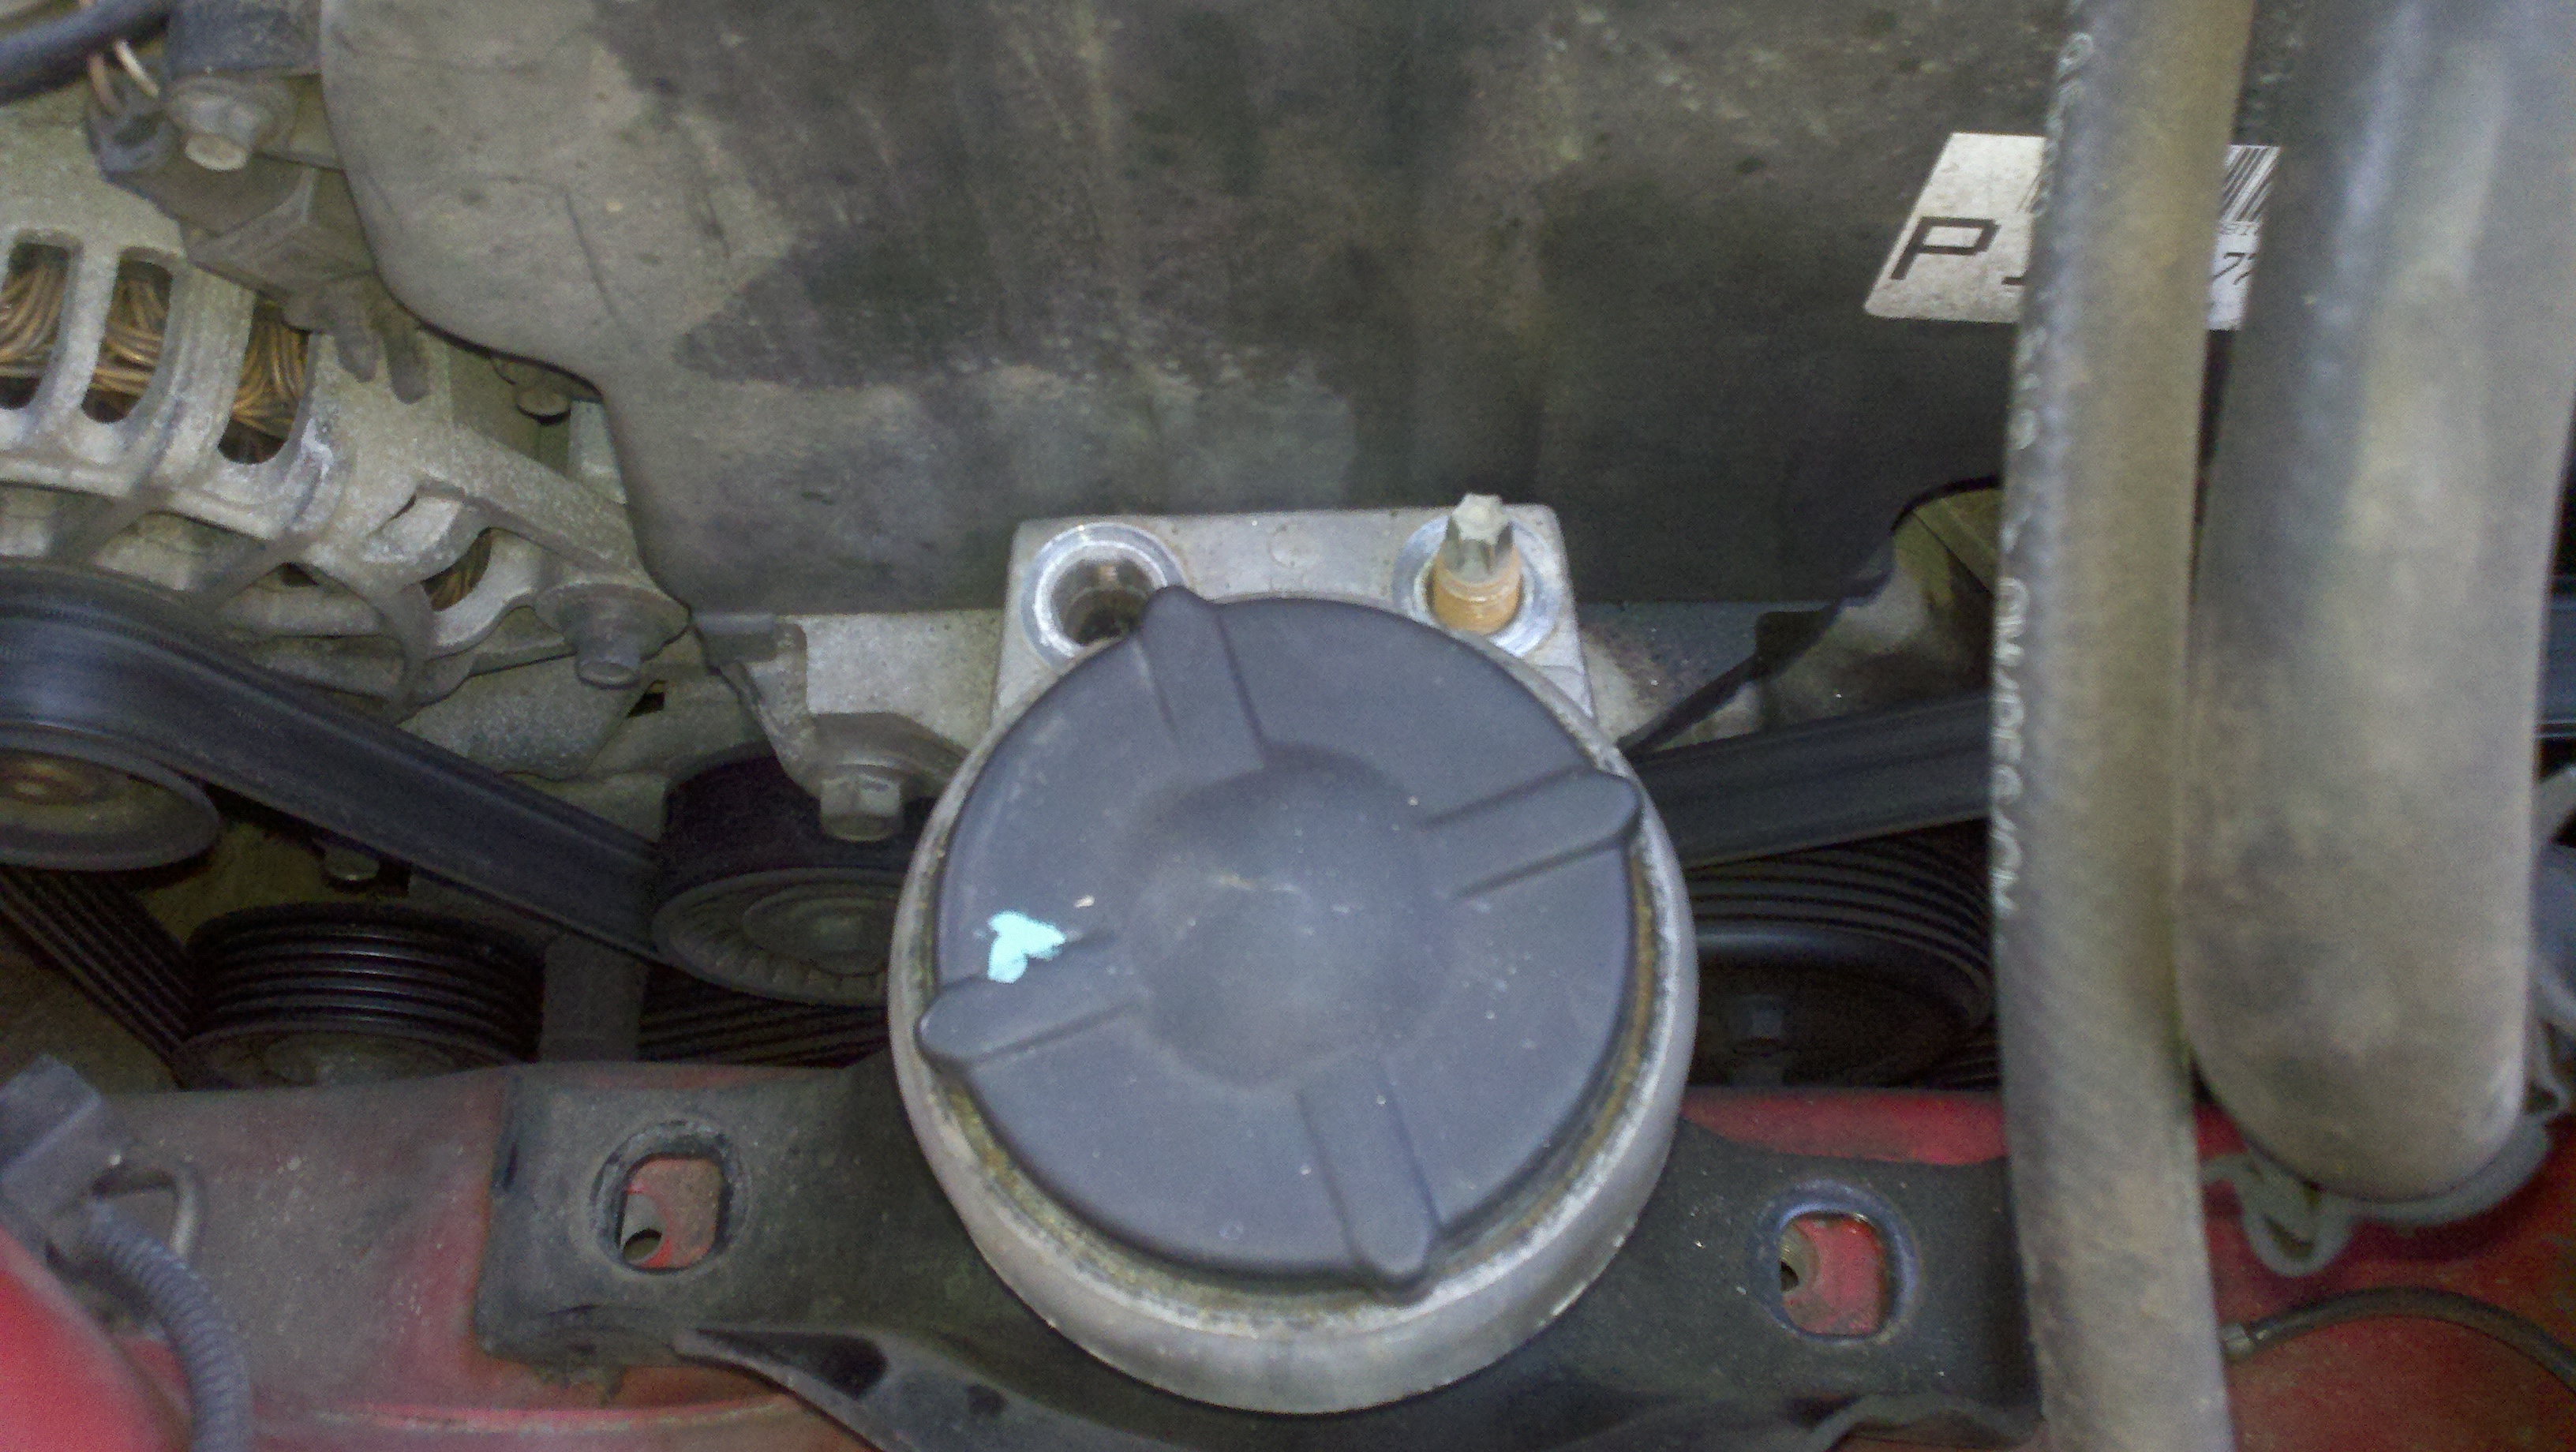
move both power steering fluid and coolant tanks out of the way
Figure 38
Position the floor jack under the oil pan with a block of wood to protect the pan and
raise the engine until the weight is taken off the mount
Figure 39
Remove the mount bracket to body bolts
Figure 40
Remove the mount bracket to engine nuts from the studs and lift the mount and bracket from the
vehicle. Sometimes a stud will unscrew instead of the nut off the stud.
Figure 41
Figure 42
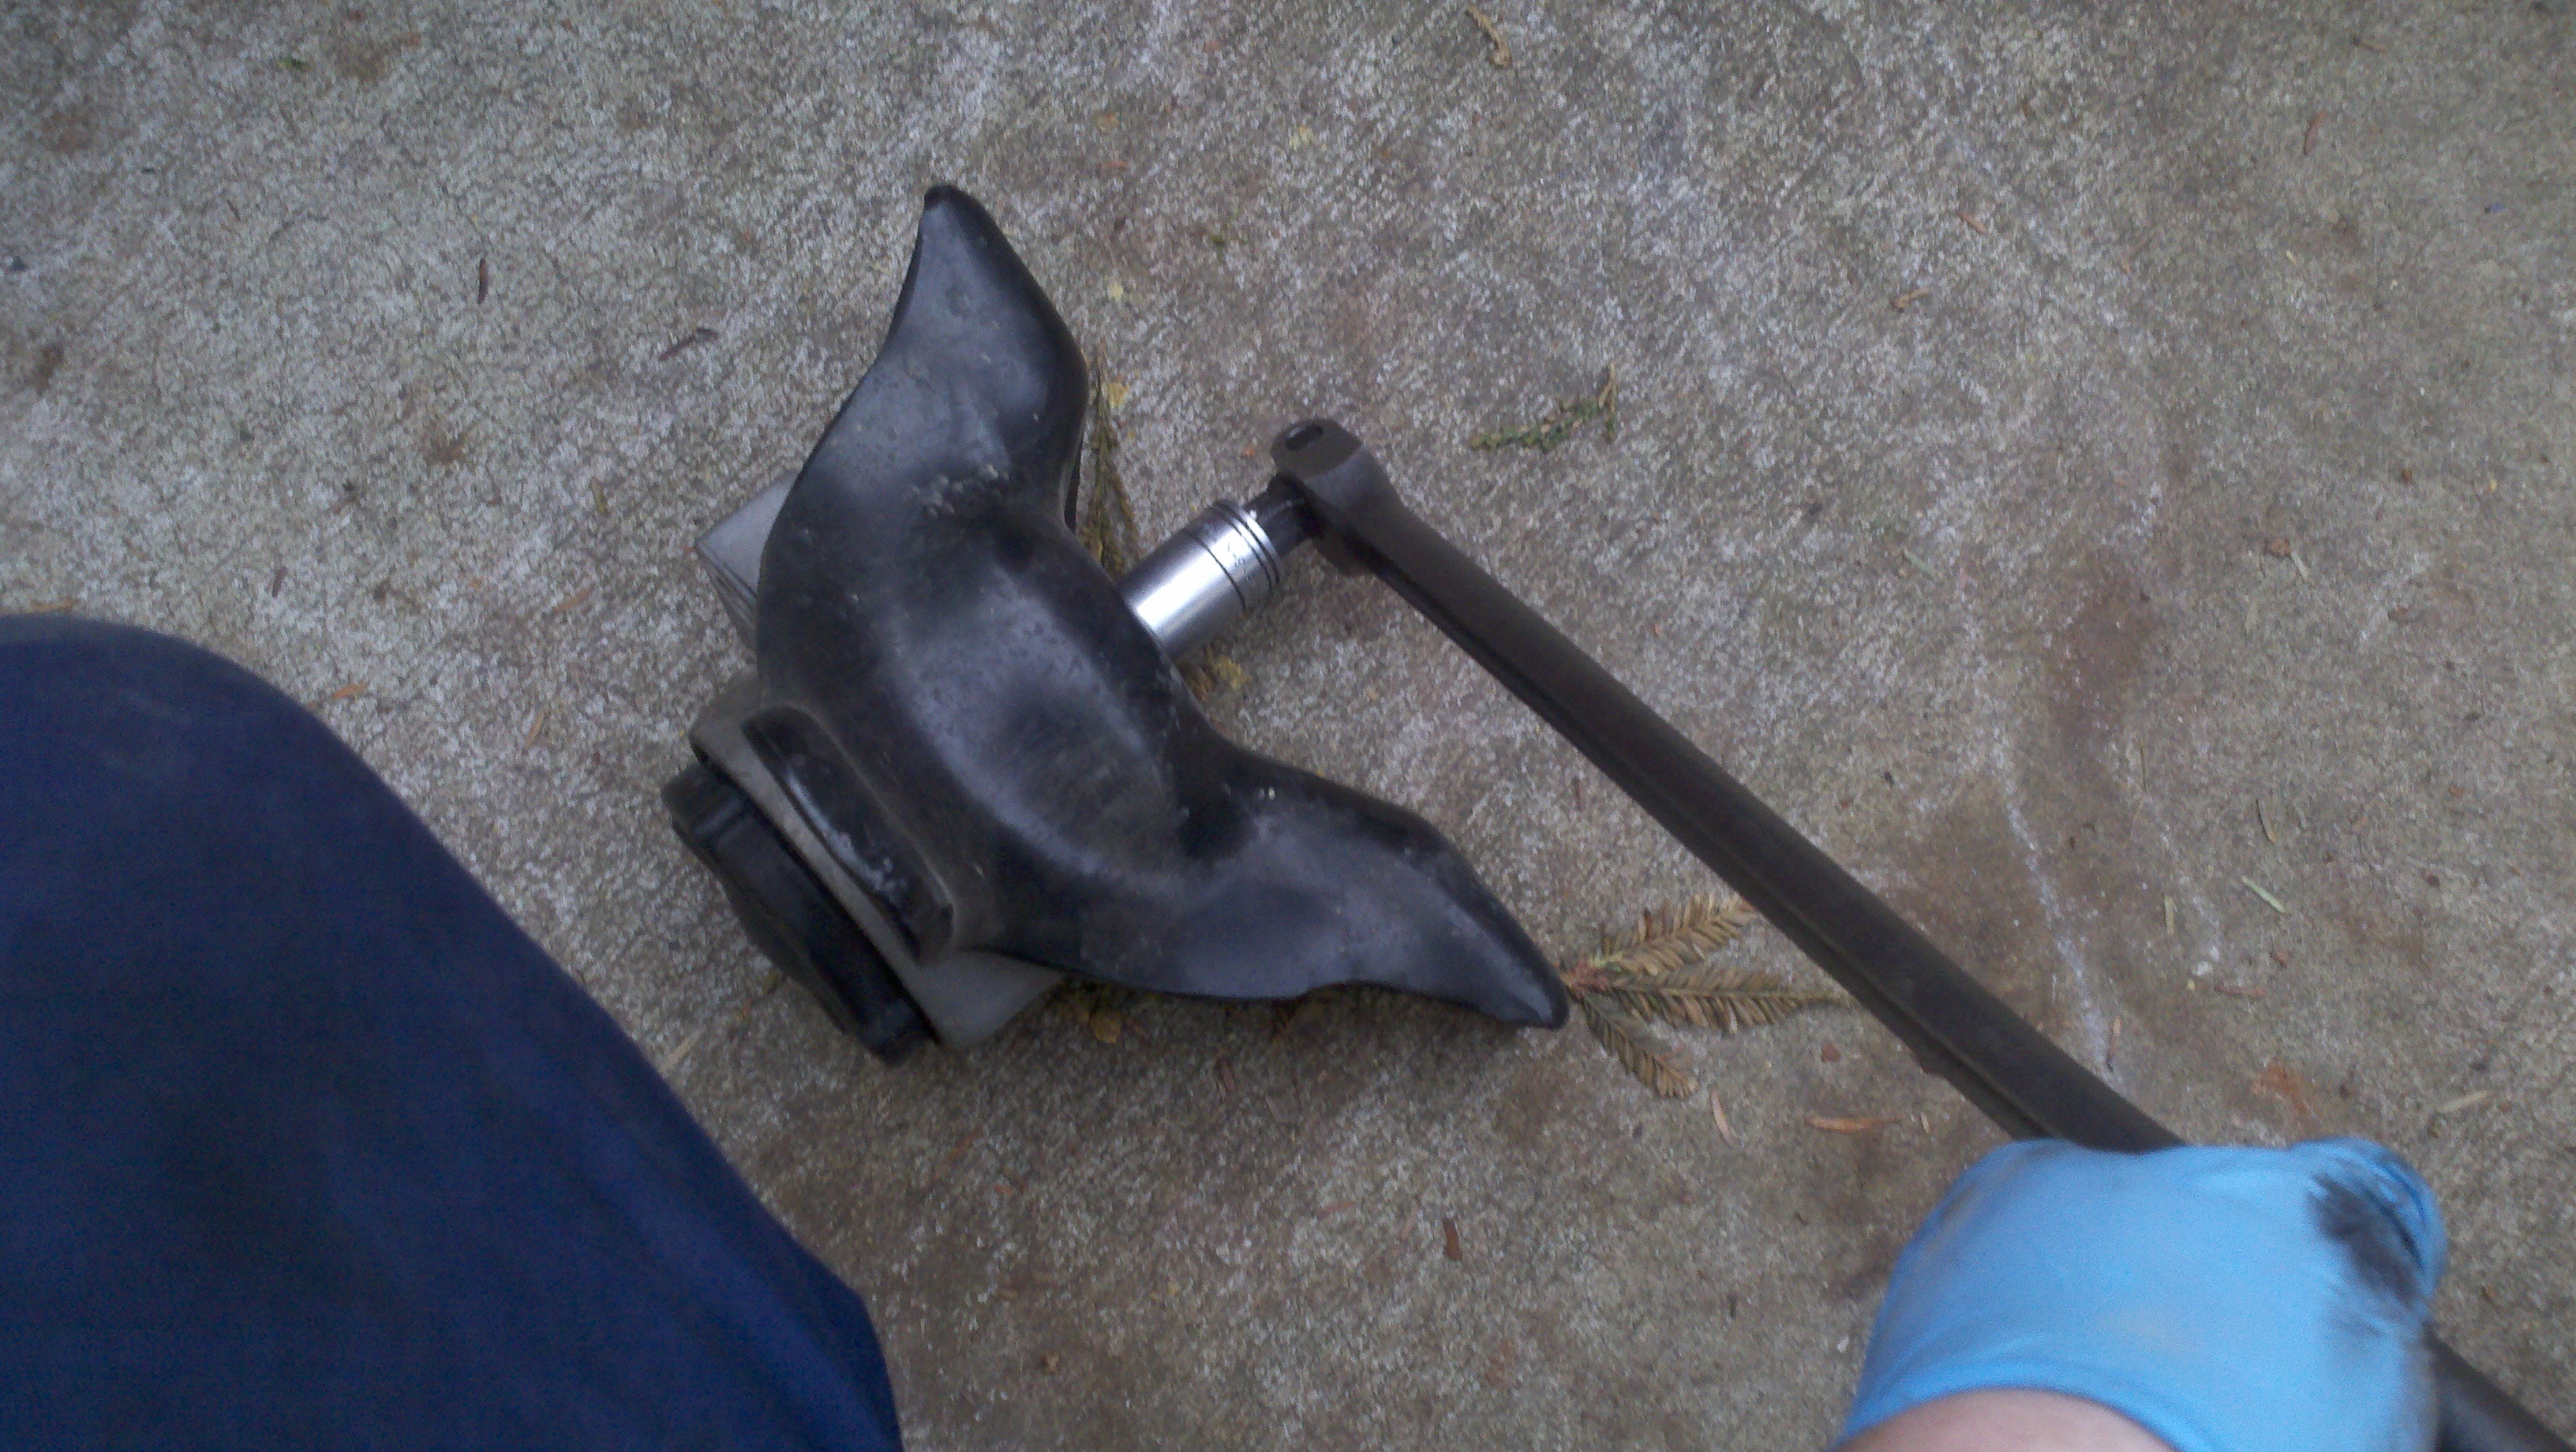
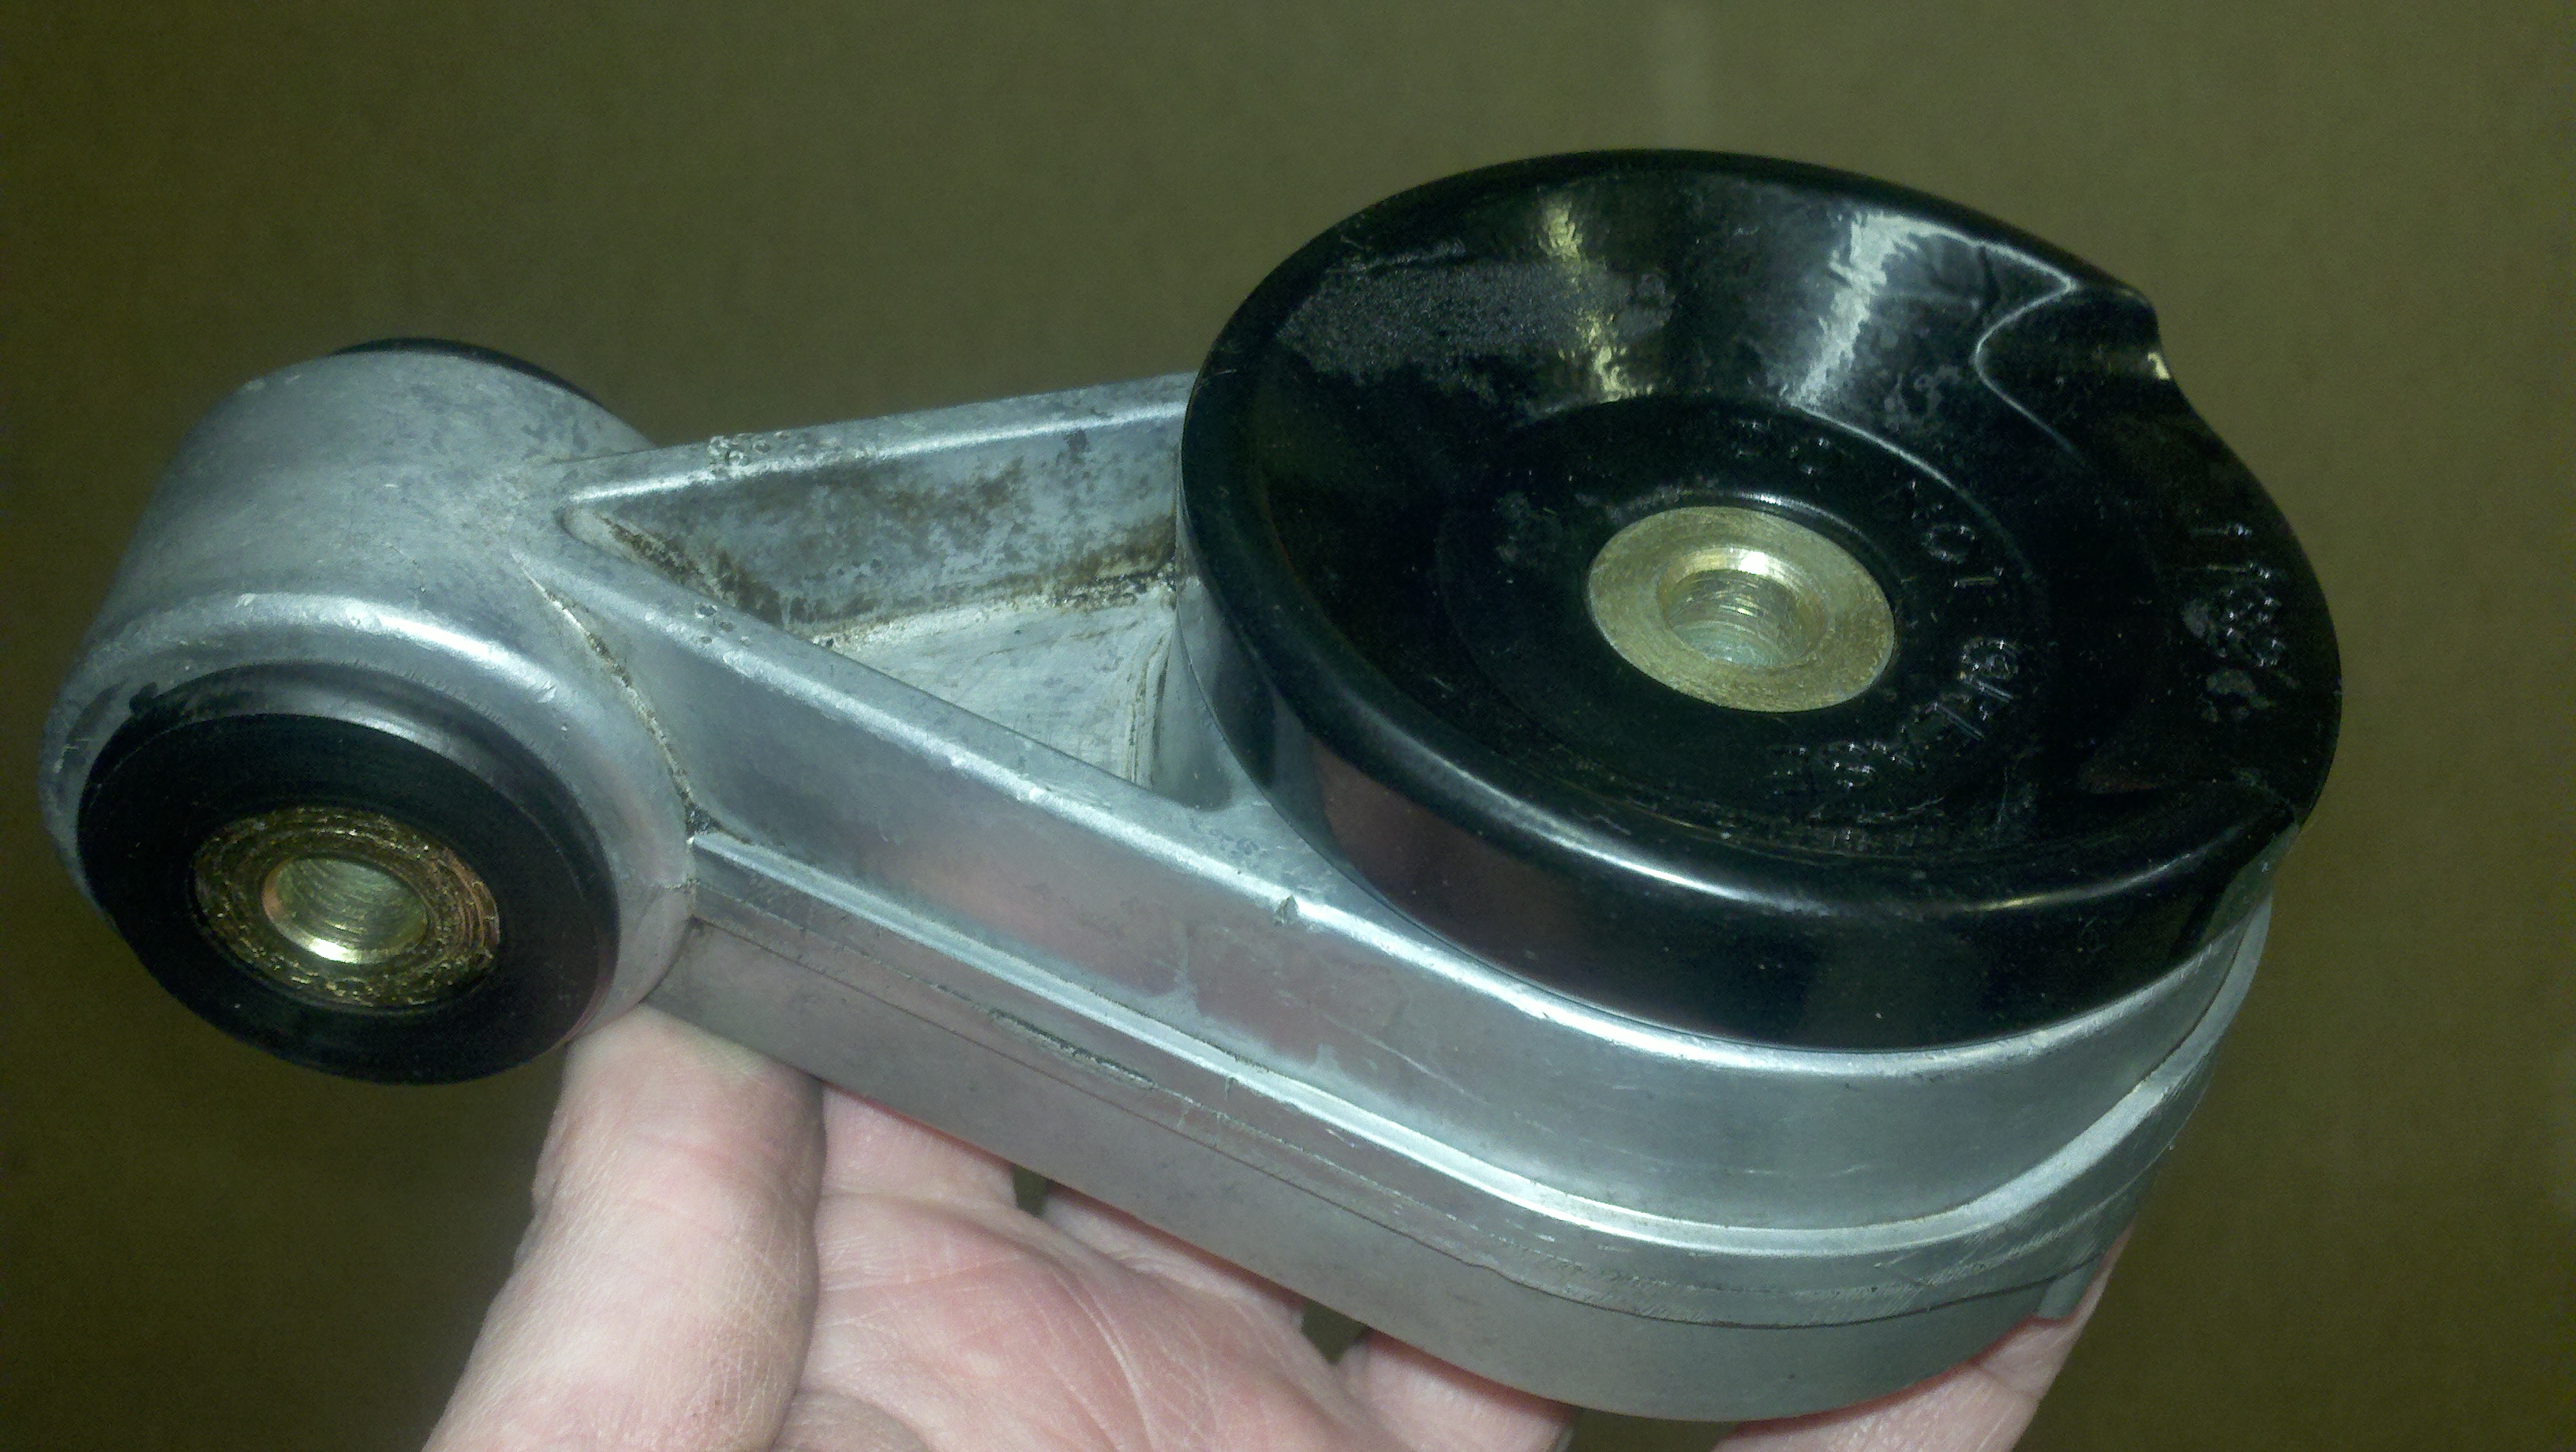
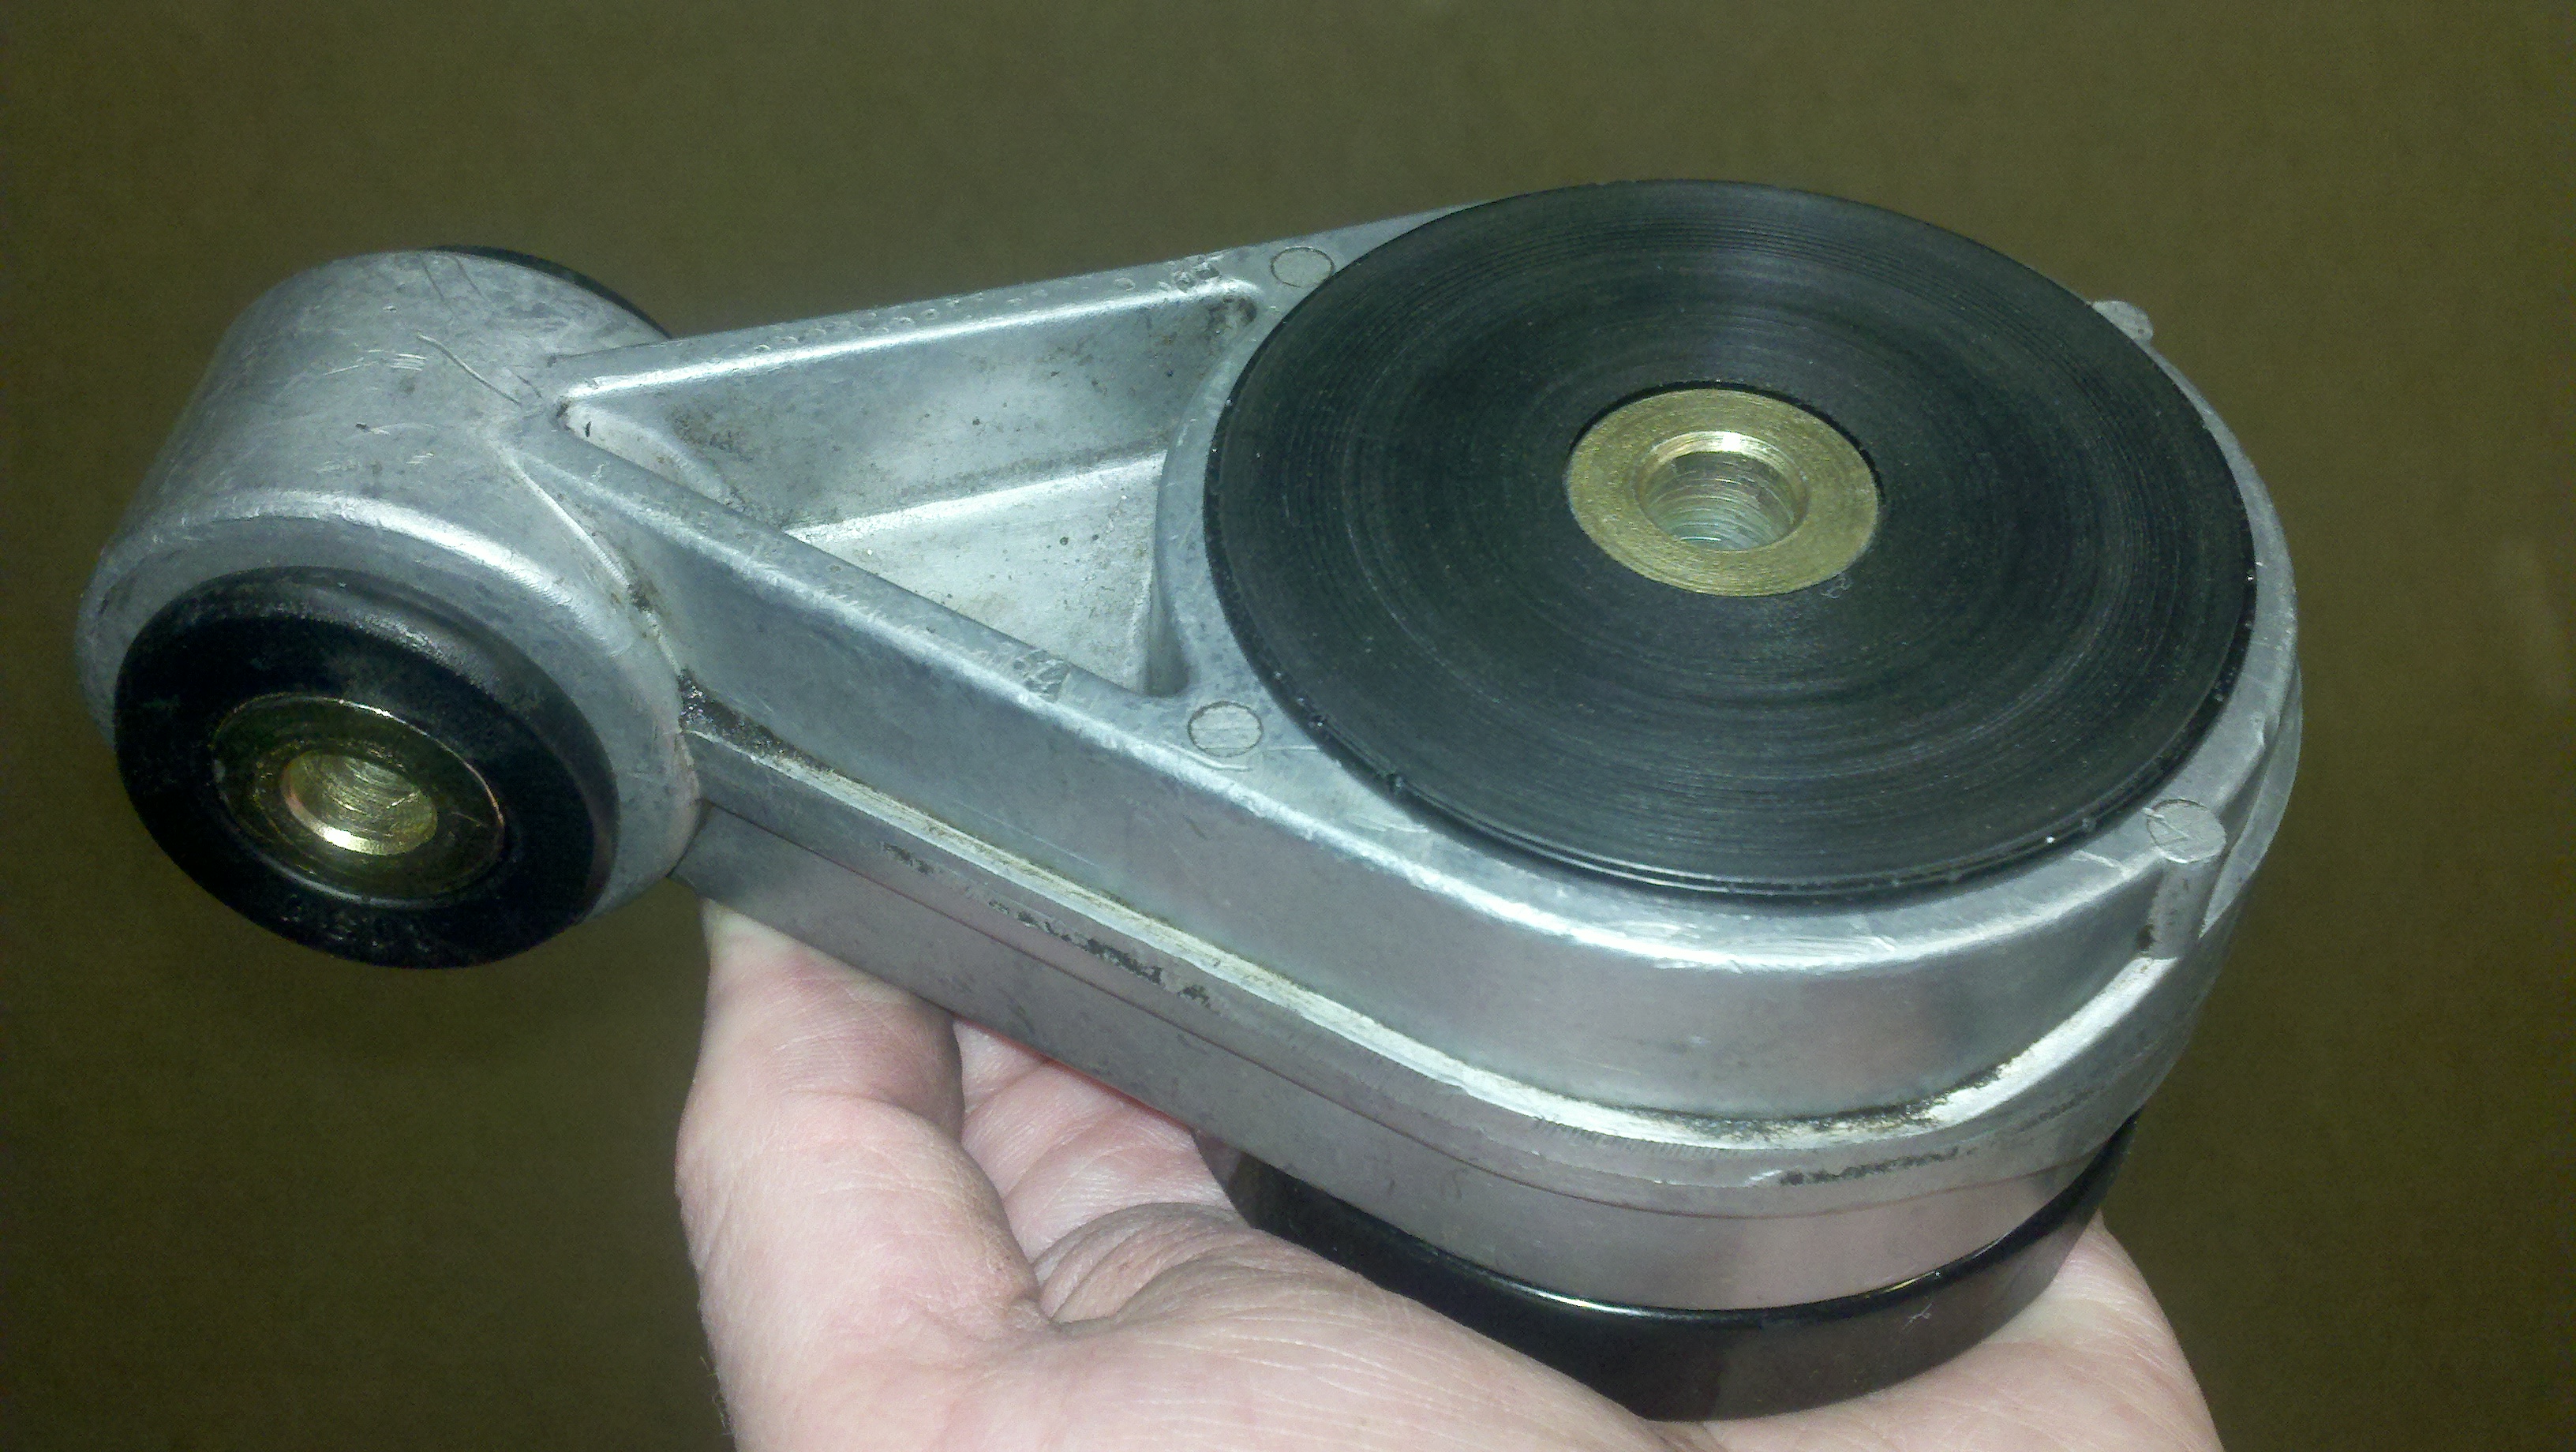
Remove the mount from the bracket
Figure 43
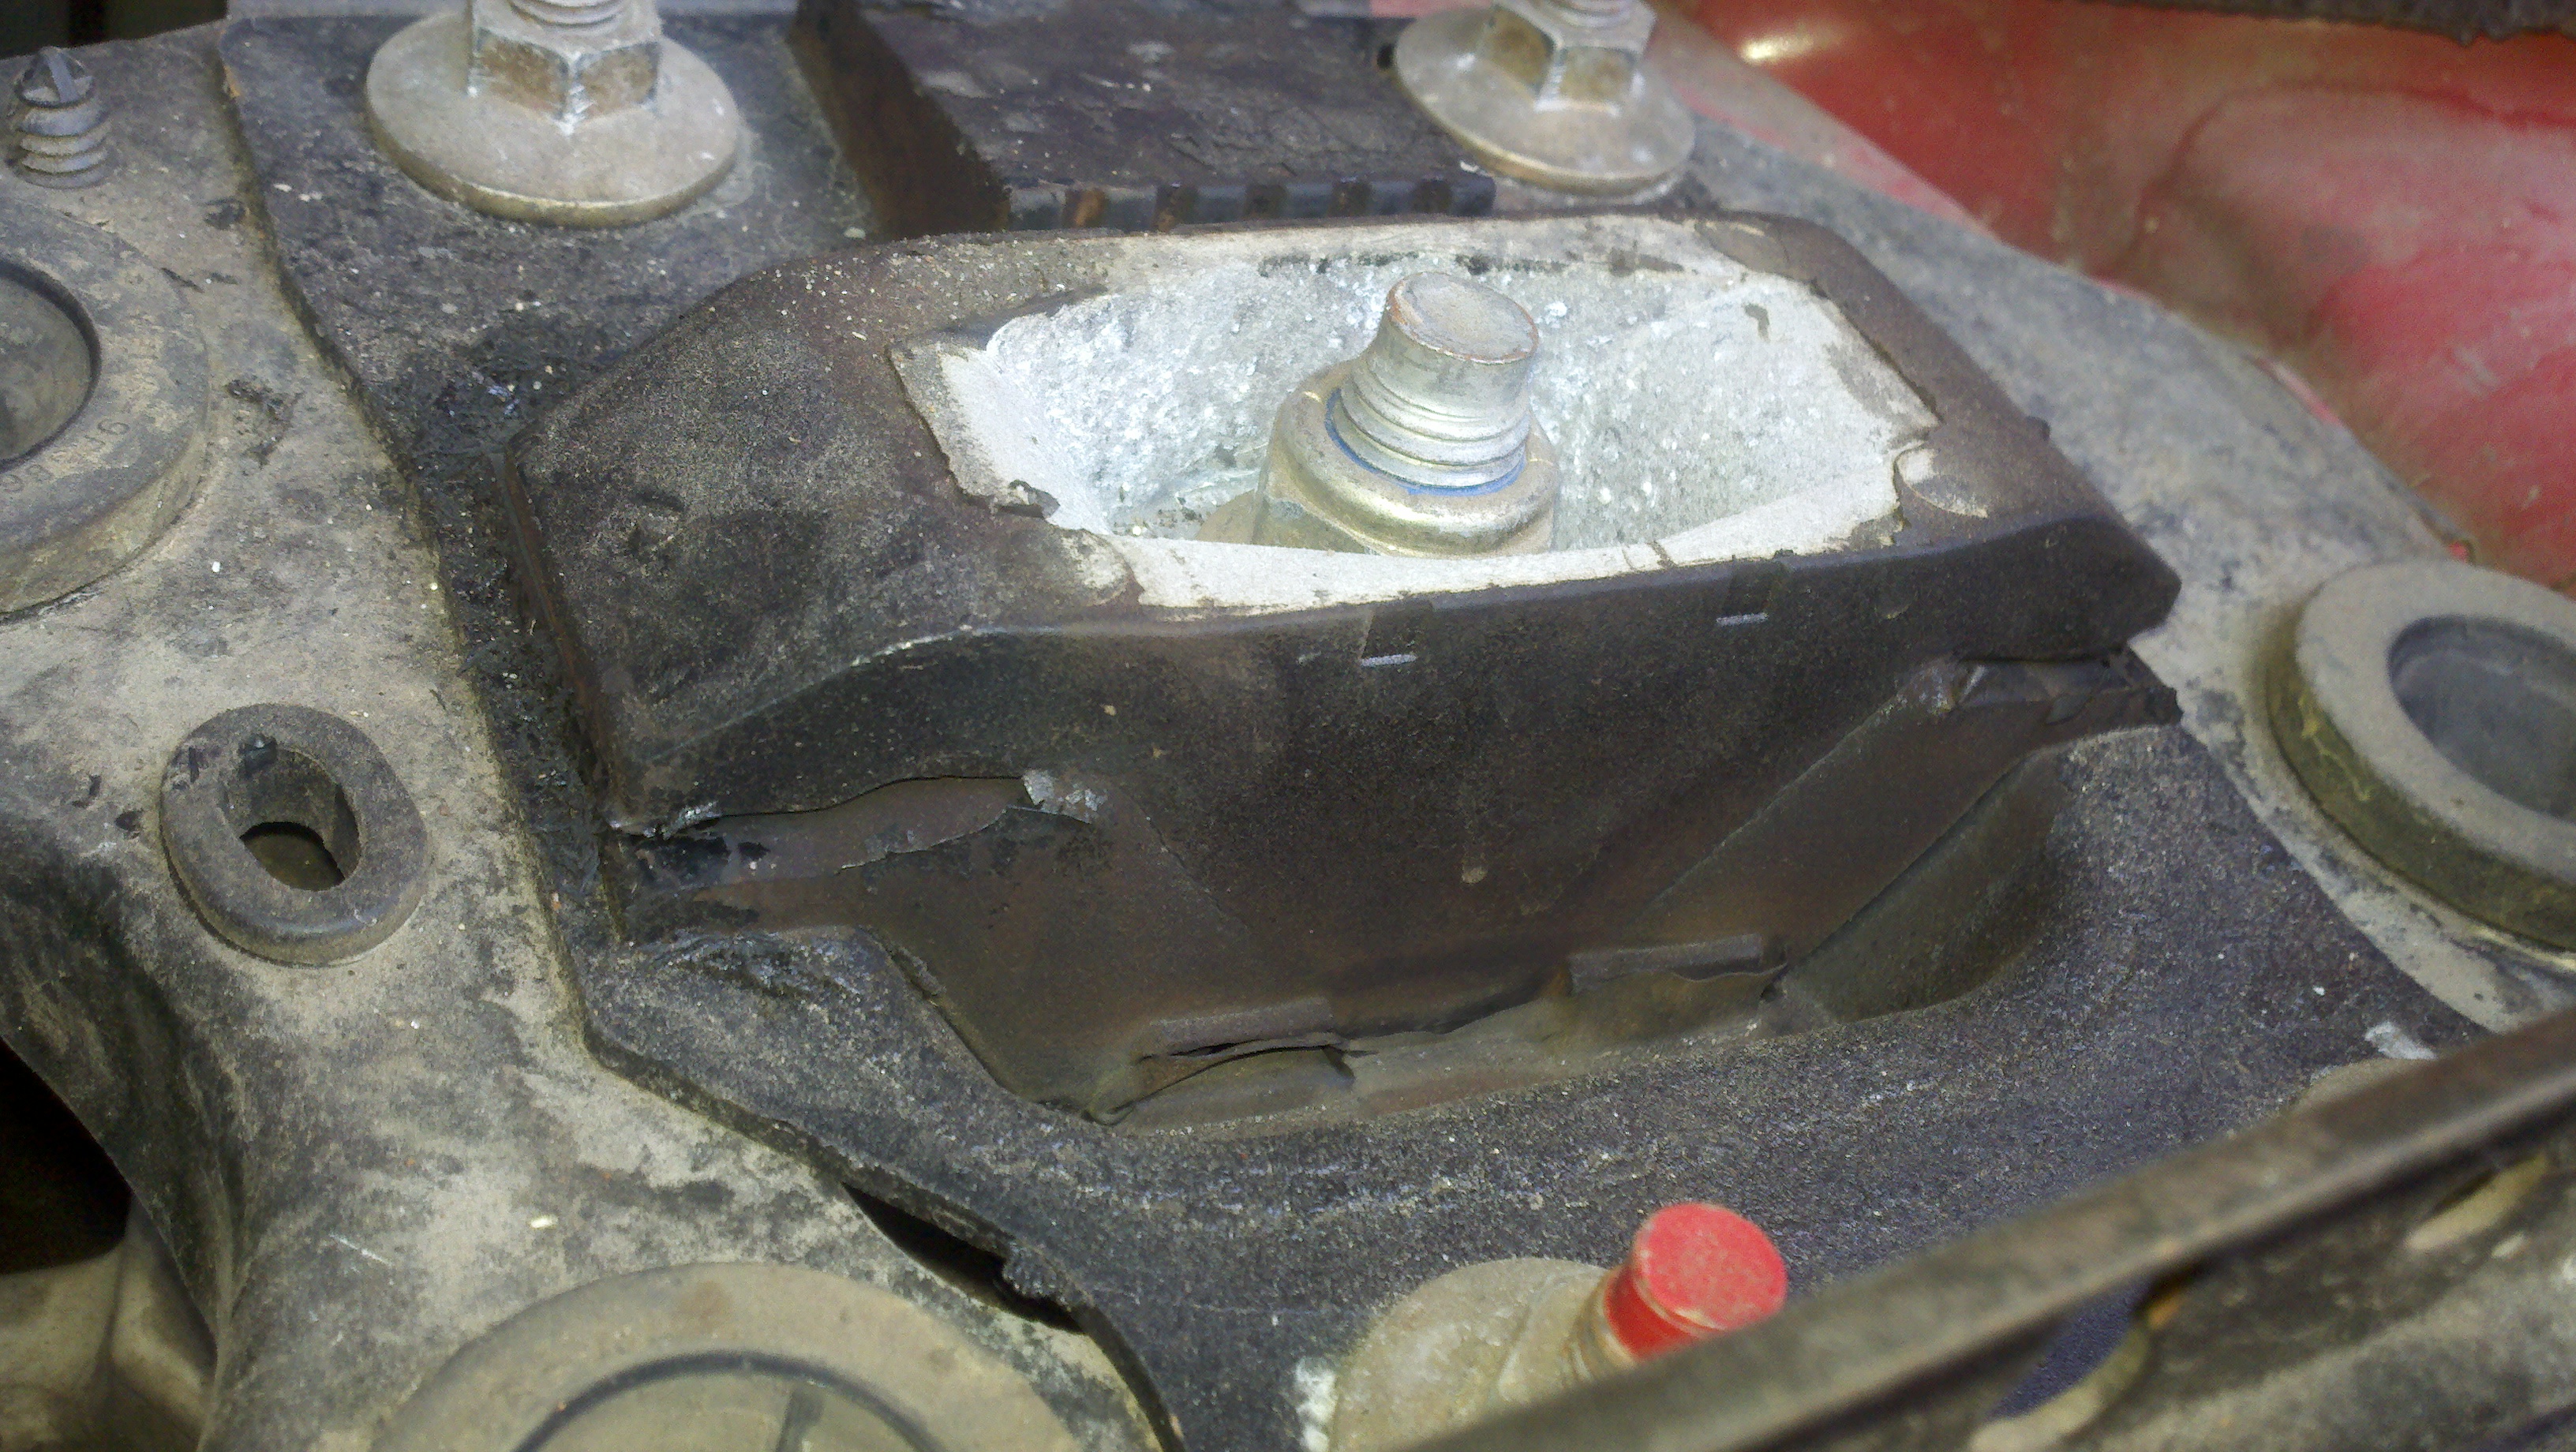
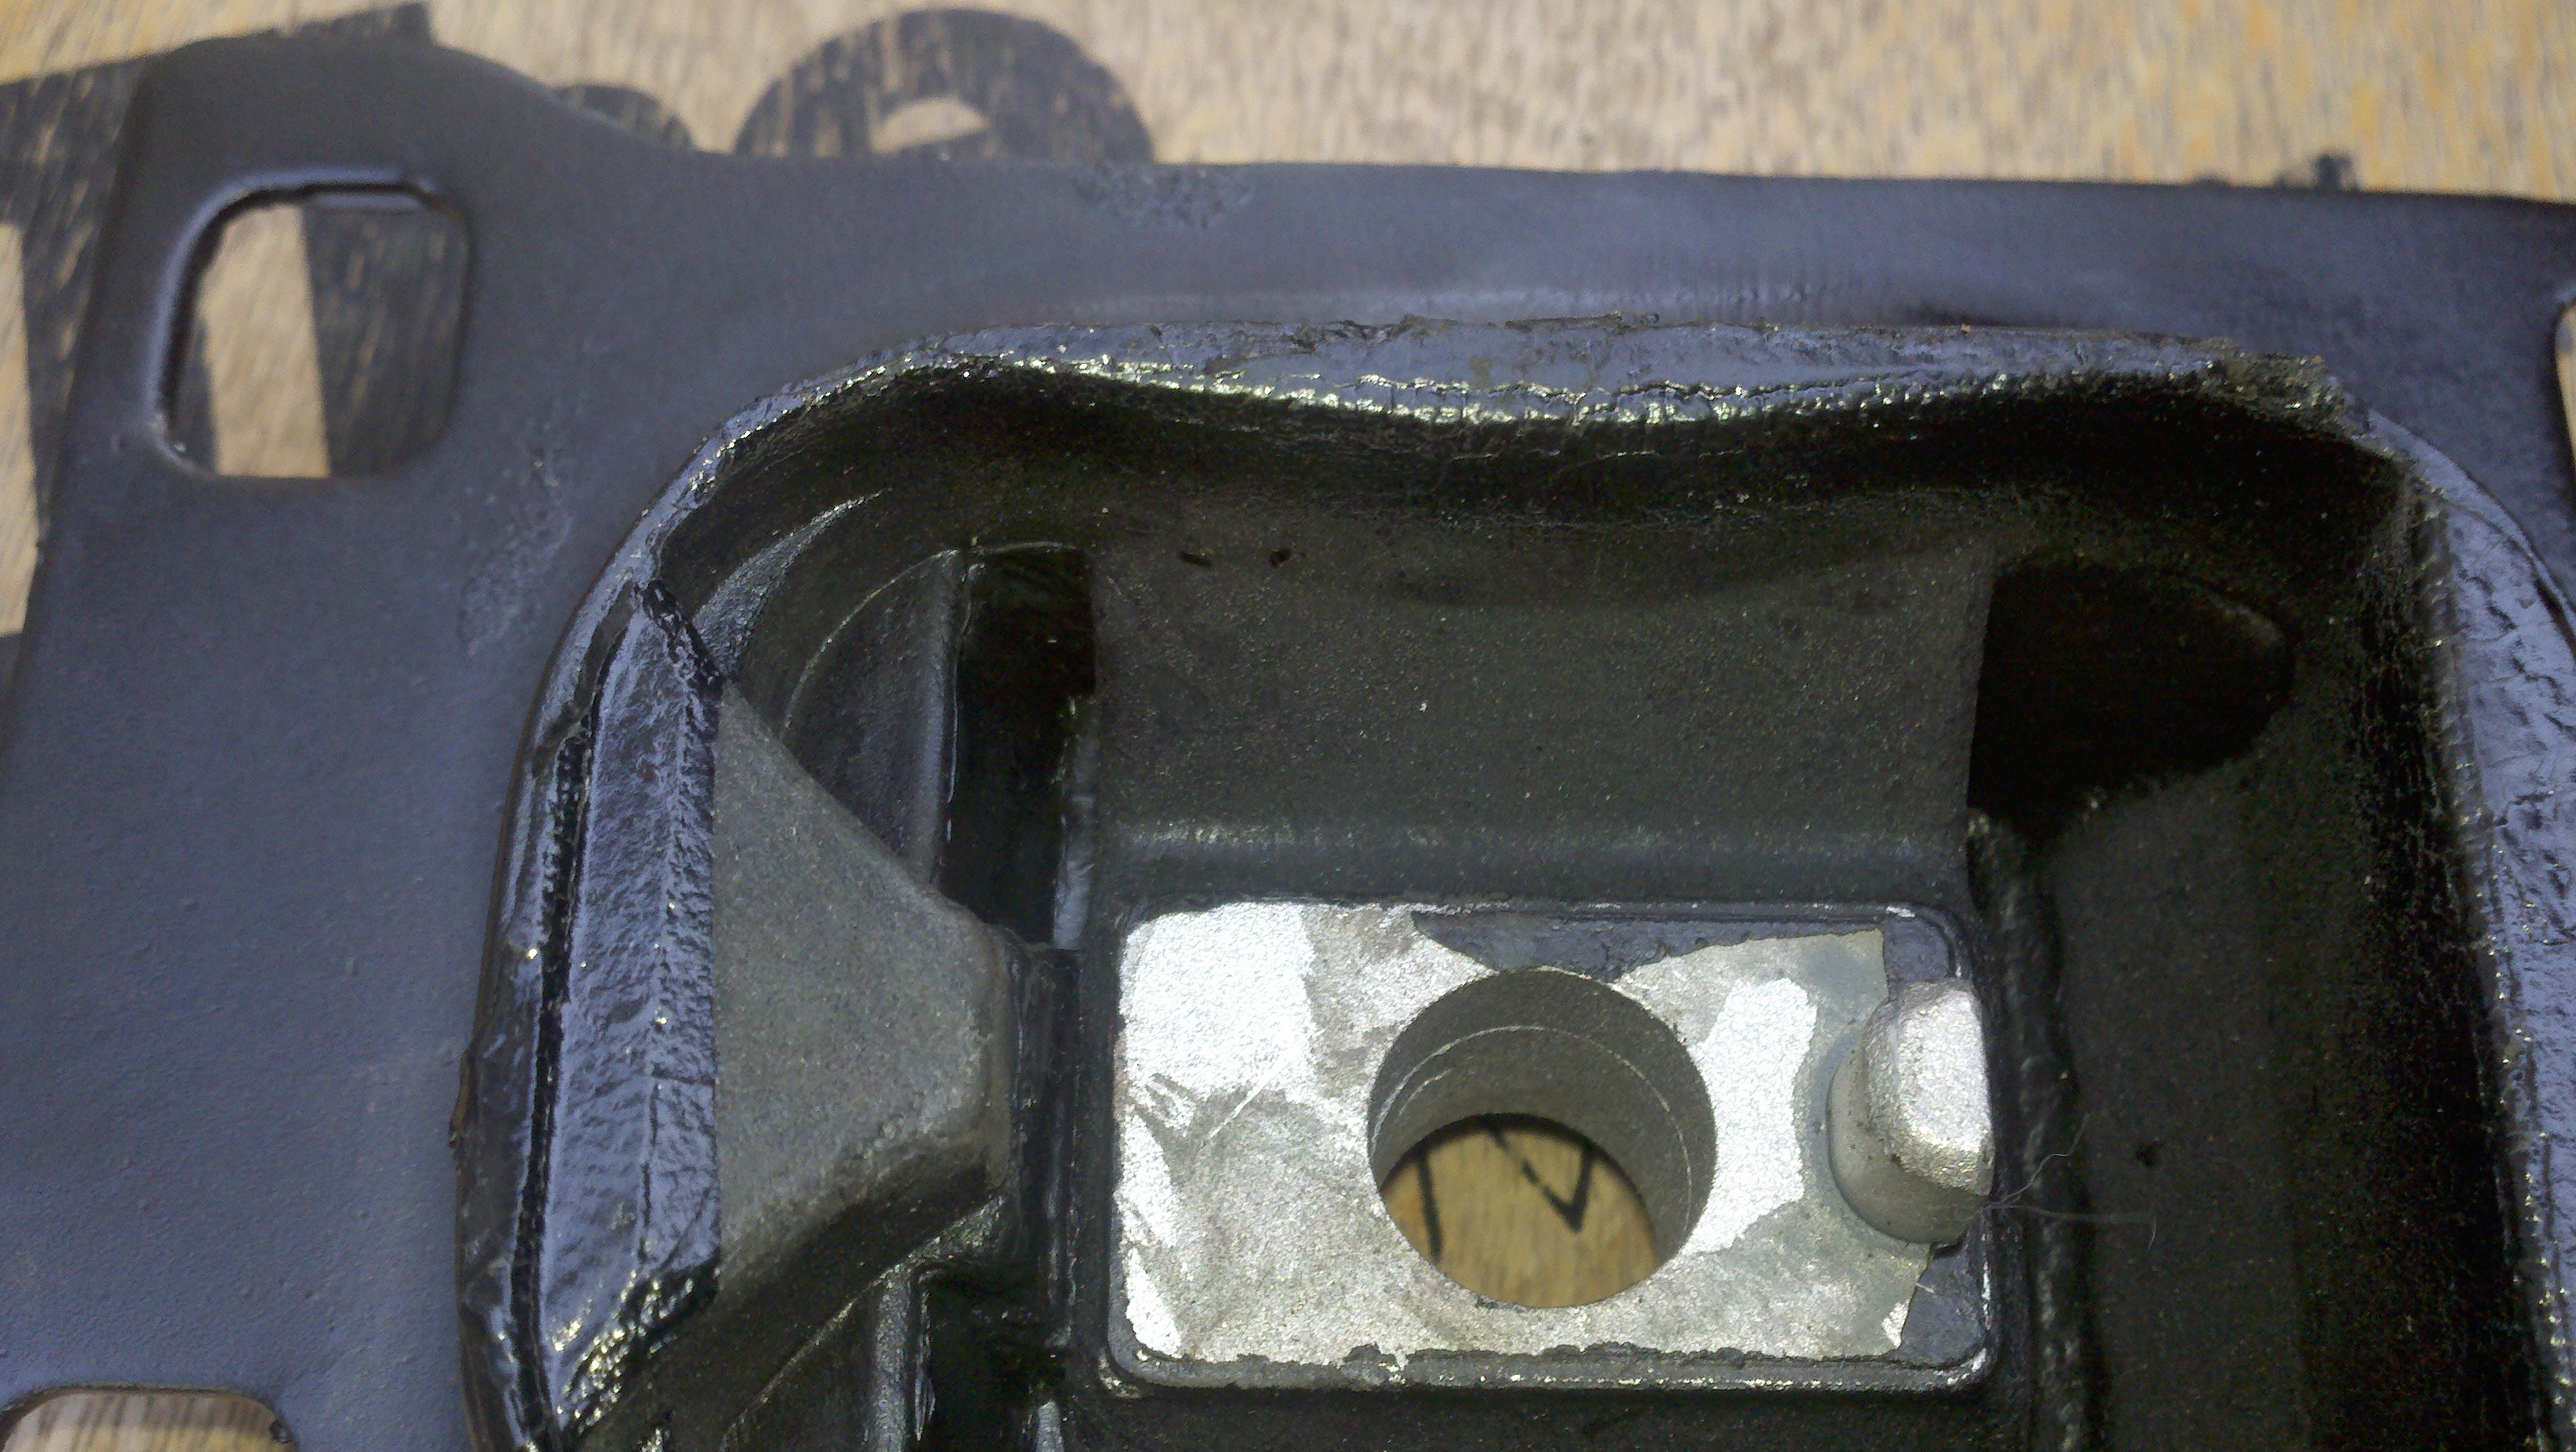
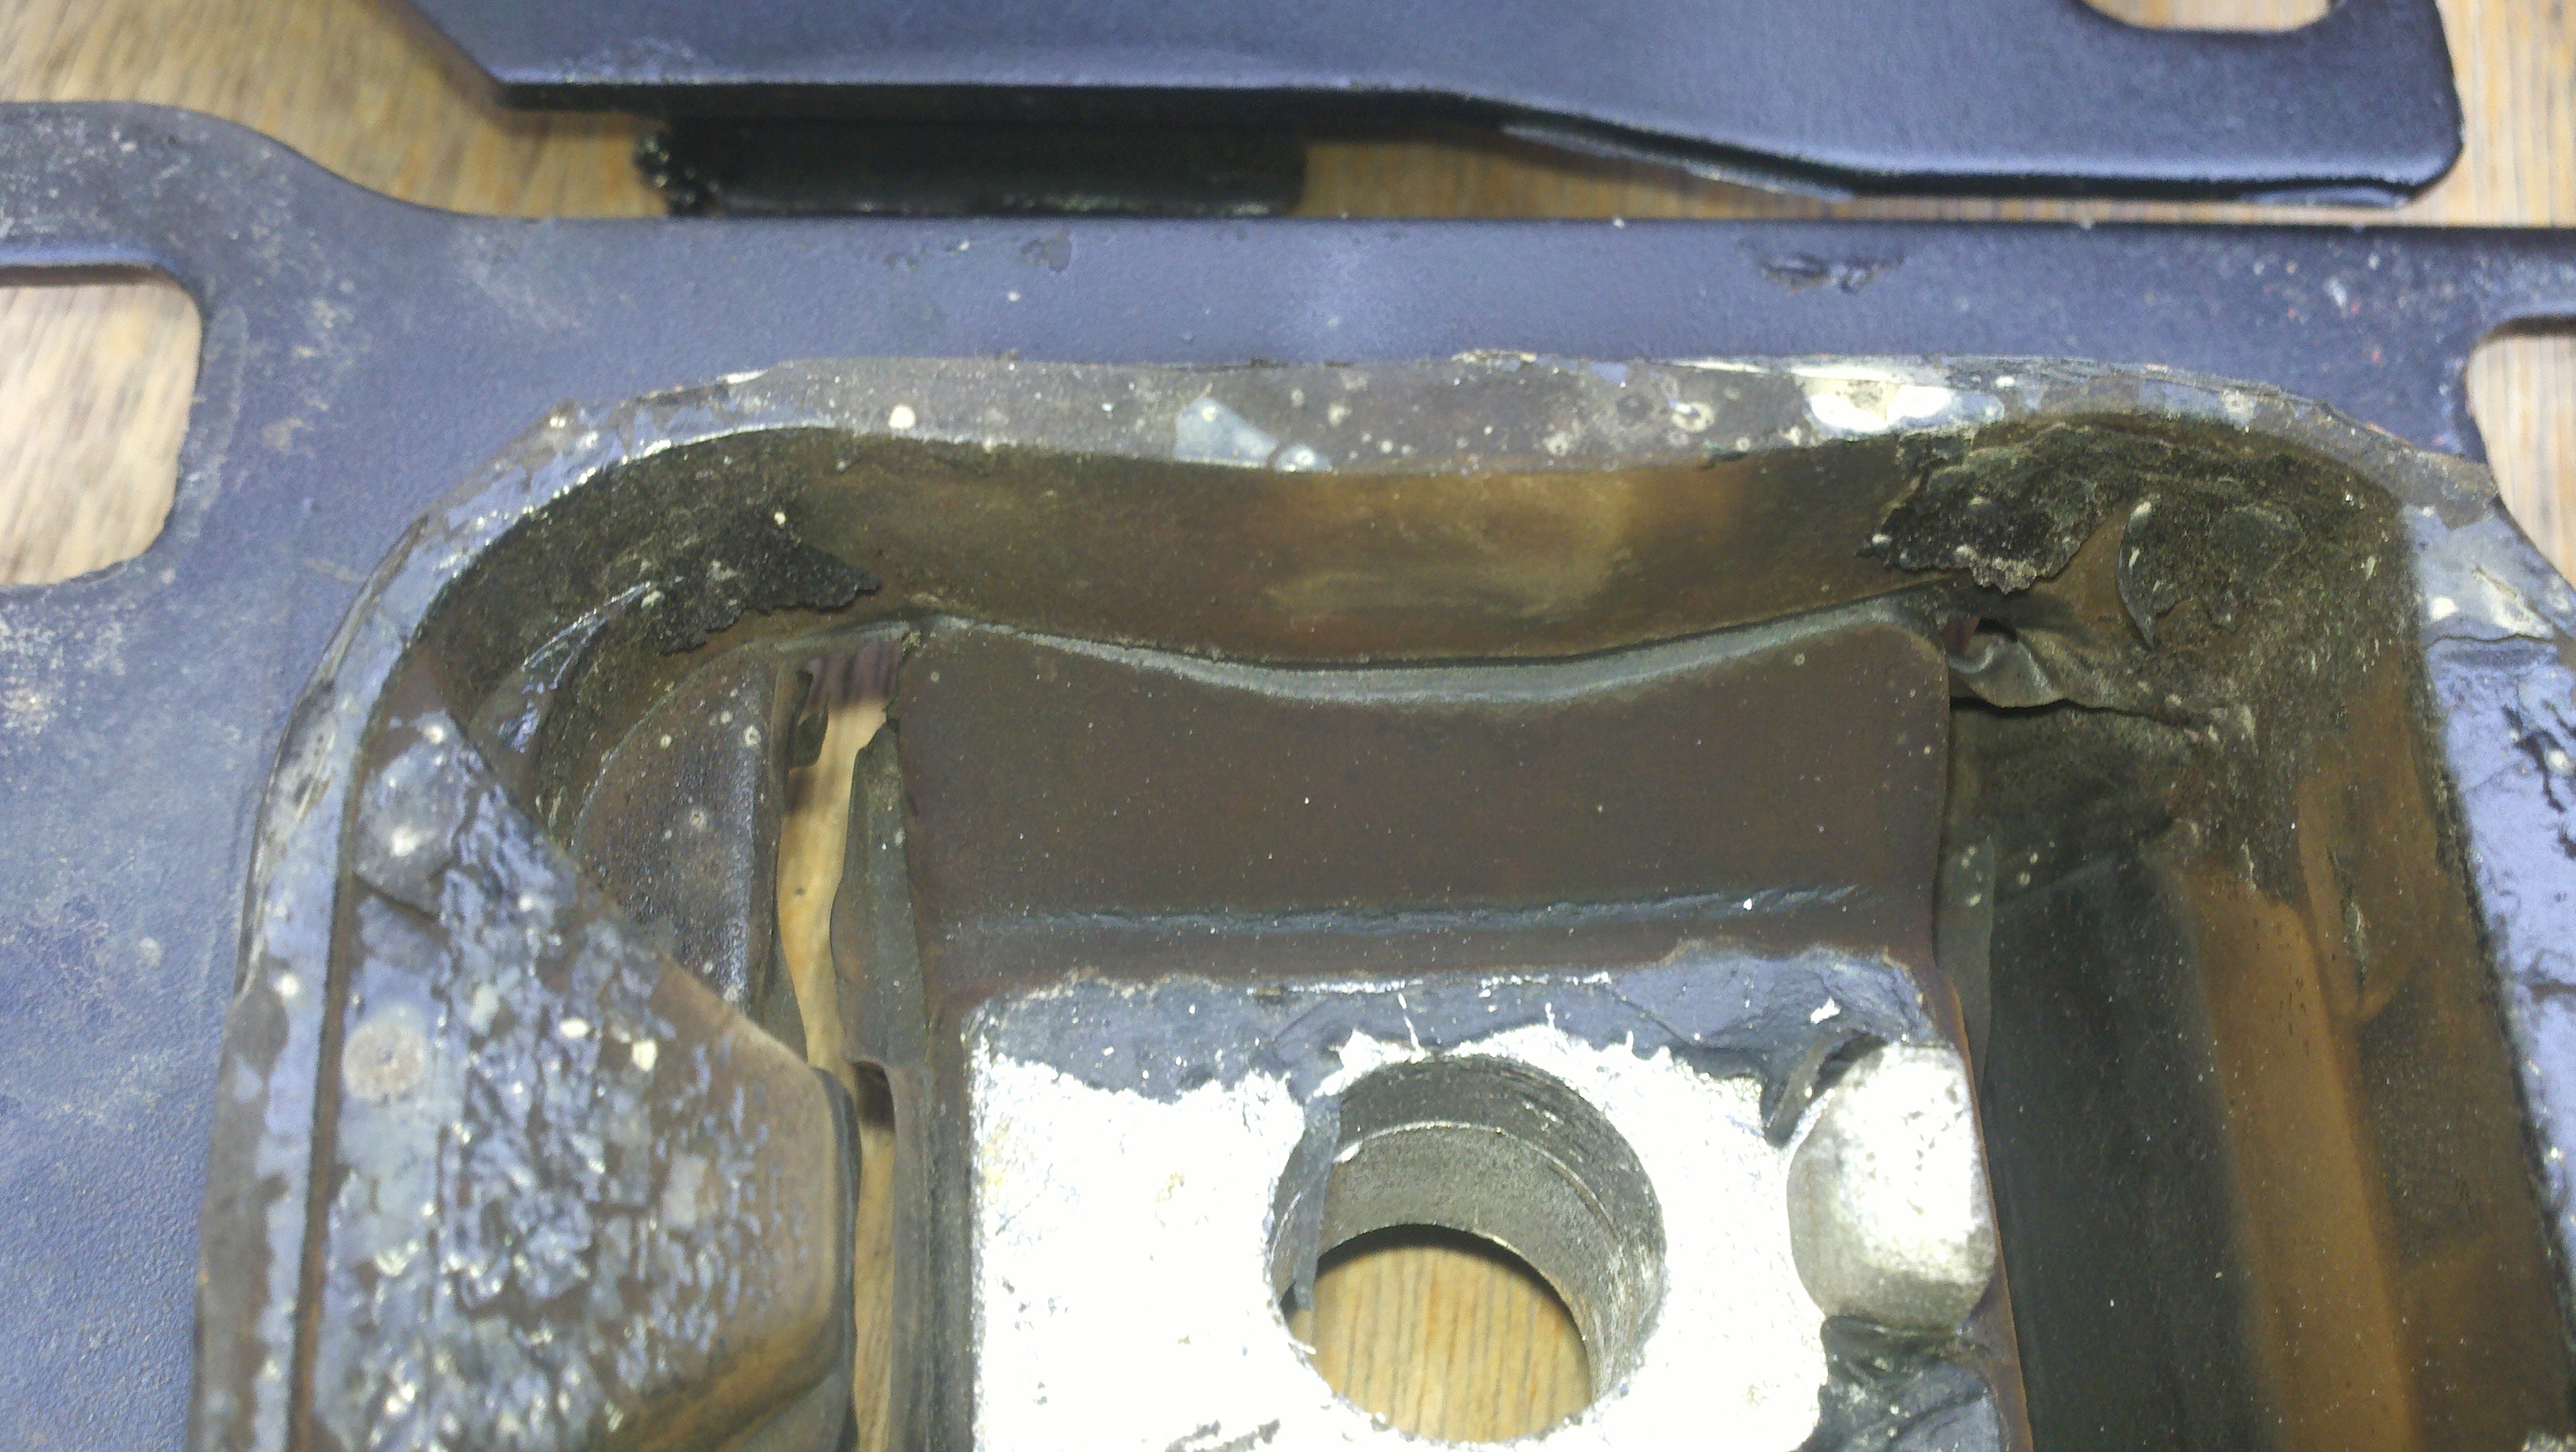
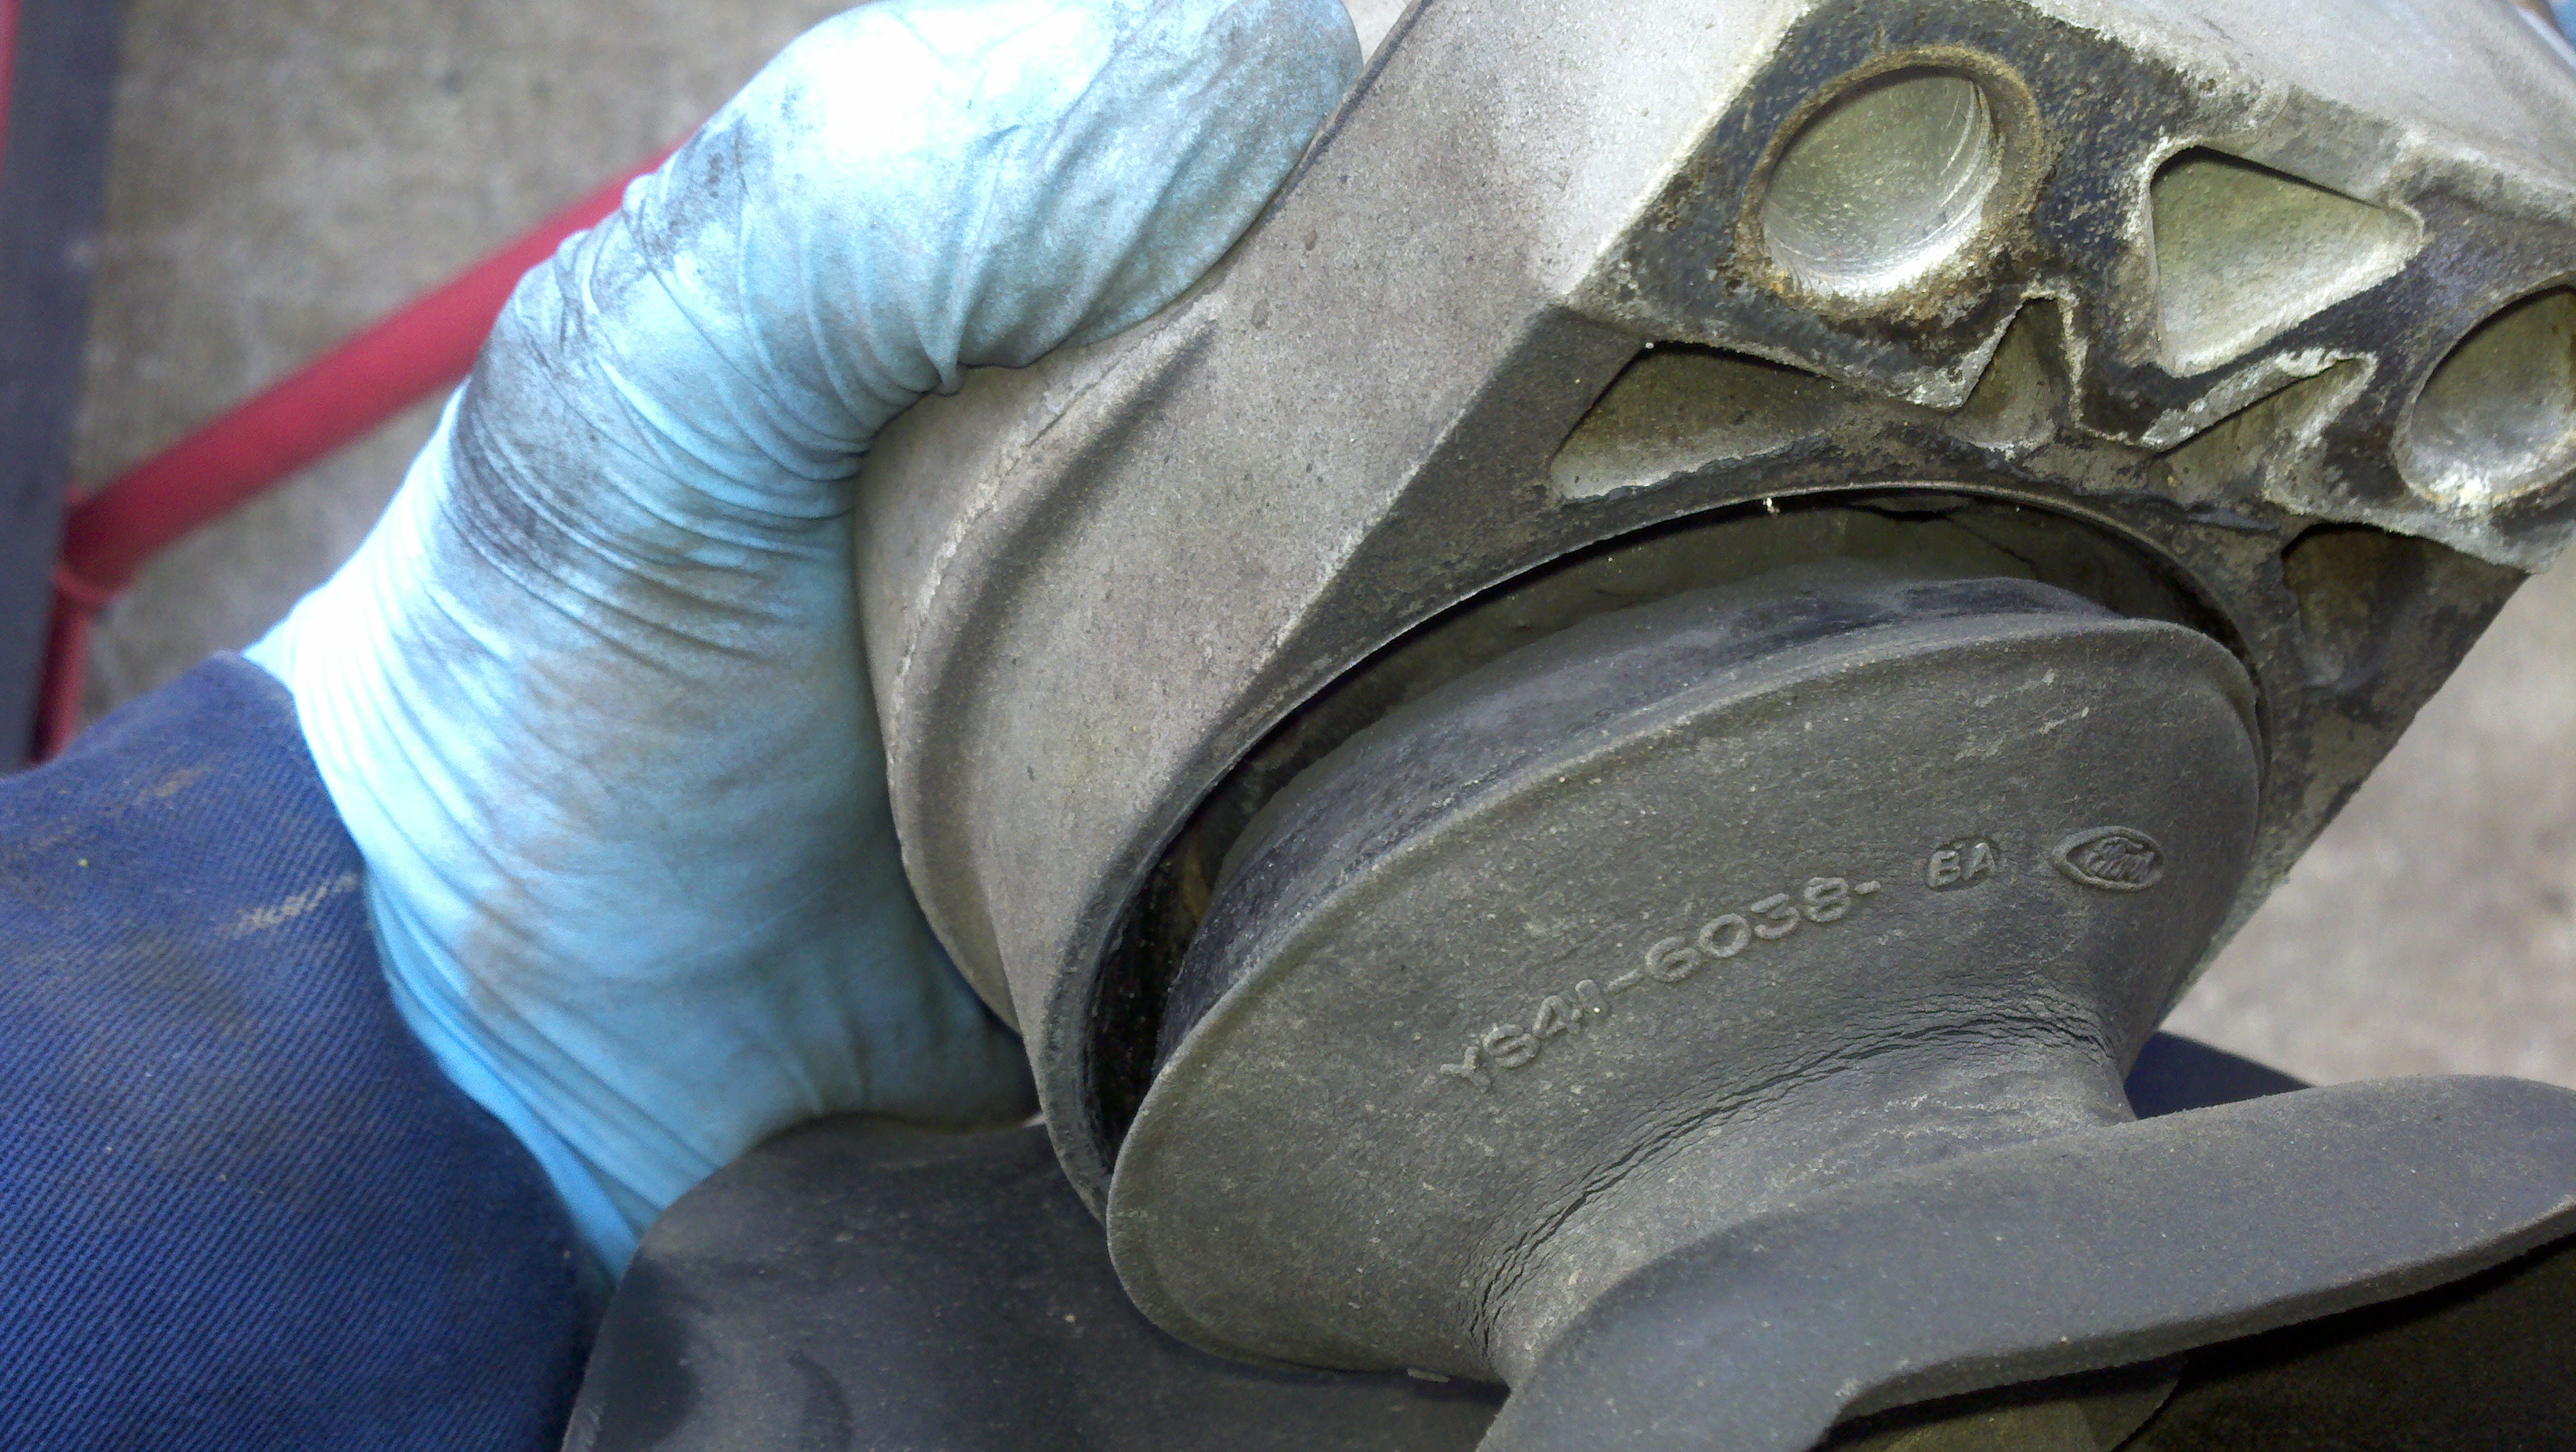
It is easy to see how the mount has failed
Figure 44
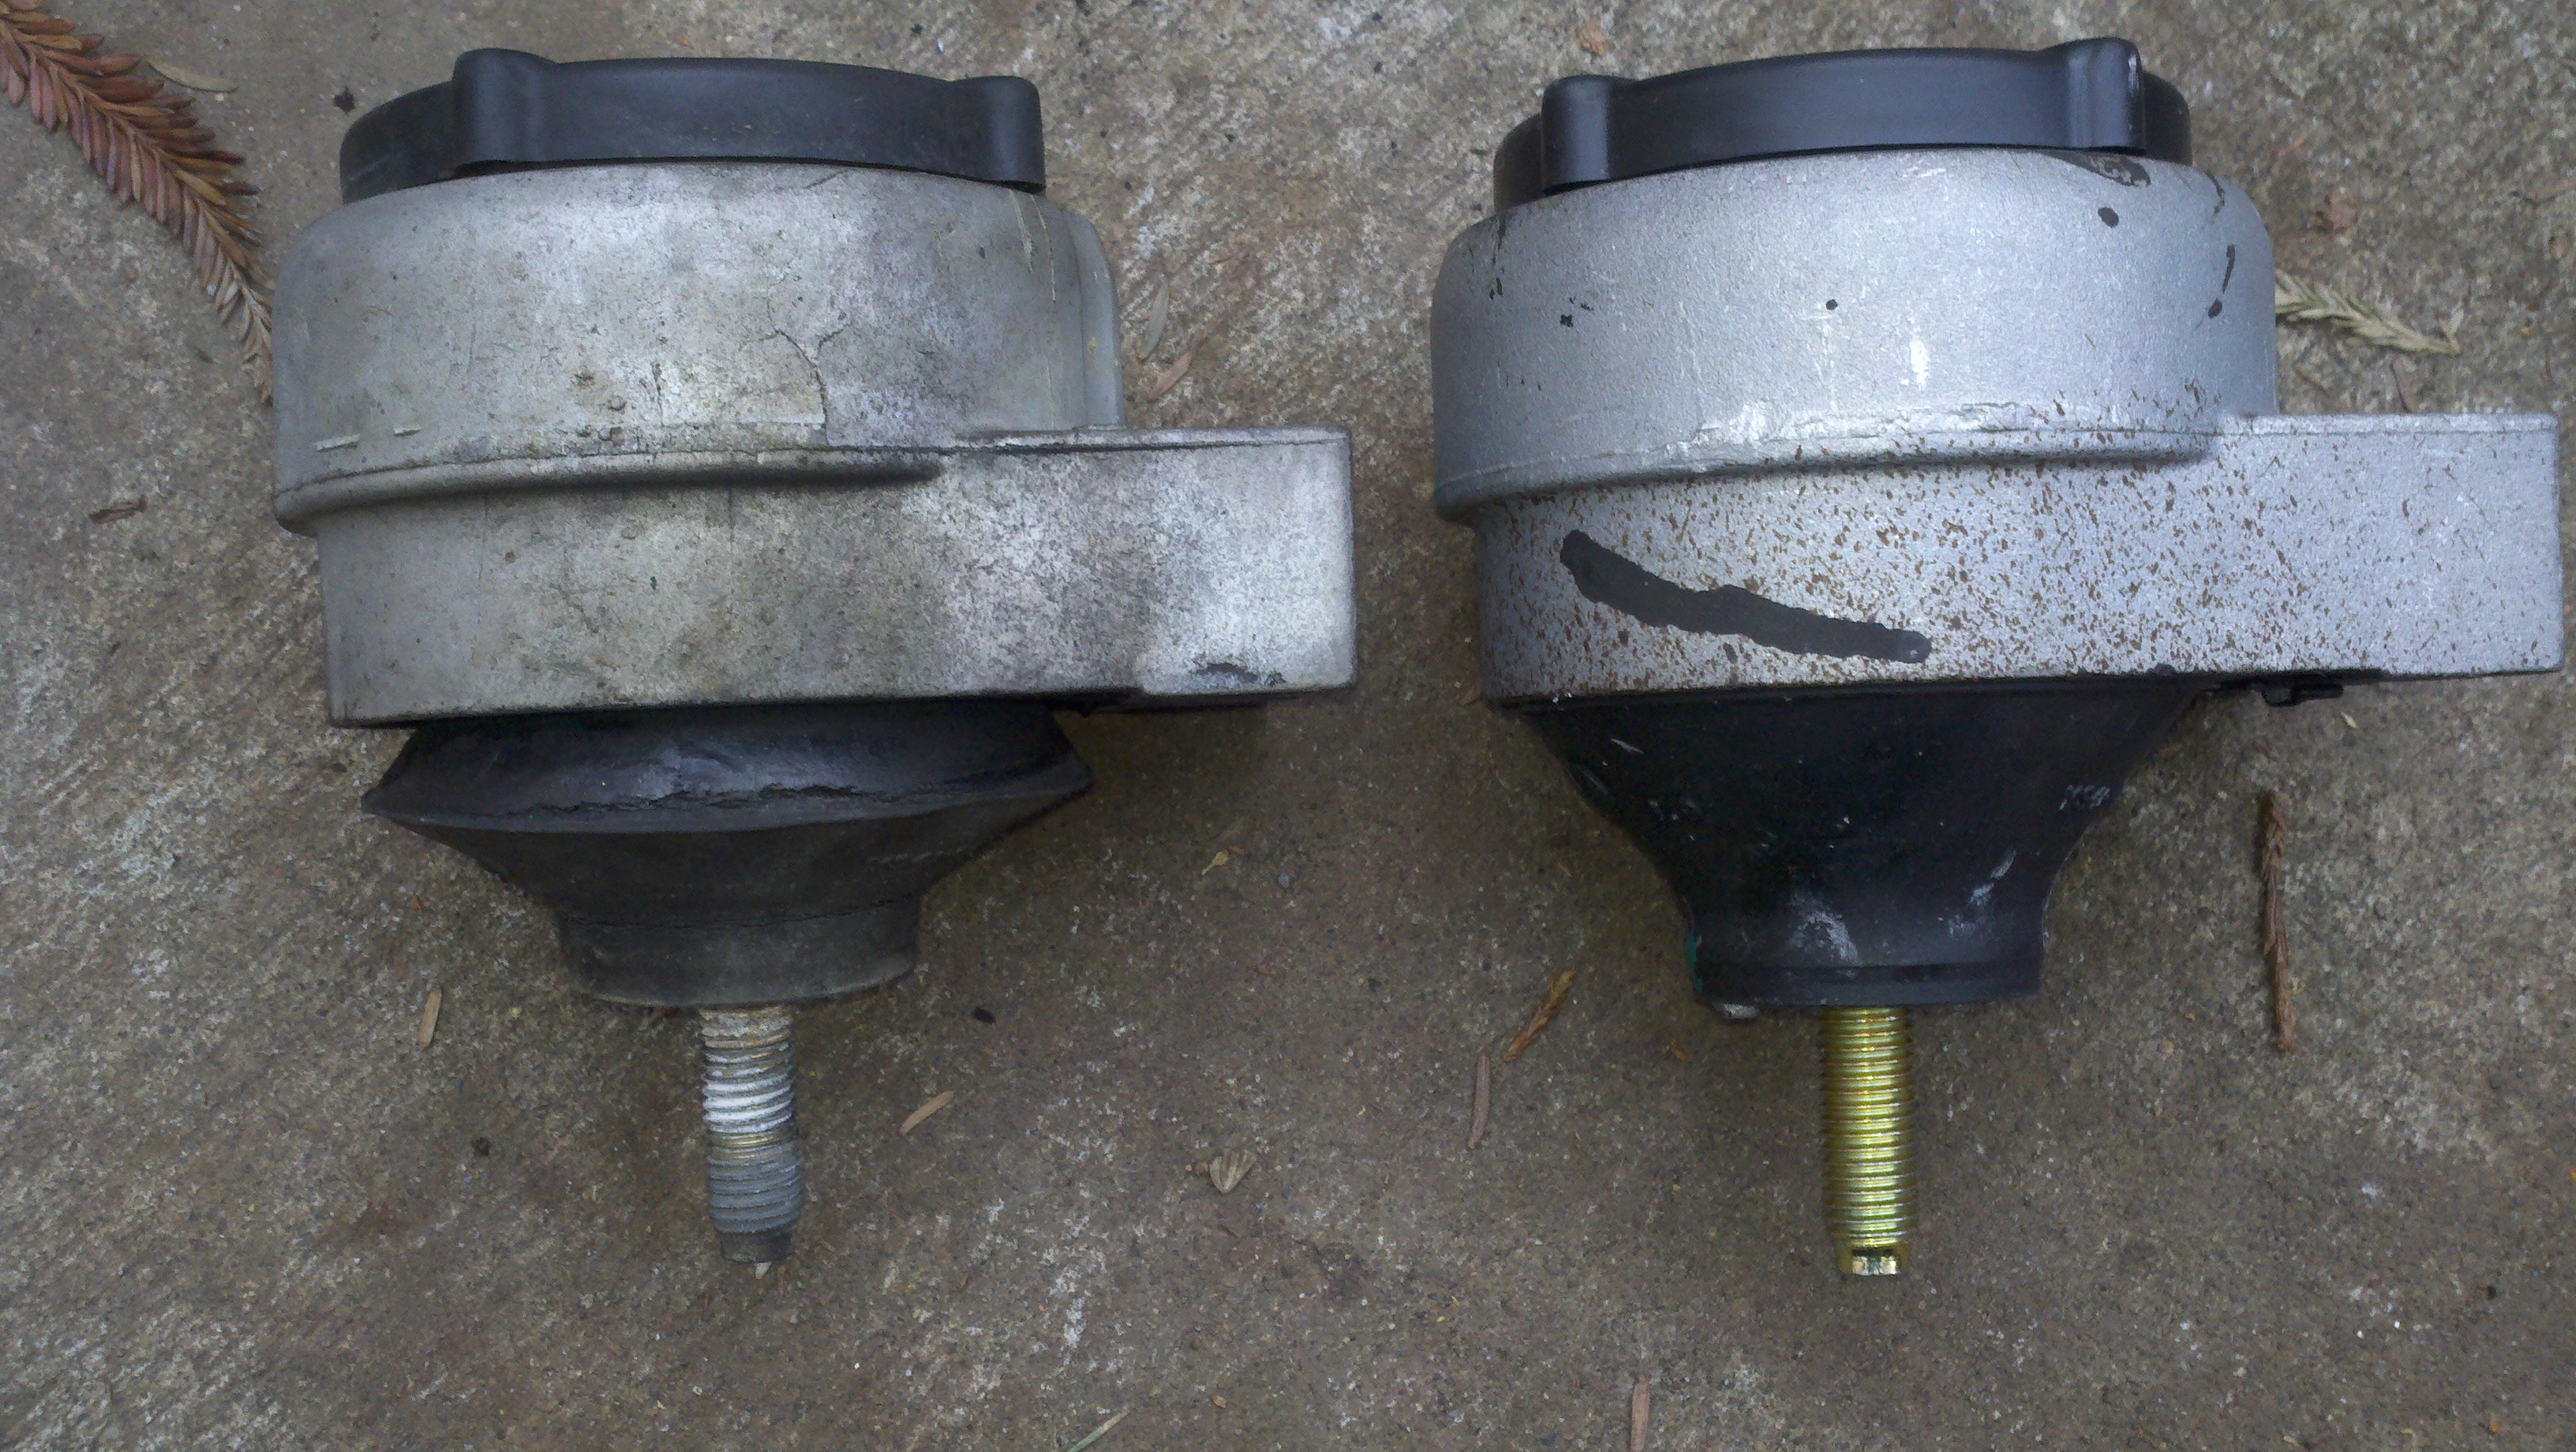
Comparison of the failed and the new Ford mount. See the note at the end of this regarding this mount
Figure 45
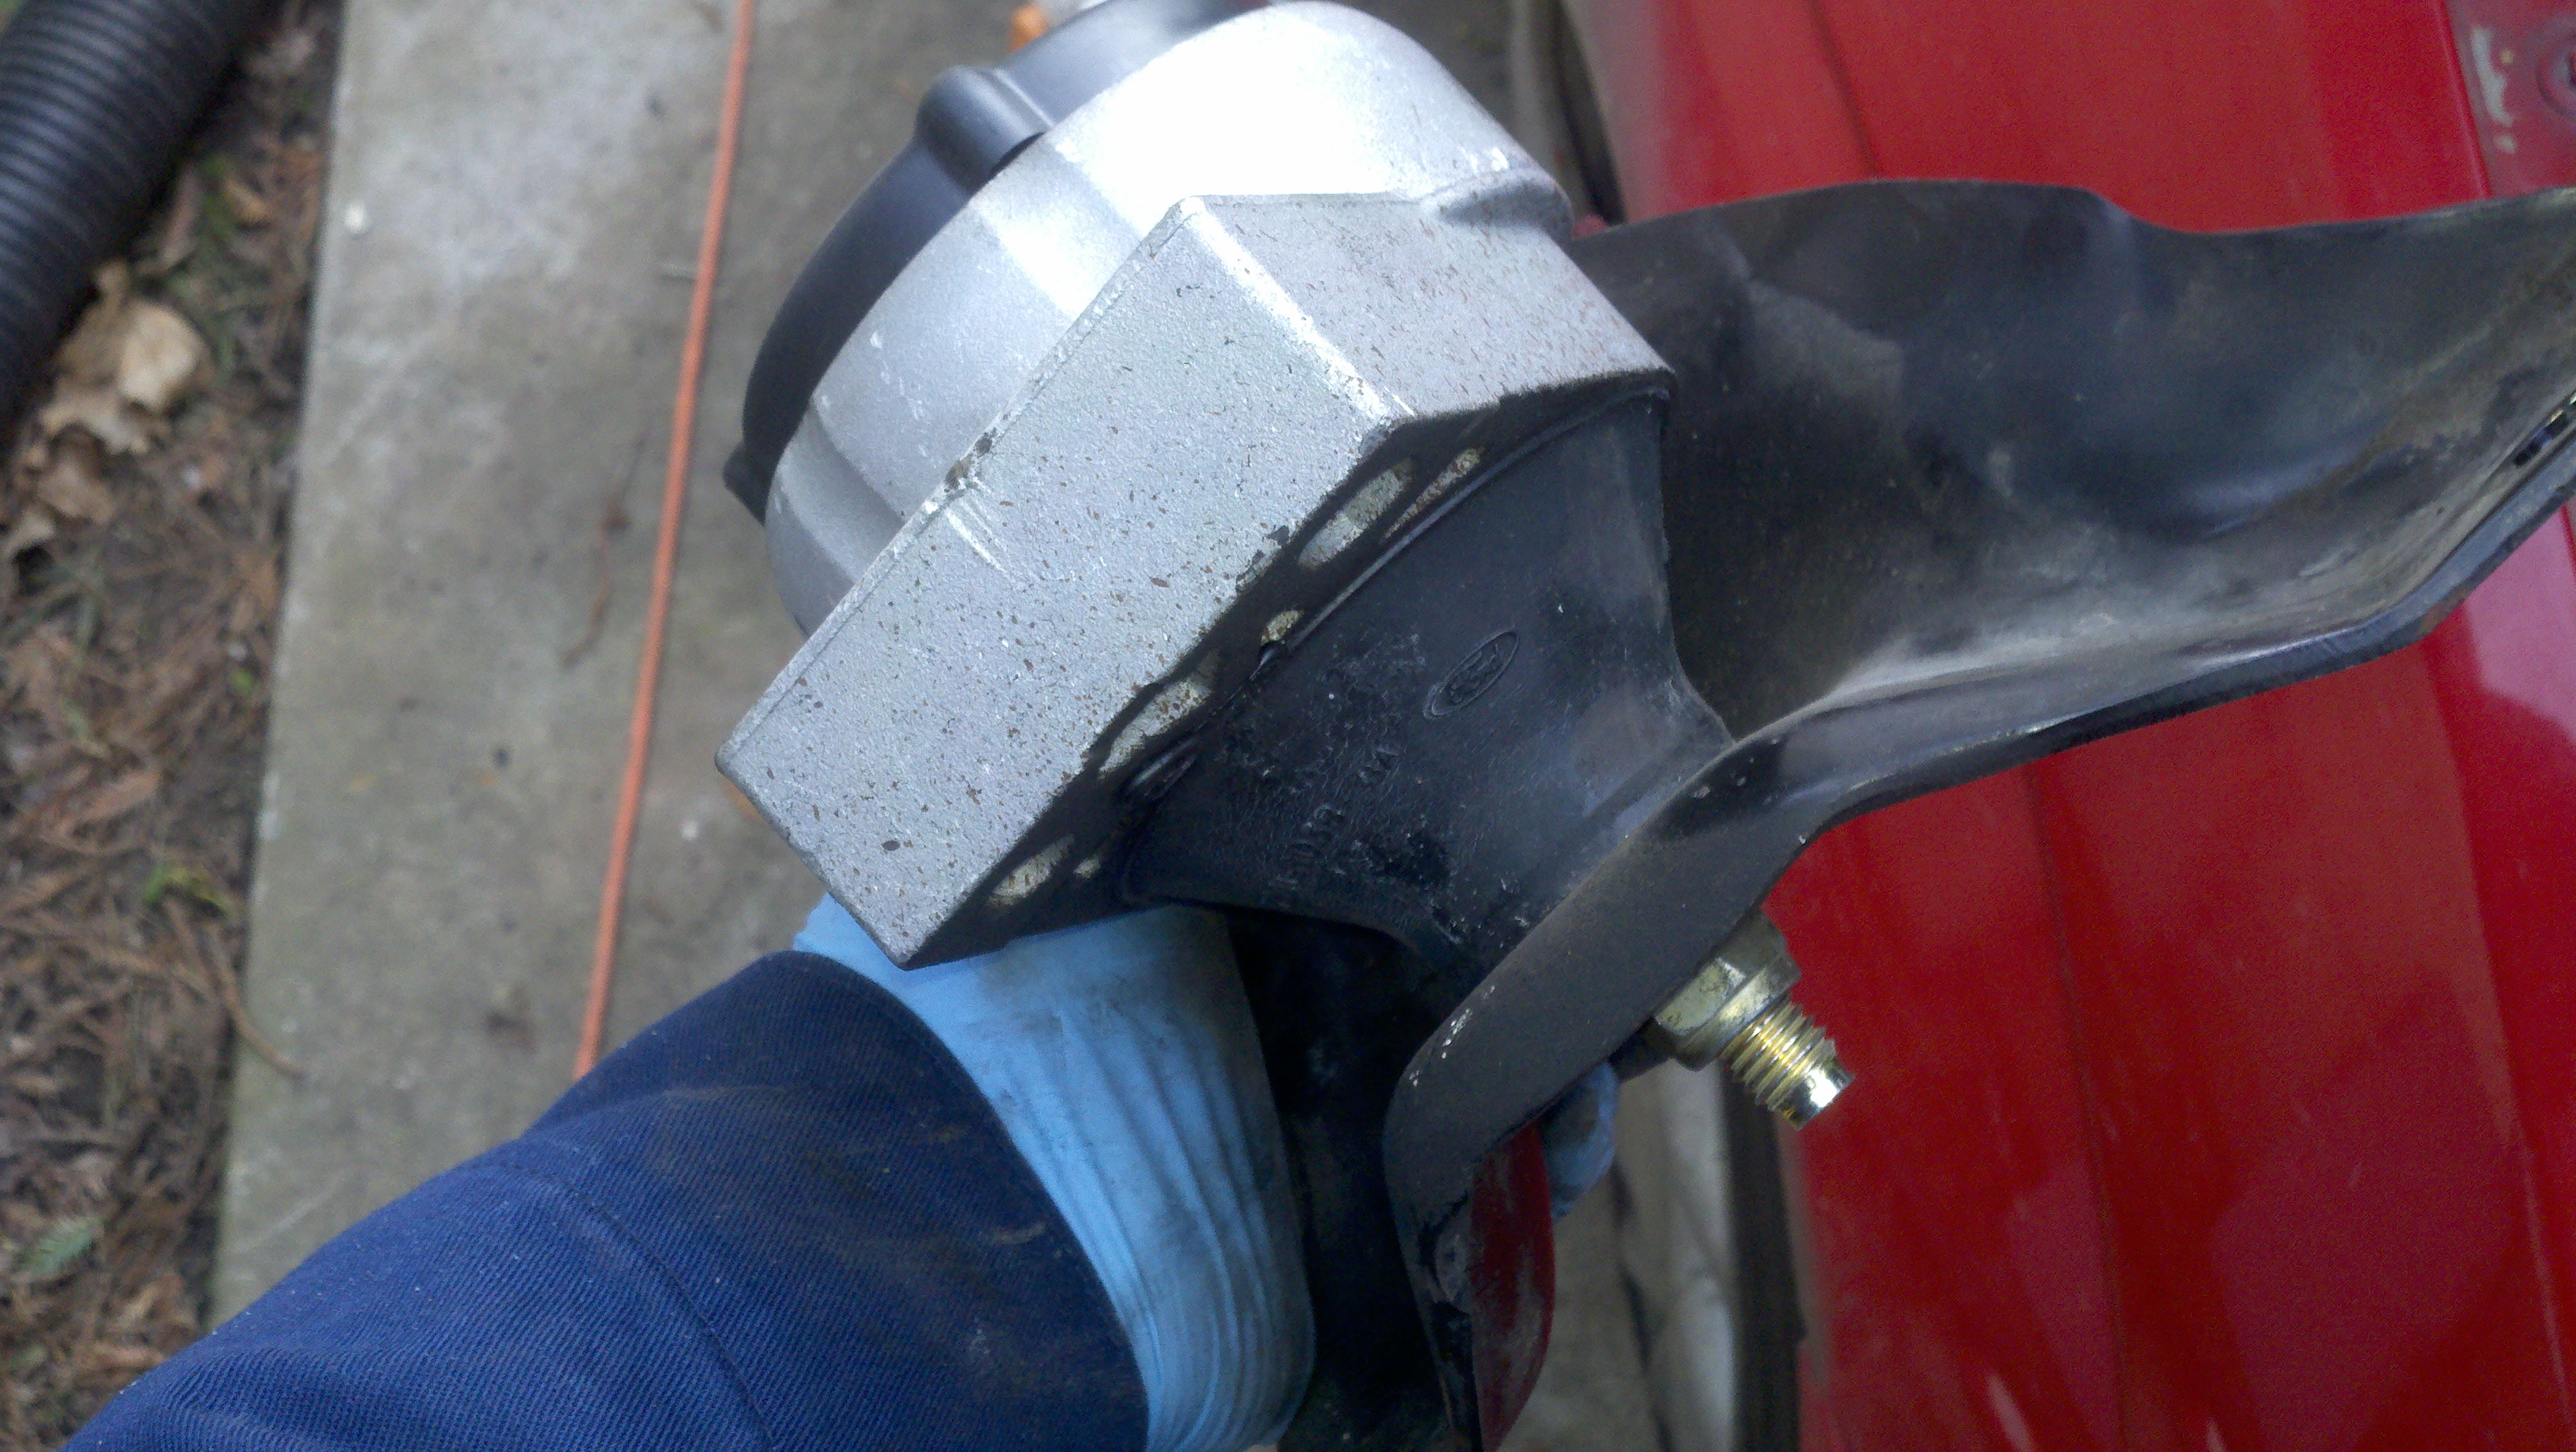
Install the new mount in the bracket
Figure 46
Install the mount and bracket in the car. Tighten down the mount to engine studs and jog the engine to install the bracket to body bolts. Tighten the bolts down then back them off a couple of turns. Lower the engine and move the jack out from the front of the oil pan.
Figure 47
The last thing that needs to be done is to position the floor jack under the center of weight and lift the engine and transmission up off both mounts and give them a good shake and make sure`the engine is centered in the bay. The torque mount will try and push the transmission forward a bit and the engine will want to go back a bit. When everything is centered, lower the engine back down on the mounts and tighten the mounts to the chassis, then raise the car and tighten the dogbone mount bolts
The engine compartment when everything is buttoned back up. This completes the walkthough.
Figure 48
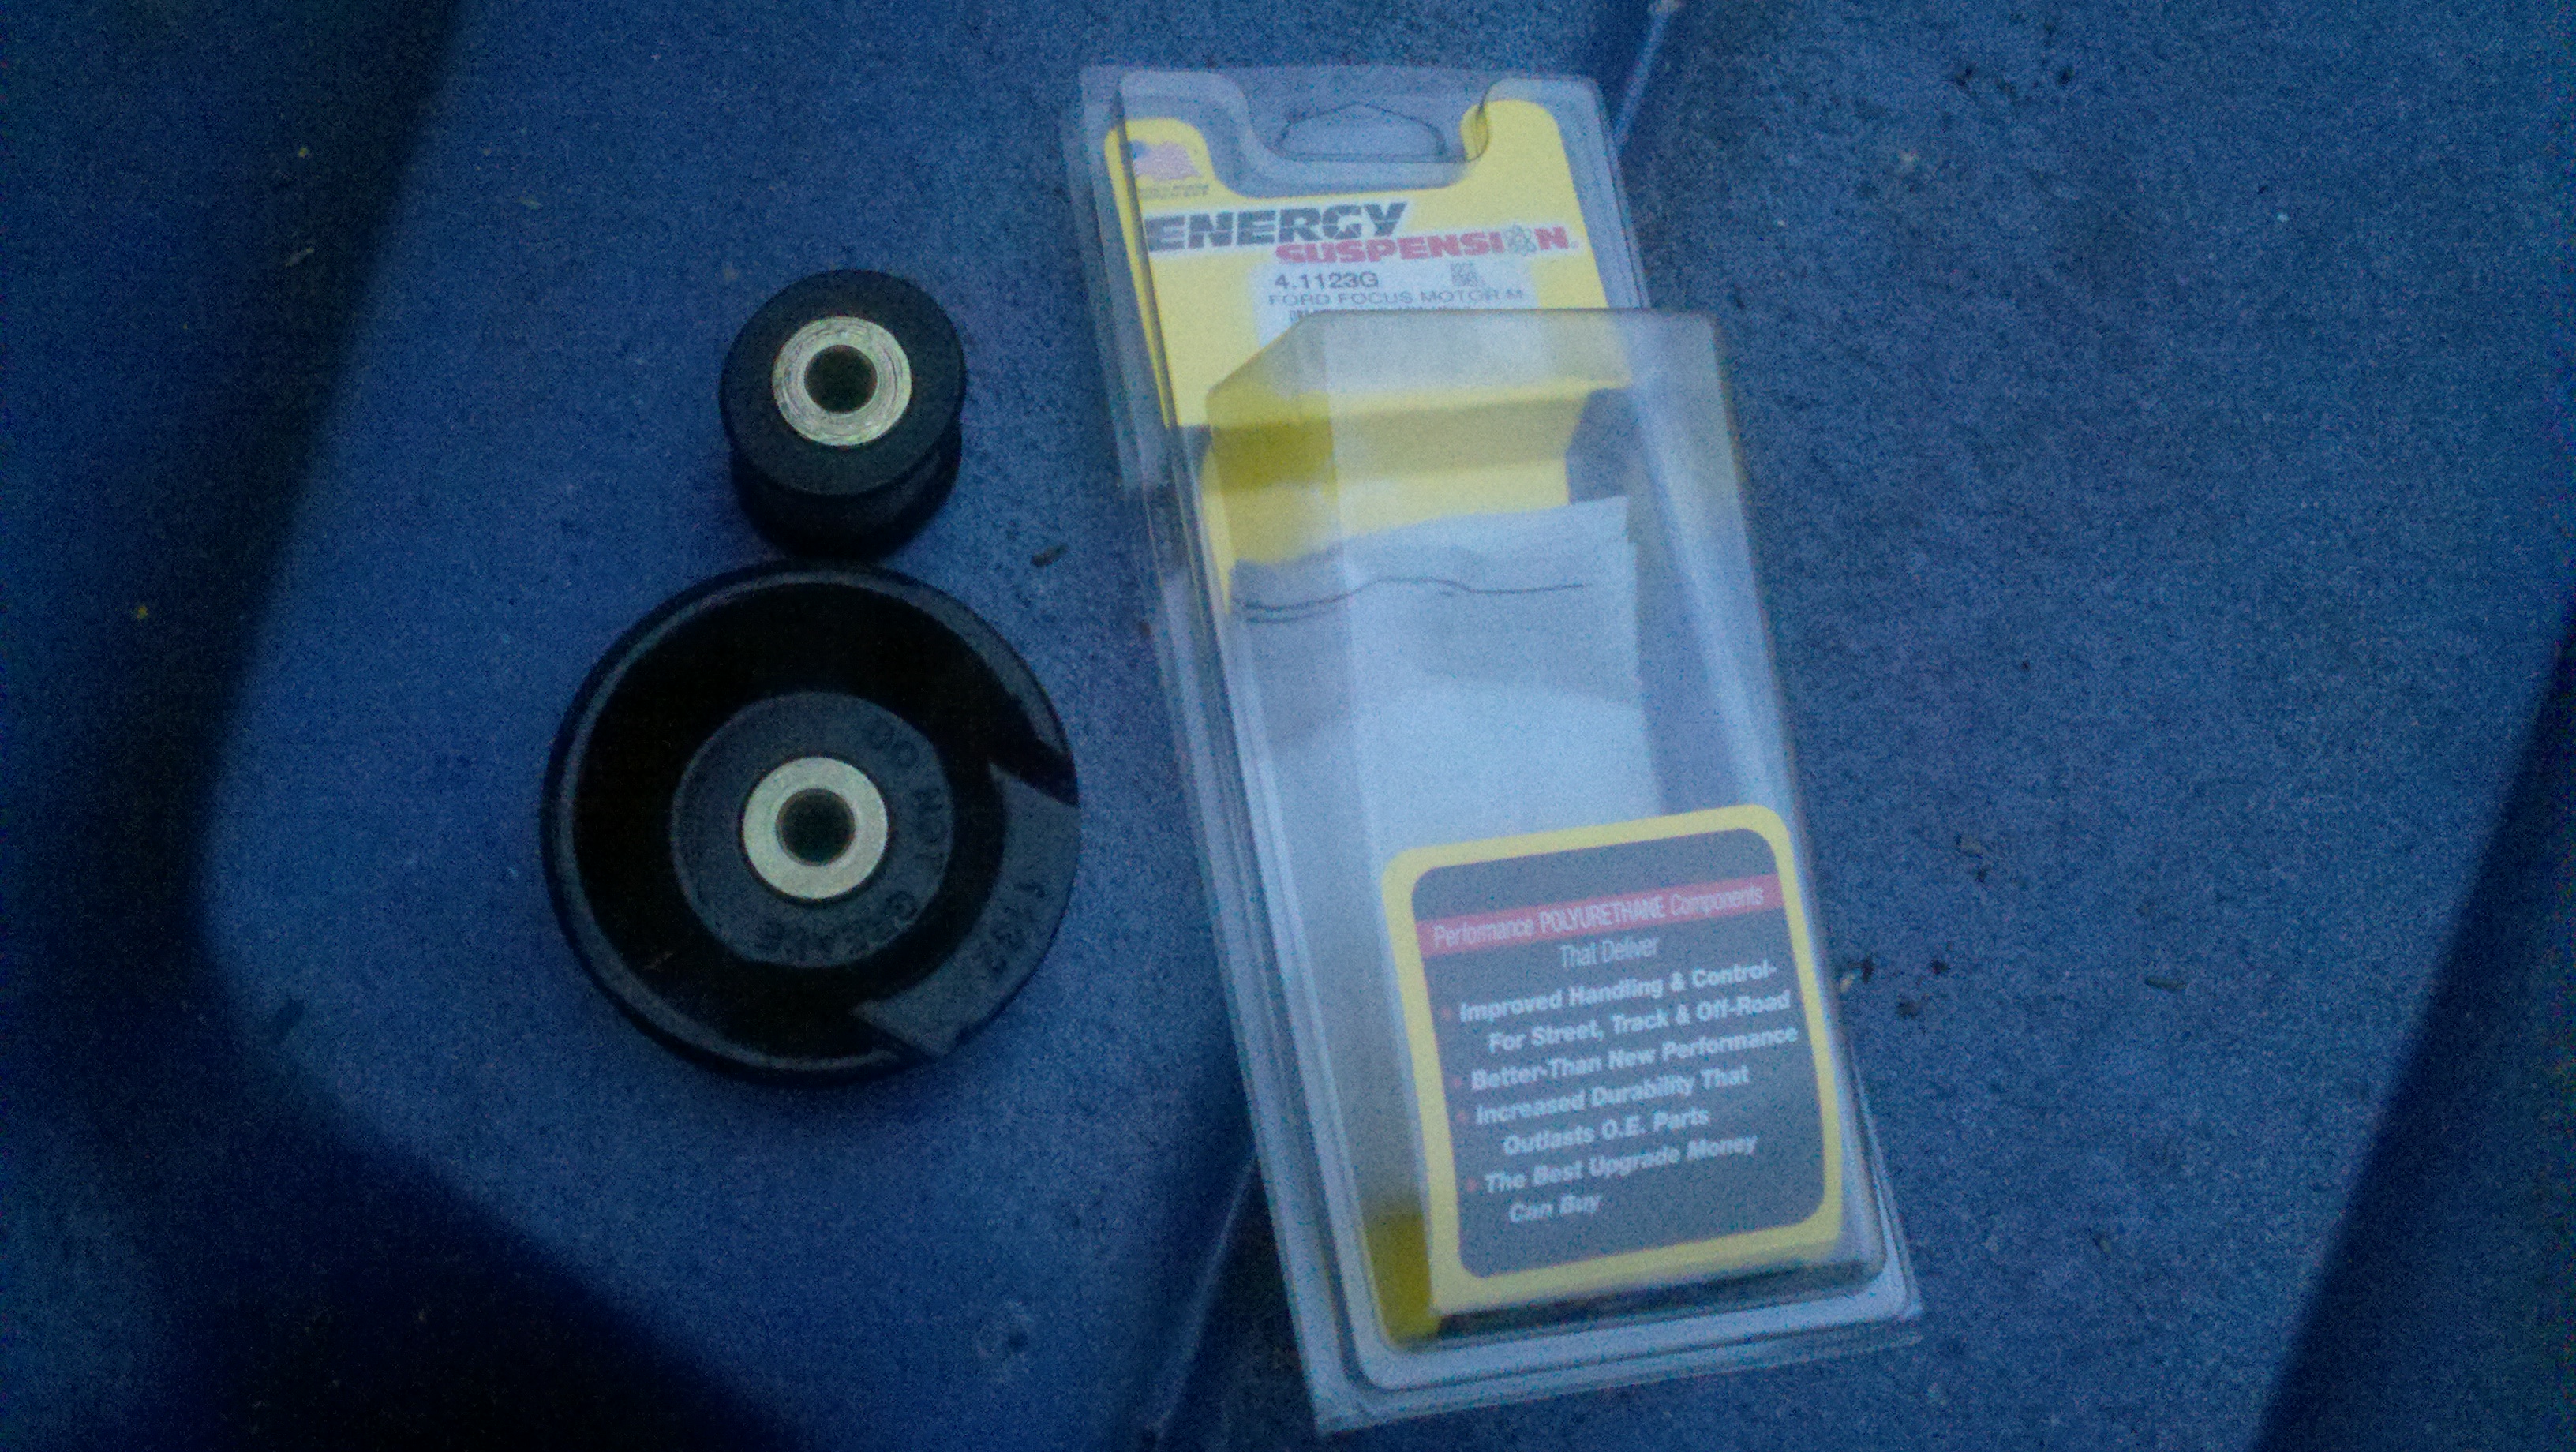
Note that you also have another option instead of just replacing the entire torque mount, instead you can replace the bushings. The following steps show how to do this
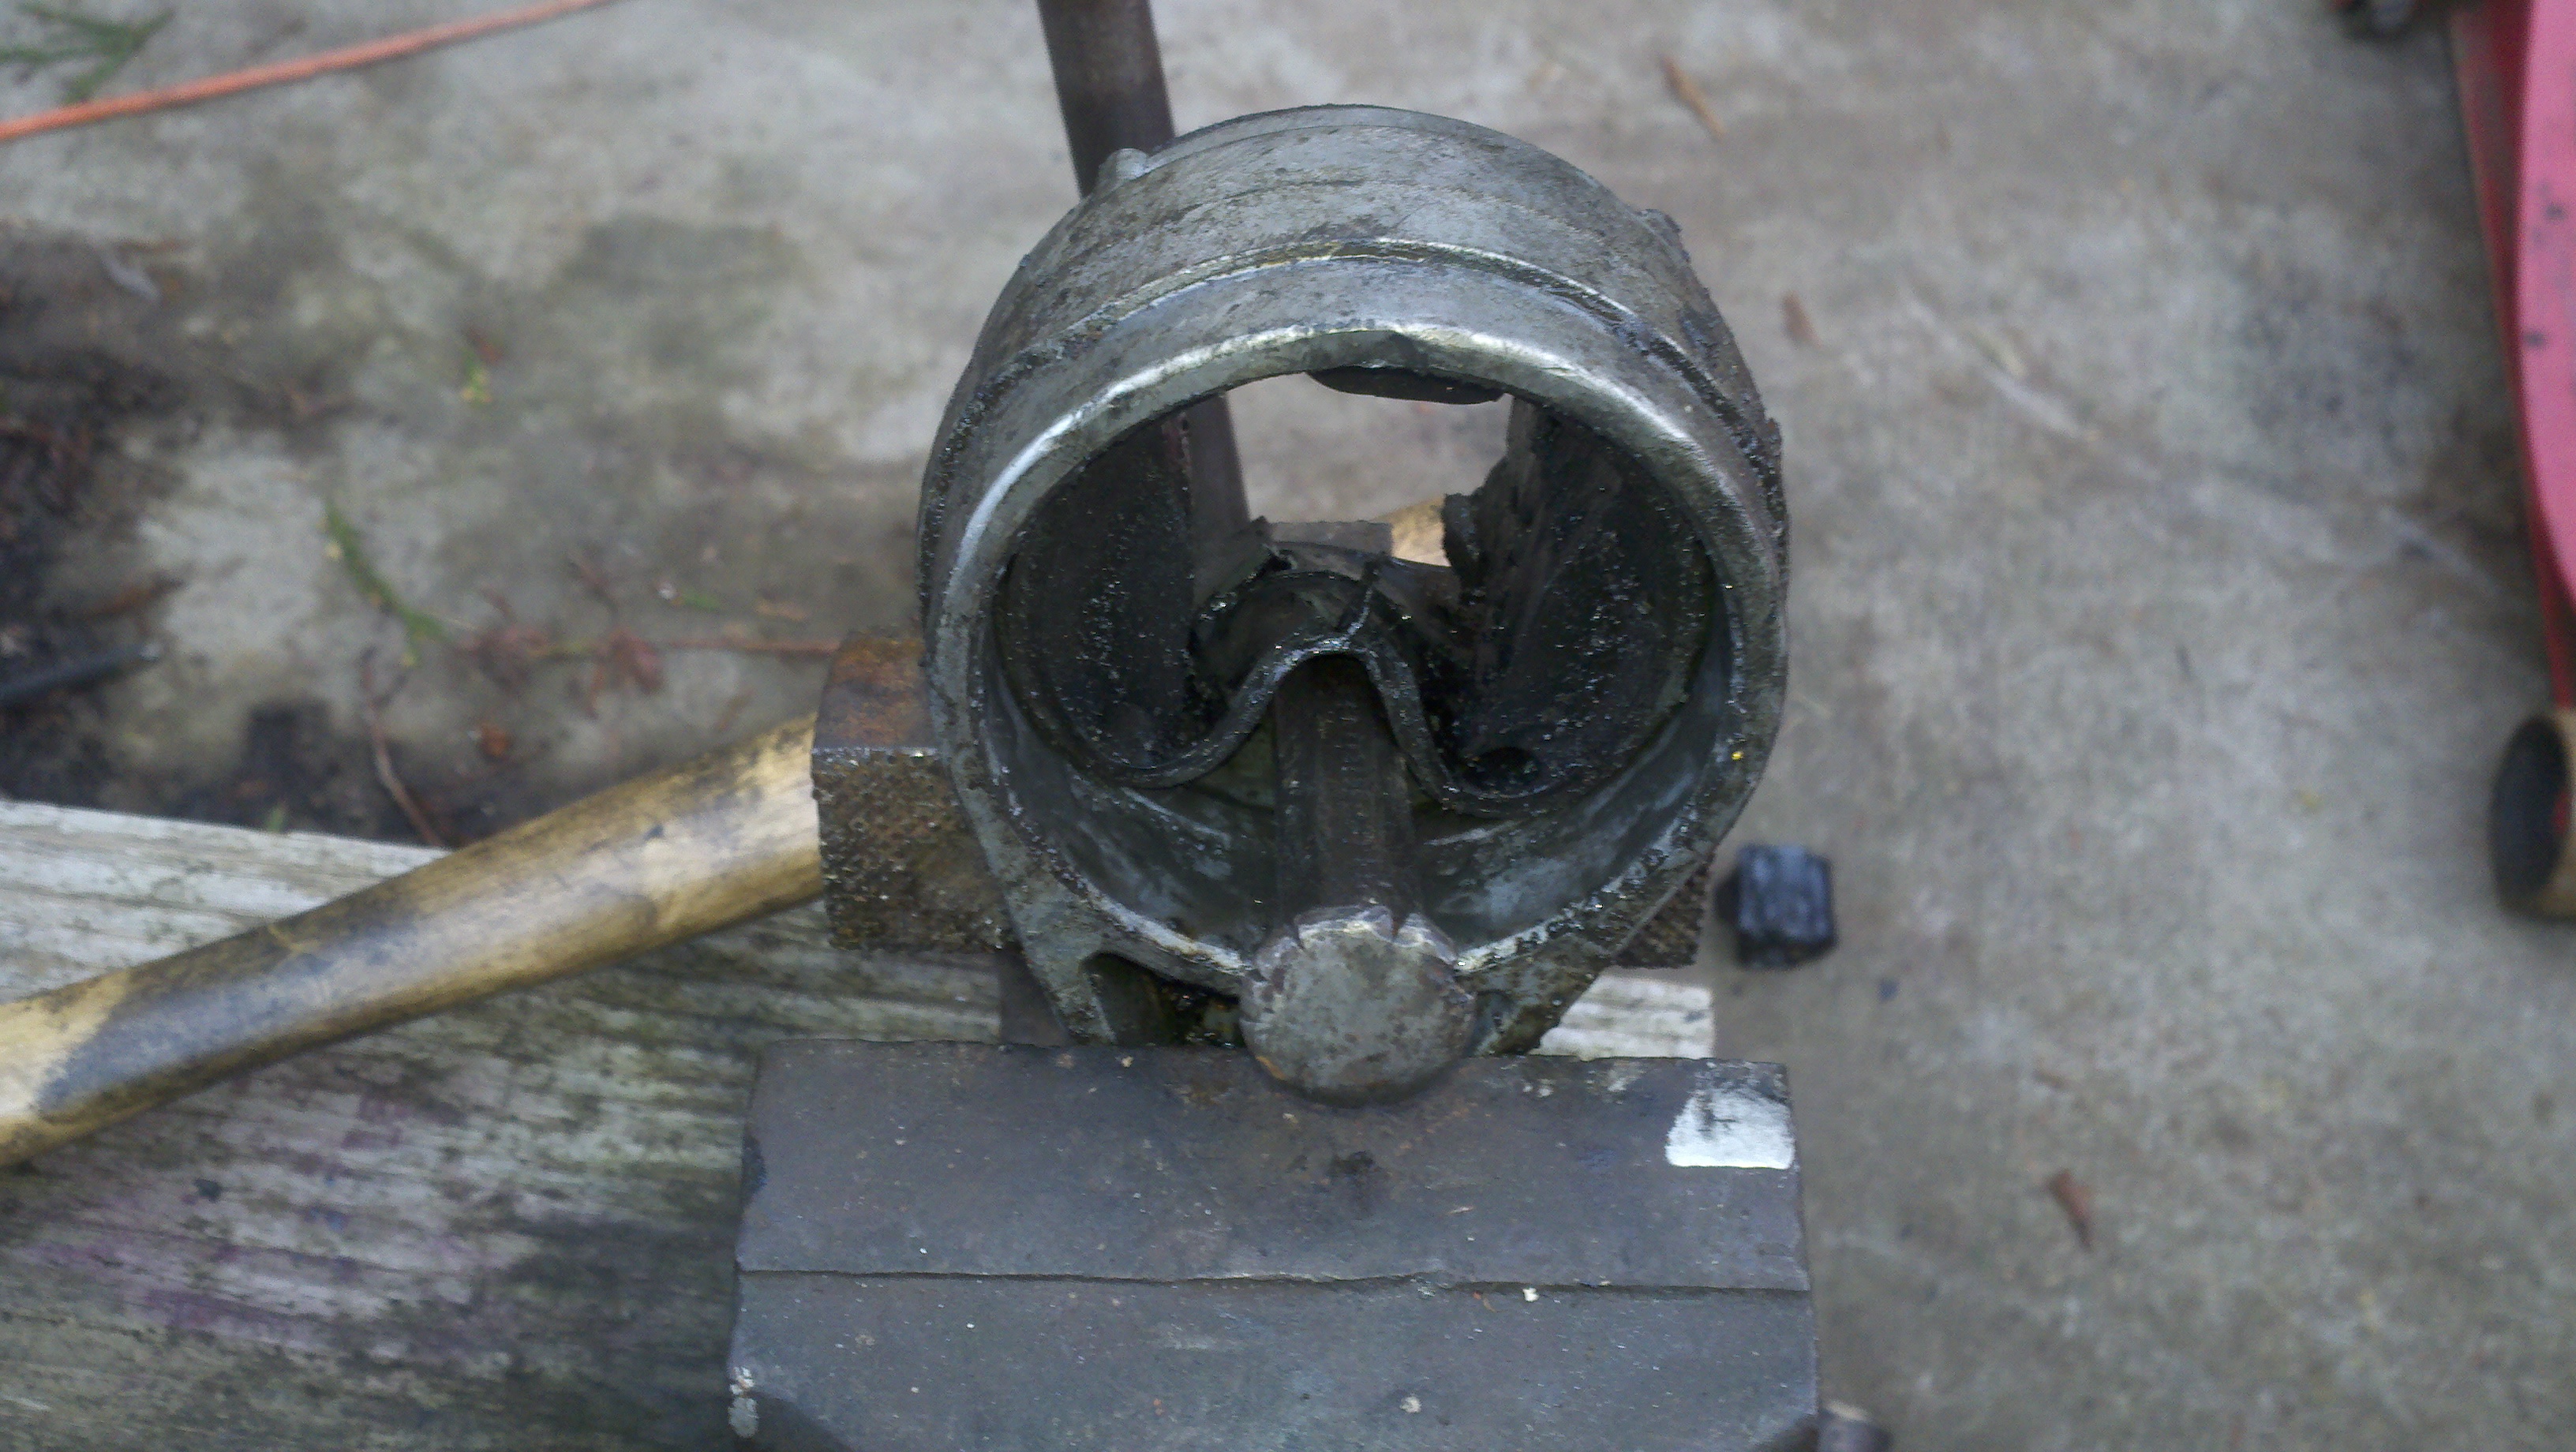
Start with the dogbone mount and knock the broken rubber mounts out of it. I used a small ball peen hammer positioned on the small end rubber bushing and struck it with a sledge and the bushing popped right out. On the large side just work a chisel in between the side of the rubber bushing and the housing and the bushing will push right out. Once the mount is cleaned up you can purchase a set of polyurethane bushings for it. I bought mine from Amazon. The bushings simply push right into the mount by hand, do not use grease or any lubricant.
Note that unlike the rubber in the Anchor mounts, these bushings are resistant to oil. if you have a small oil leak that road draft
tends to blow over the dogbone mount, you will find the Anchor or factory dogbone mounts disintegrating quite quickly. The bushing
set solves this problem.
Figure 49
Figure 50
Figure 51
Figure 52
Figure 53
Figure 54
One last note on the passenger side hydraulic mount.
There are 2 places to get the replacement passenger mount, one is Ford and the other is Anchor. Every aftermarket passenger mount you find is going to be made by Anchor. Be an informed consumer and please see my comparison of mounts linked at the beginning of
this article